

Intro
This article describes how to use the Documents tiles in Magic ETL. Learn how to create a Magic ETL DataFlow.Note: This feature is in beta. Beta Program participants can enable
features here. To join the Beta
Program, fill out this form. For beta questions or feedback, email
beta.admin@domo.com.
Required Grants
To access the Collection Input tile in Magic ETL, the following grants must be enabled for your role:- Manage Documents — View, edit, and delete any Document Collections in this instance.
- Edit Documents — Create and edit Document Collections to which you have access.
- View Documents — View only for any Document Collections to which you have access.
- Use AI Services
Admin Settings
Generative AI must be enabled for your instance before you can use the Text Generation tile. Go to Admin > AI Service Layer > AI Settings and turn on Generative AI Enabled for Instance. Learn more about AI Admin Settings.Collection Input Tile
The Collection Input tile lets you select a Document Collection as an input to your ETL.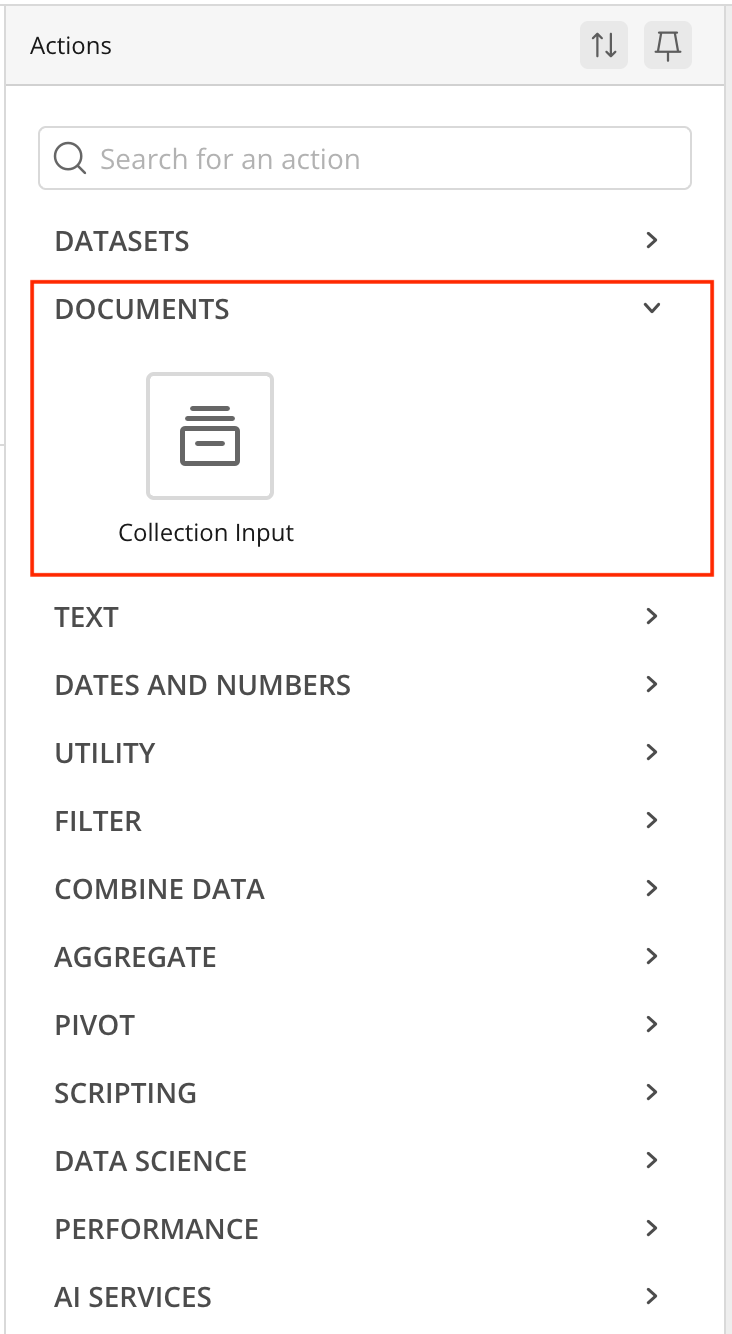
Configure the Collection Input Tile
Follow these steps to configure the Collection Input tile:- Inside Magic ETL, drag a Collection Input tile to the canvas from the Documents section in the left panel. The tile editor opens below the canvas.

- Select a Document Collection from the Source Collection selector. The Output Column Names auto-populate; adjust them as needed.
Use Cases
Generate Alt Text Descriptions from Images

- Inside Magic ETL, drag a Collection Input tile to the canvas from the Documents section in the left panel.
- Select a Document Collection from the Source Collection selector. The Output Column Names auto-populate; adjust them as needed.
- Drag a Text Generation tile to the canvas from the AI Services section in the left panel.
- For Model, select Domo GPT-Small v2.1.
- For Execution Preference, select Batch.
- Set the Instructions field to “Create an alt text description.”
- Set the Prompt field to “Create an alt text description for this image that I want to put on my blog.”
- For the optional file input, select
collection_idandpath. - Configure the output: set the output column name to
output, the type to Text, and the description to “alt text description.” - Drag an Output DataSet tile to the canvas from the Datasets section in the left panel to configure an output DataSet.
- Set the name to “alt text description.”
- Select Close and Run.