Intro
This article explains how to access Documents in Domo, create Document Collections by uploading files or connecting to a data source, enable Agent Knowledge for AI Search, search across your Documents, and use Documents from an Agent in Workflows, the AI Library, and Magic ETL.Required Grants
To access Documents, the following grants must be enabled for your role:- Manage Documents — View, edit, and delete any Document Collections in this instance.
- Edit Documents — Create and edit Document Collections to which you have access.
- View Documents — View only for any Document Collections to which you have access.
Access Documents in the New Navigation
You can find Documents under Data and ETL in the mega-menu.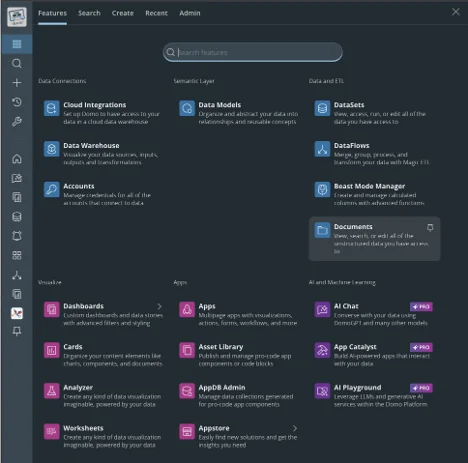
Access Documents in the Traditional Navigation
You can find Documents in the Data Center under the new Documents icon in the left navigation.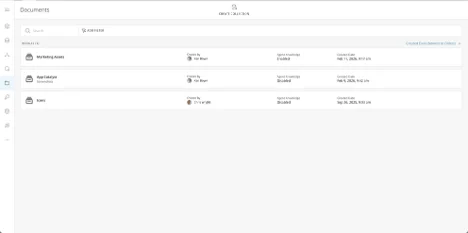

Create a Document Collection
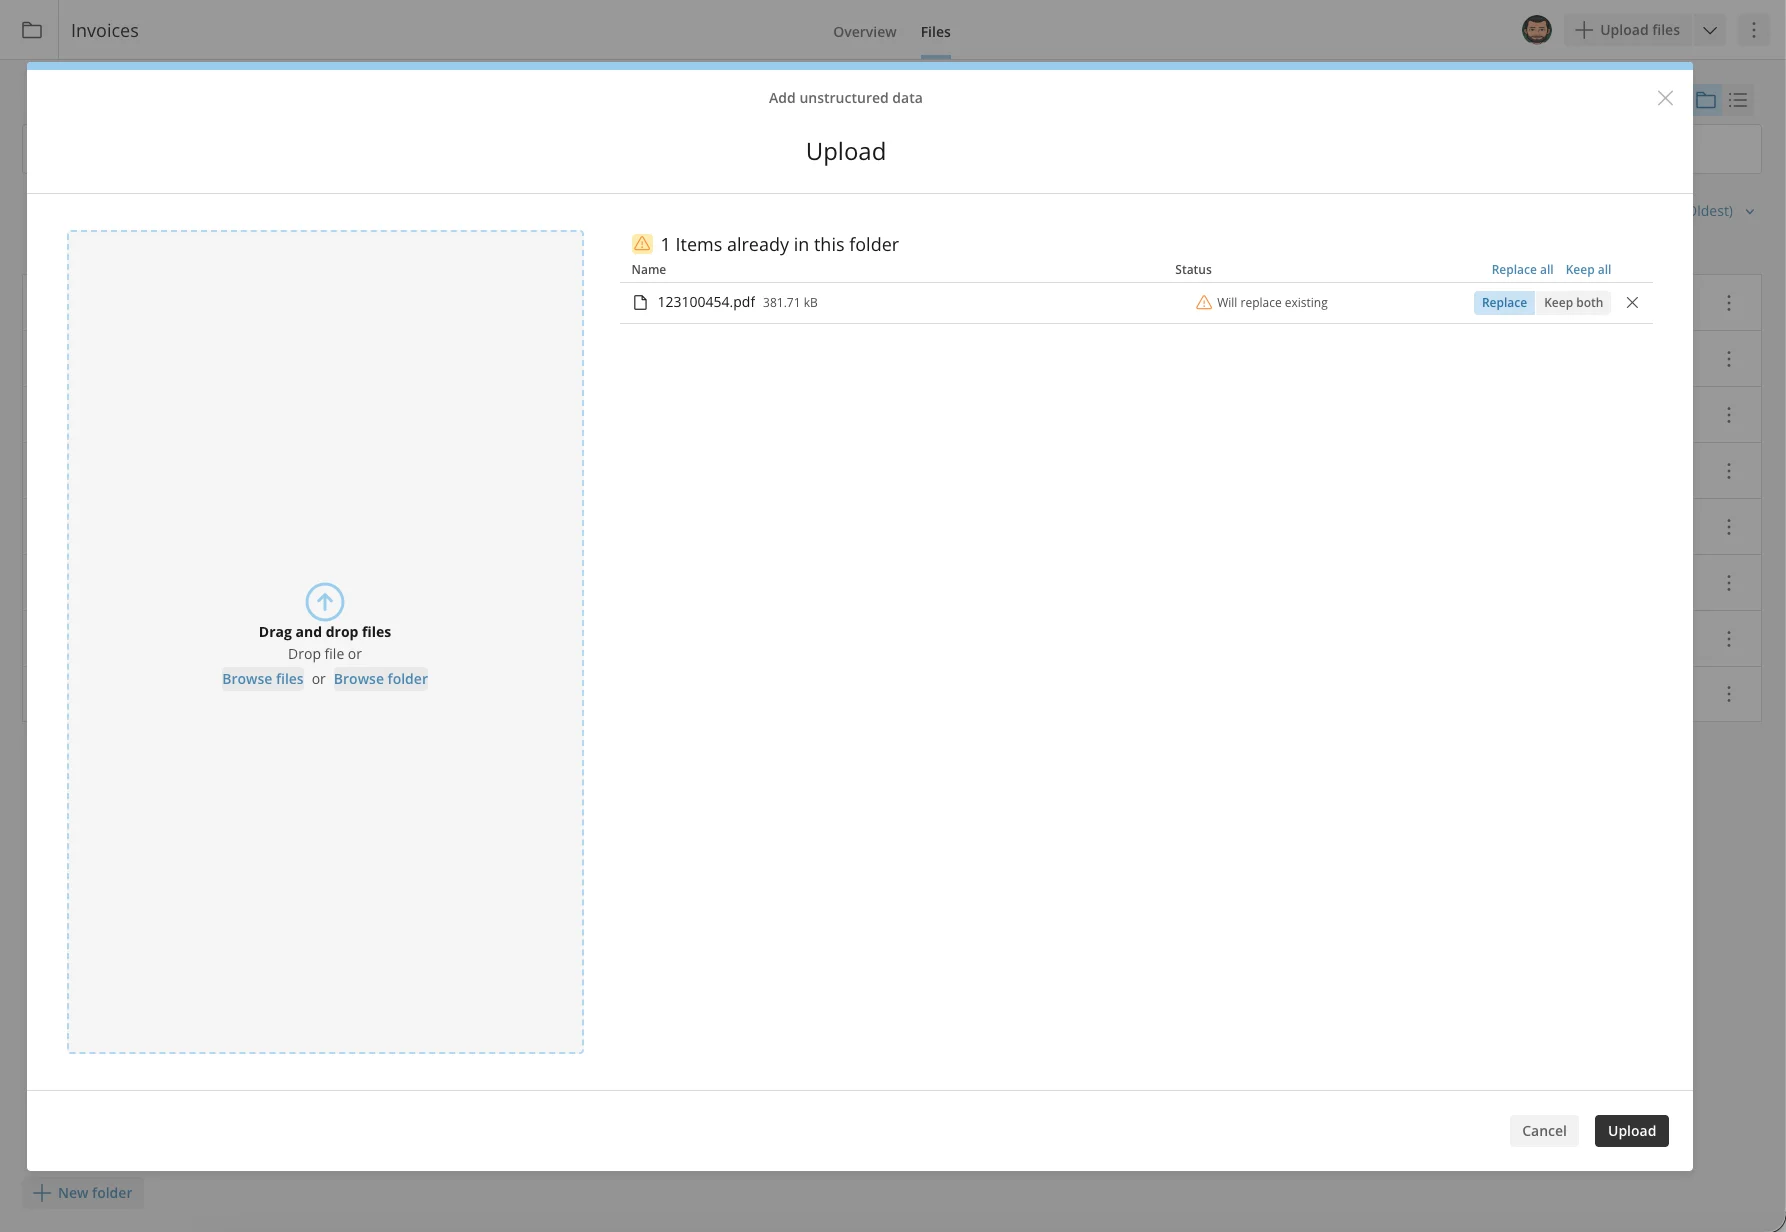
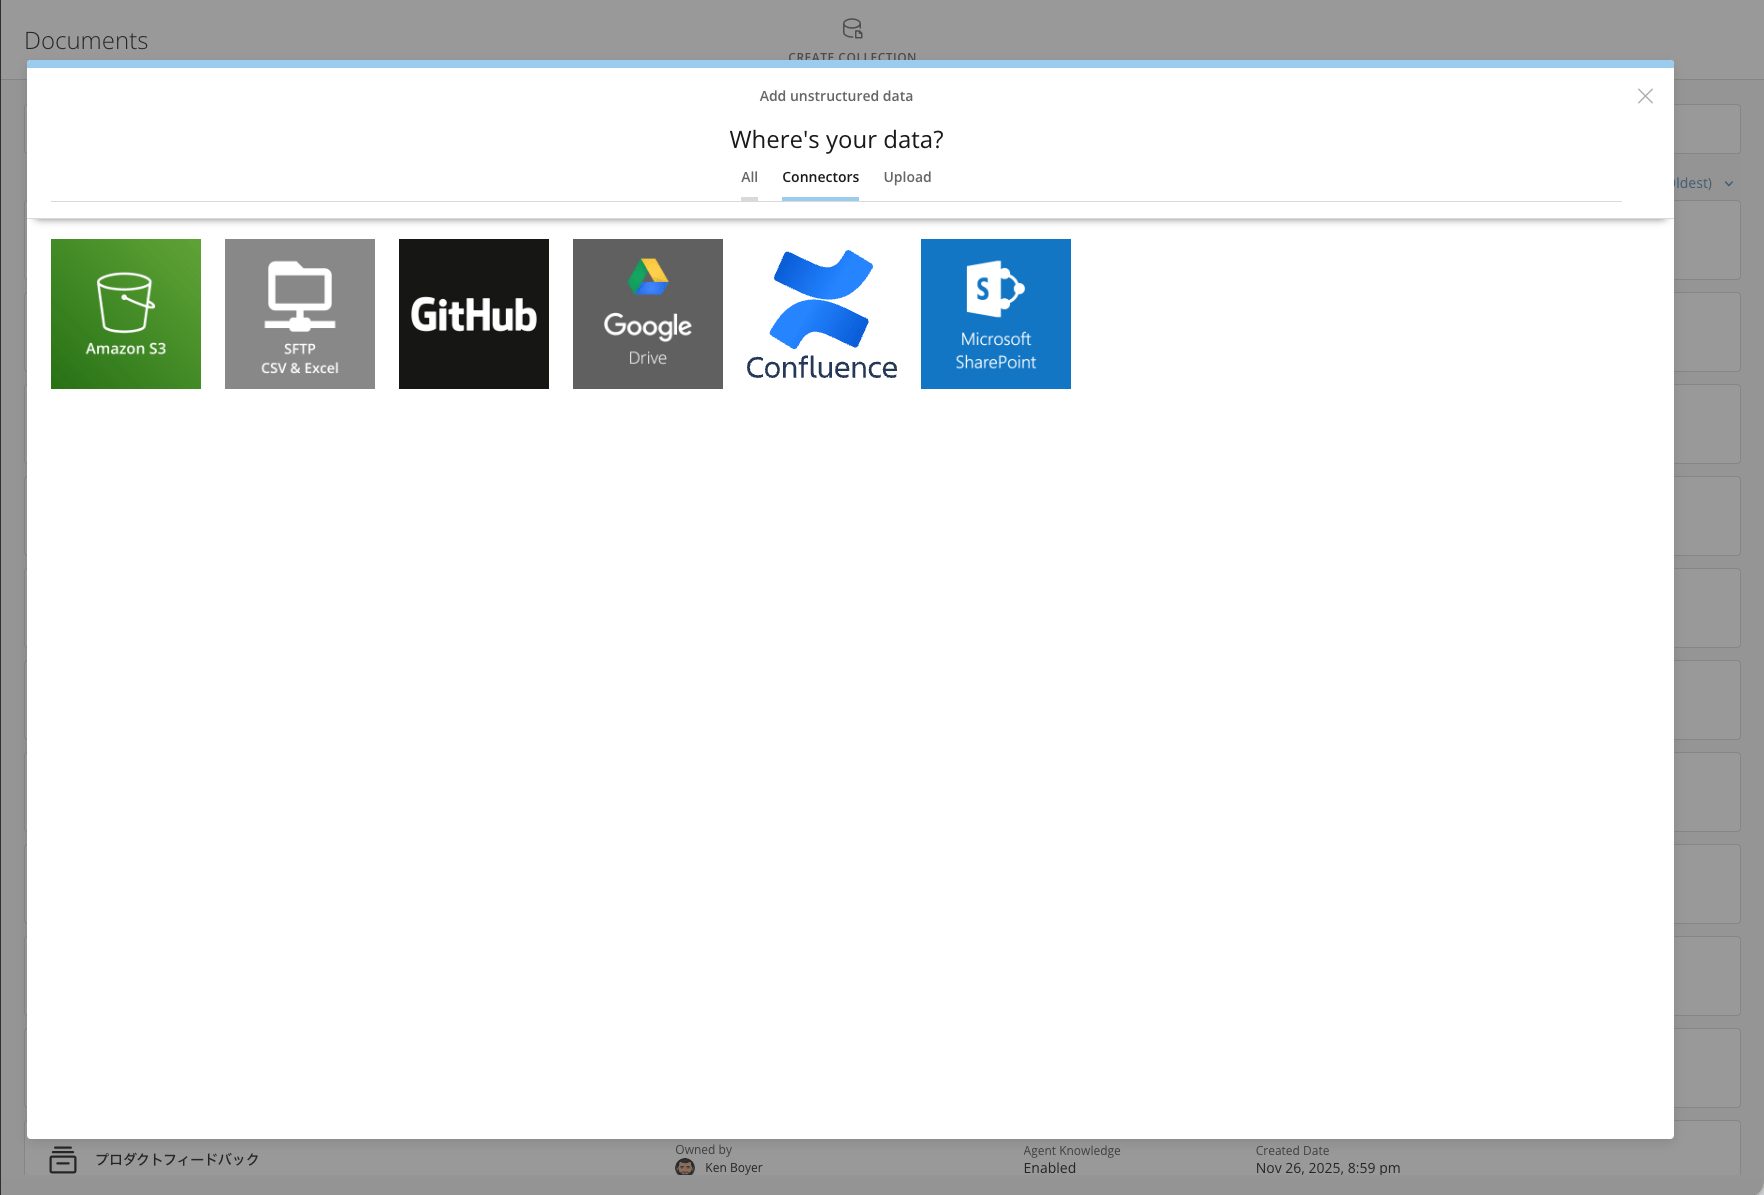
There are two options to bring your unstructured data into Domo: upload files from your computer, or connect via one of our file connectors—Amazon S3, SFTP, GitHub, Google Drive, or Confluence, with more to come.Upload Files
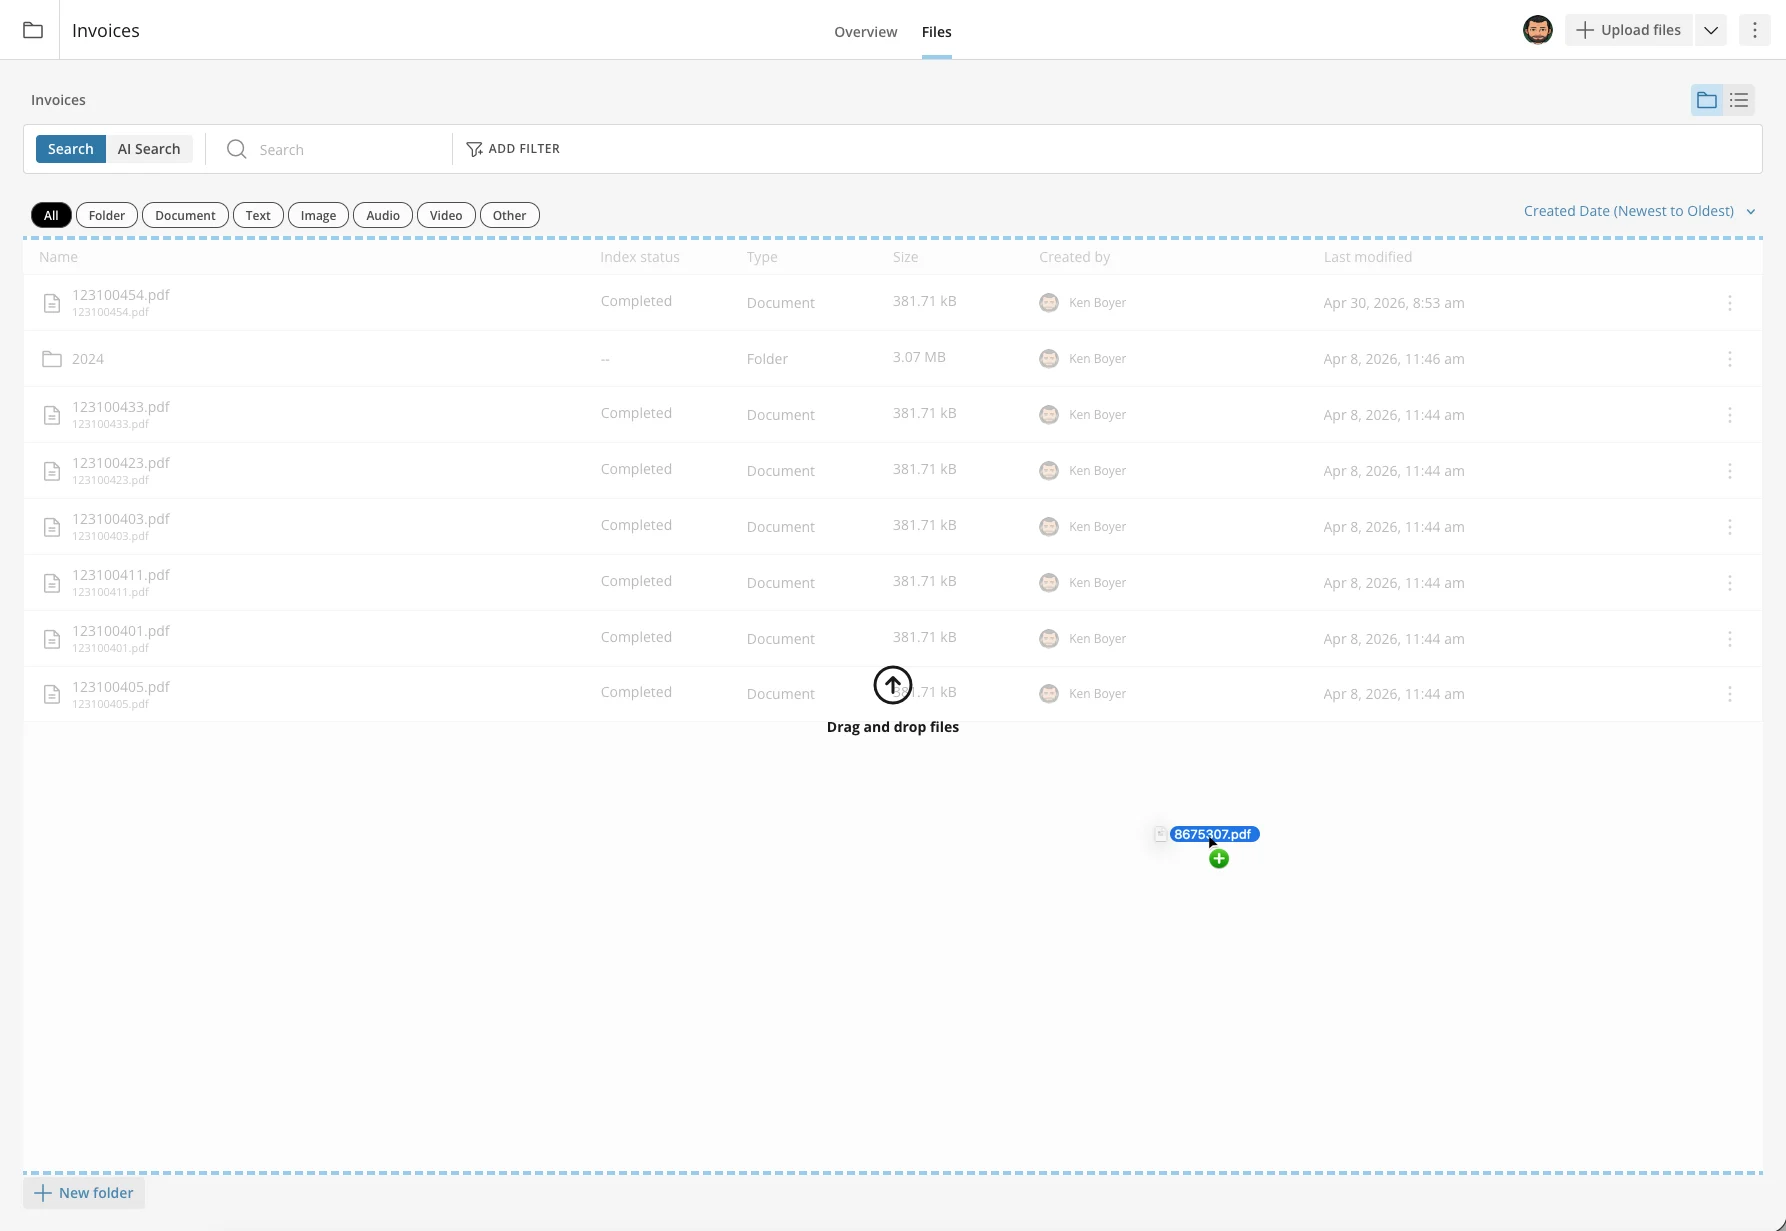
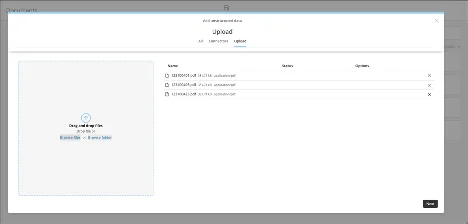
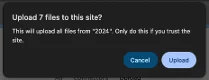
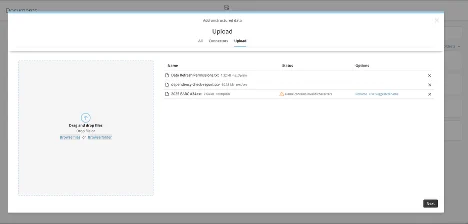
Under the Create Collection menu, choose Upload. You can browse your computer and upload documents or folders into the system.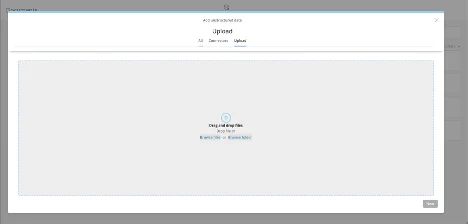
Connect to a Data Source
-
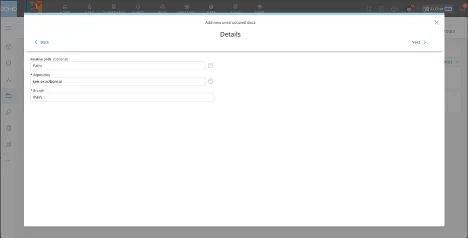
Choose the connector where your data is stored.
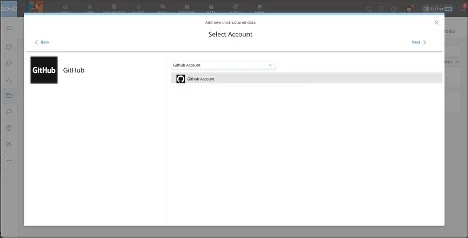
-
Select the appropriate authorized account, or use the simple connect wizard to create the account.
-
Add the appropriate connection details.
-
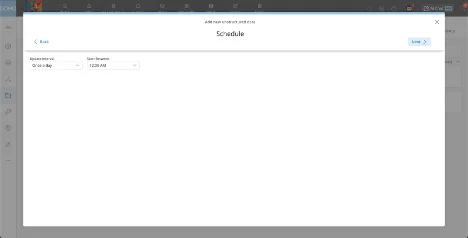
Set up the refresh schedule.
-
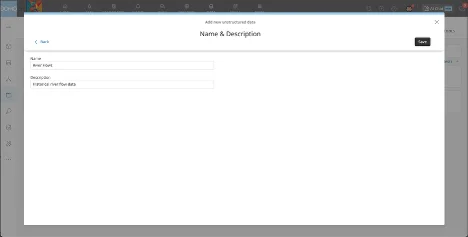
After uploading files or successfully connecting, specify the Document name and description, and then select Save.
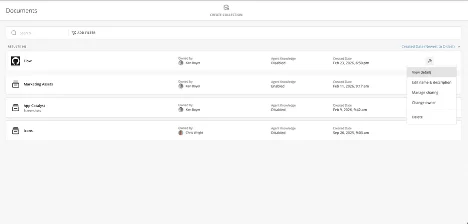
Manage a Document Collection
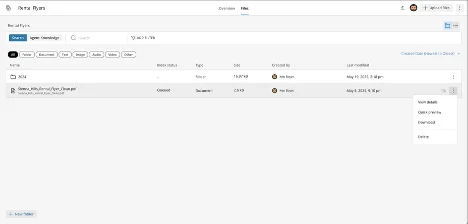
The Document Collection Details menu provides access to settings and actions for managing a collection. The options available depend on whether the collection is powered by a connector or by uploaded files.Manage a Connector-Powered Collection
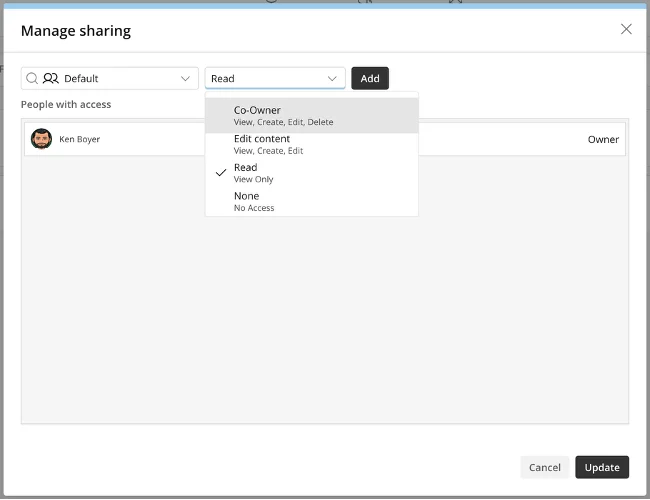
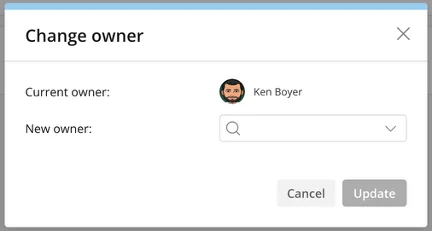
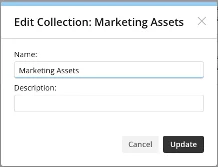
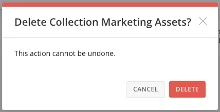
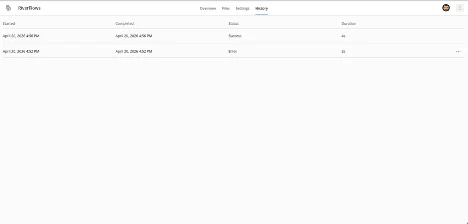
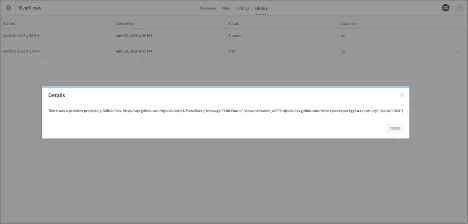
From the Document Collection Details menu, you can enable or disable Agent Knowledge, edit the name and description, manually run the connector, manage sharing, change ownership, and delete a collection. The tabs allow access to see the individual files, connector settings, and run history.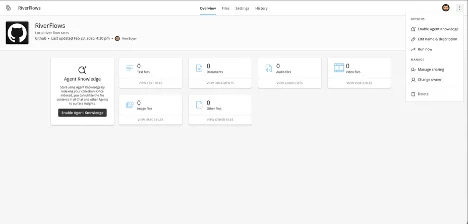

Manage an Uploaded Collection
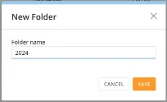
From the Document Collection Details menu, you can enable or disable Agent Knowledge, edit the name and description, create folders, manage sharing, change ownership, and delete a collection.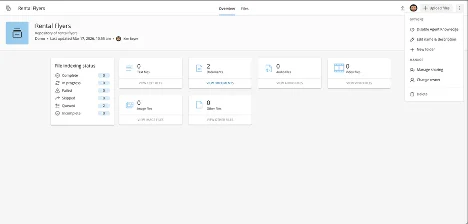

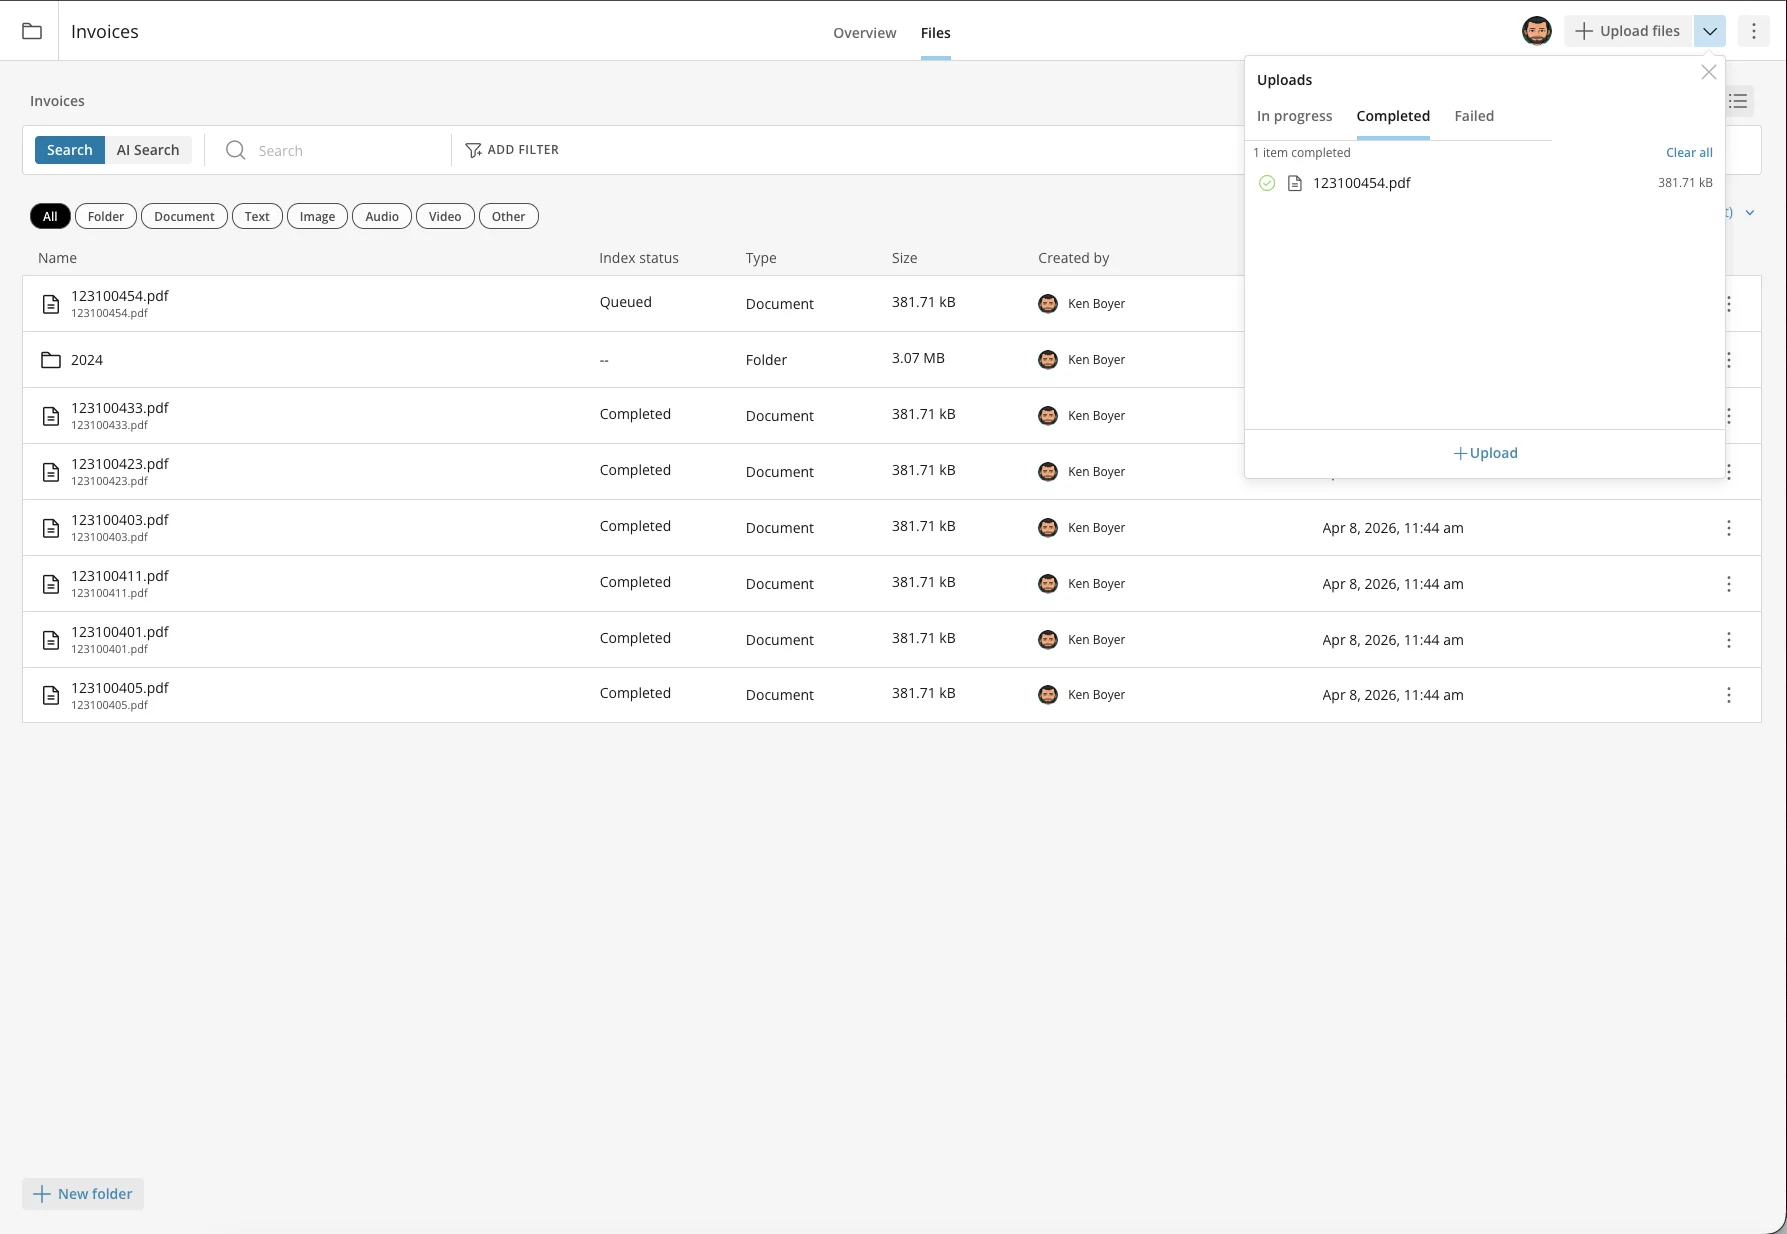
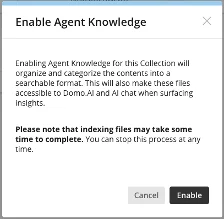
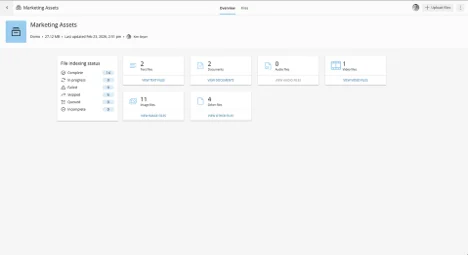
Enable Agent Knowledge
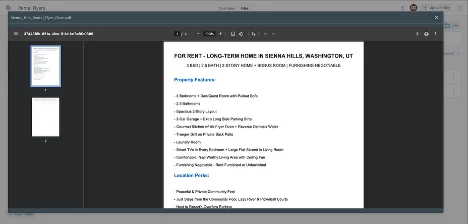
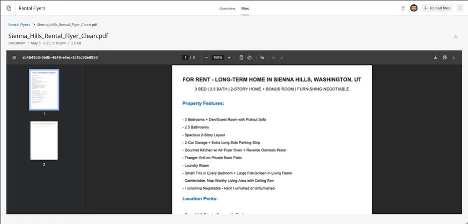
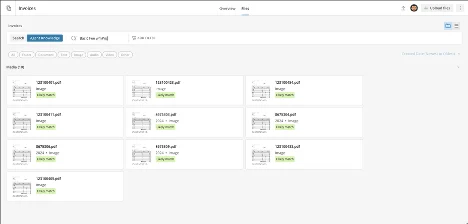
After Agent Knowledge is enabled, you can search the contents of your documents from the listing tab. This also makes your documents accessible to Domo AI and allows AI Chat and other Agents to surface more accurate insights.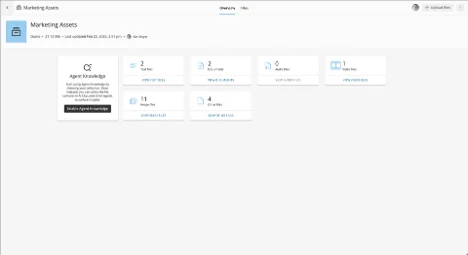
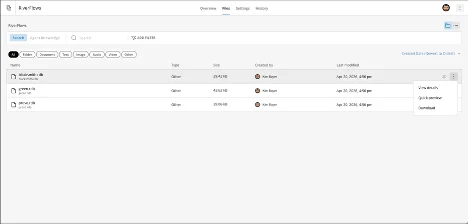
Search Documents
From the listing tab, choose Search to find file name and description matches. Choose Agent Knowledge to search the contents of your files.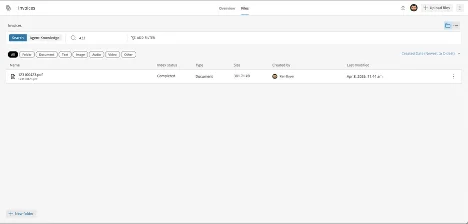
Access Documents from an Agent in Workflows
Agents can fully use Documents as a Tool or Knowledge within the AI Agent Task inside Workflows.- From the Tools tab, select + Add Tools.
- Search for “Documents” and select the DOMO DOCUMENTS package.
- Choose the AI Search File Set method.
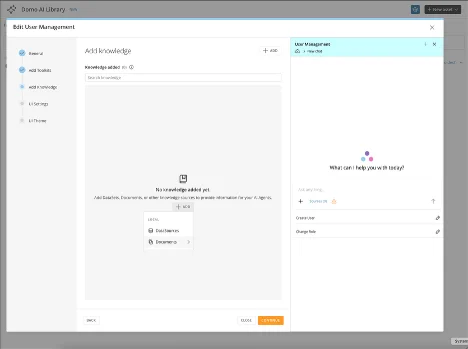
Access Documents from an Agent in the AI Library
Access Documents from an Agent in Magic ETL
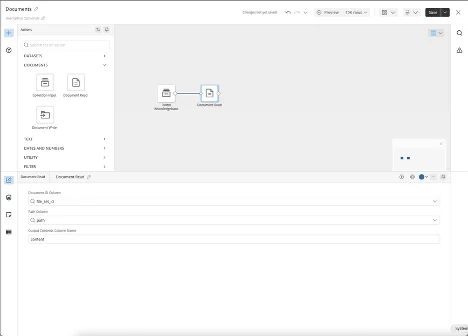
Within Magic ETL, you can use a Document Collection as an input to other tiles, or read and write files into collections.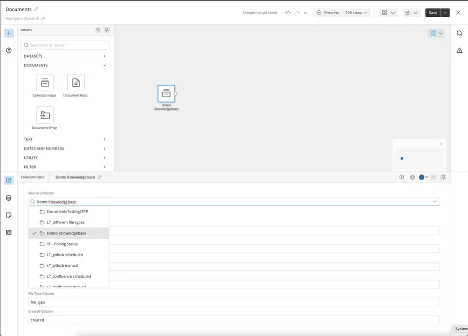
FAQ
Is there a file size upload limit?
Is there a file size upload limit?
What type of files are supported for Agent Knowledge?
What type of files are supported for Agent Knowledge?
Is there an Agent Knowledge (adding files to a Vector DB) file size limit?
Is there an Agent Knowledge (adding files to a Vector DB) file size limit?
How many documents can I have?
How many documents can I have?
If I have documents in a cloud service like Google Drive, can I easily connect them to Documents for automatic uploads like a Domo connector?
If I have documents in a cloud service like Google Drive, can I easily connect them to Documents for automatic uploads like a Domo connector?
After I have the documents uploaded, where do I find them? Can I access them with AI Chat?
After I have the documents uploaded, where do I find them? Can I access them with AI Chat?
Can I create a visualization from a Document in a dashboard or App Studio app?
Can I create a visualization from a Document in a dashboard or App Studio app?
How do I manage access to Documents, both for uploading permissions and for usage?
How do I manage access to Documents, both for uploading permissions and for usage?
What does consumption look like for Documents? Is it per upload, per view, or per usage in other parts of the platform? Is there a storage cost?
What does consumption look like for Documents? Is it per upload, per view, or per usage in other parts of the platform? Is there a storage cost?
Will I be able to use Documents with the Magic ETL Text Generation tile?
Will I be able to use Documents with the Magic ETL Text Generation tile?