Intro
This article explains how to use the AI Library to create Toolkits, build custom Agents with AI Agent Builder, and configure Agents for use across the Domo platform.Required Grants
To access the AI Library, the following grants must be enabled for your role:- Use AI Services — Access to features and Apps built using the AI Services Layer.
- Use AI Chat — Access to the Domo AI Assistant.
- Manage Conversational Agents — View, edit, and delete any Conversational Agent feature in this instance.
- Manage Toolkits — View, edit, and delete any Toolkit feature in this instance.
Access the AI Library
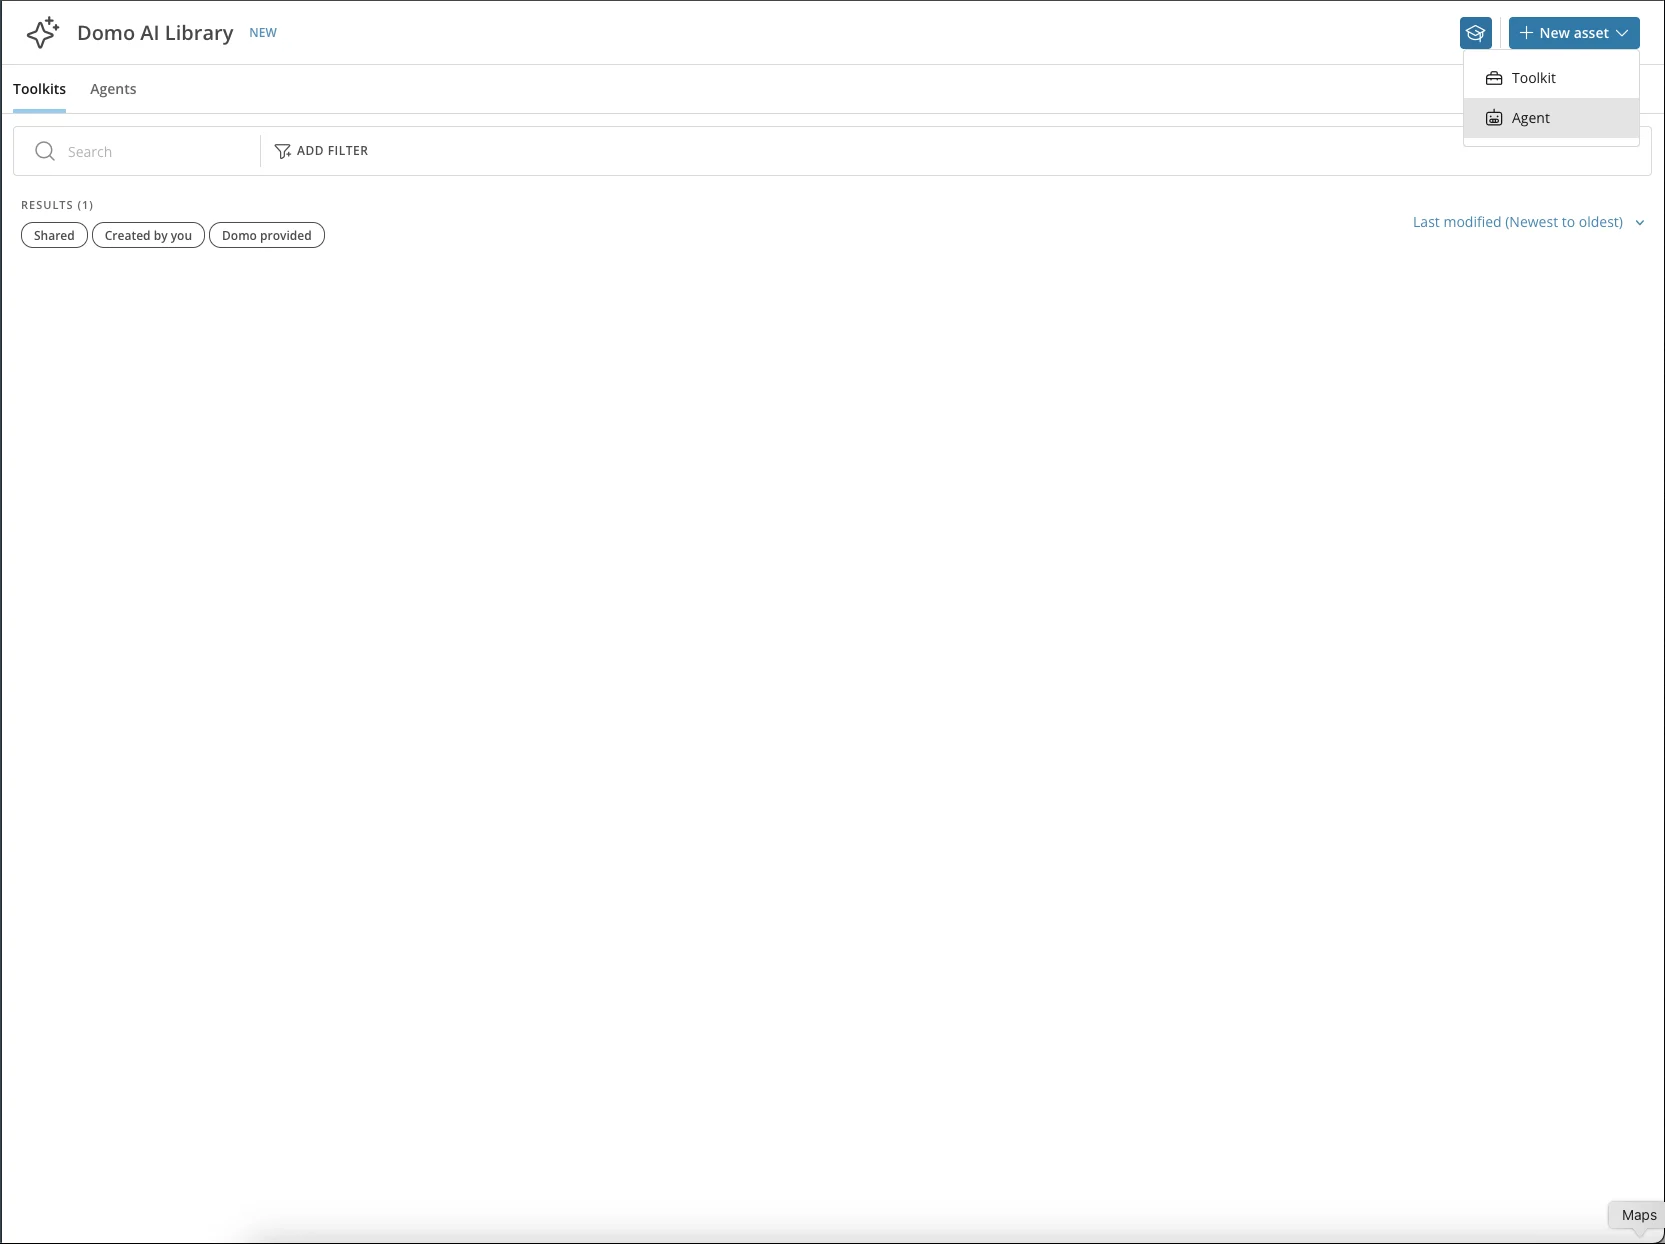
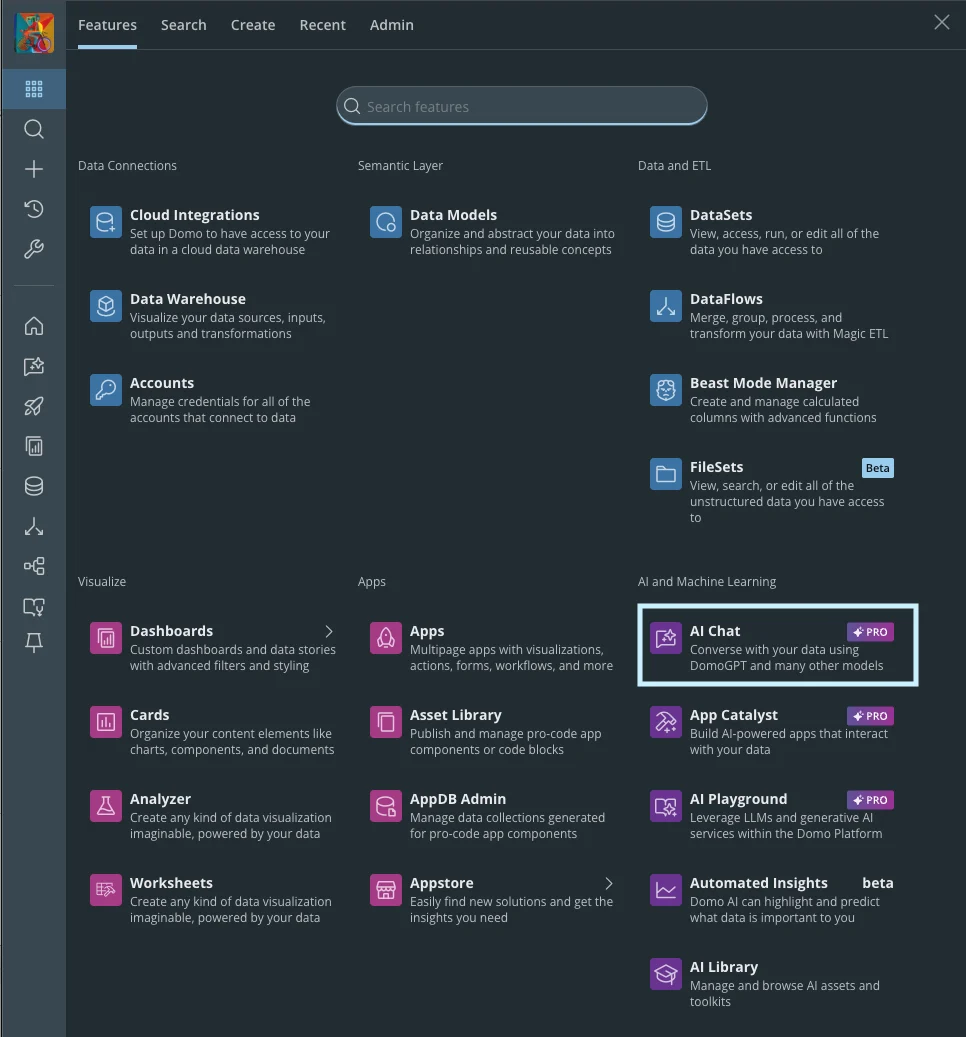
The AI Library can be found under the AI and Machine Learning navigation section.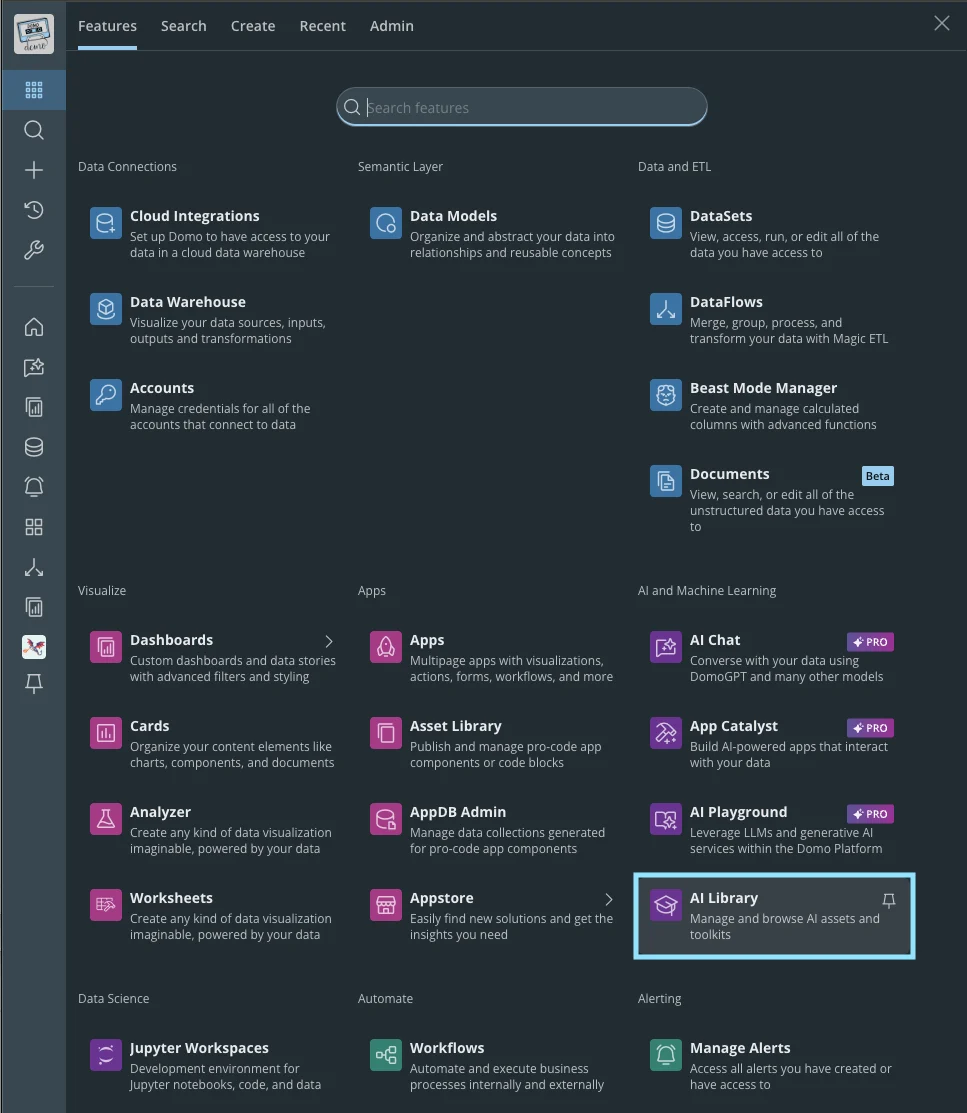
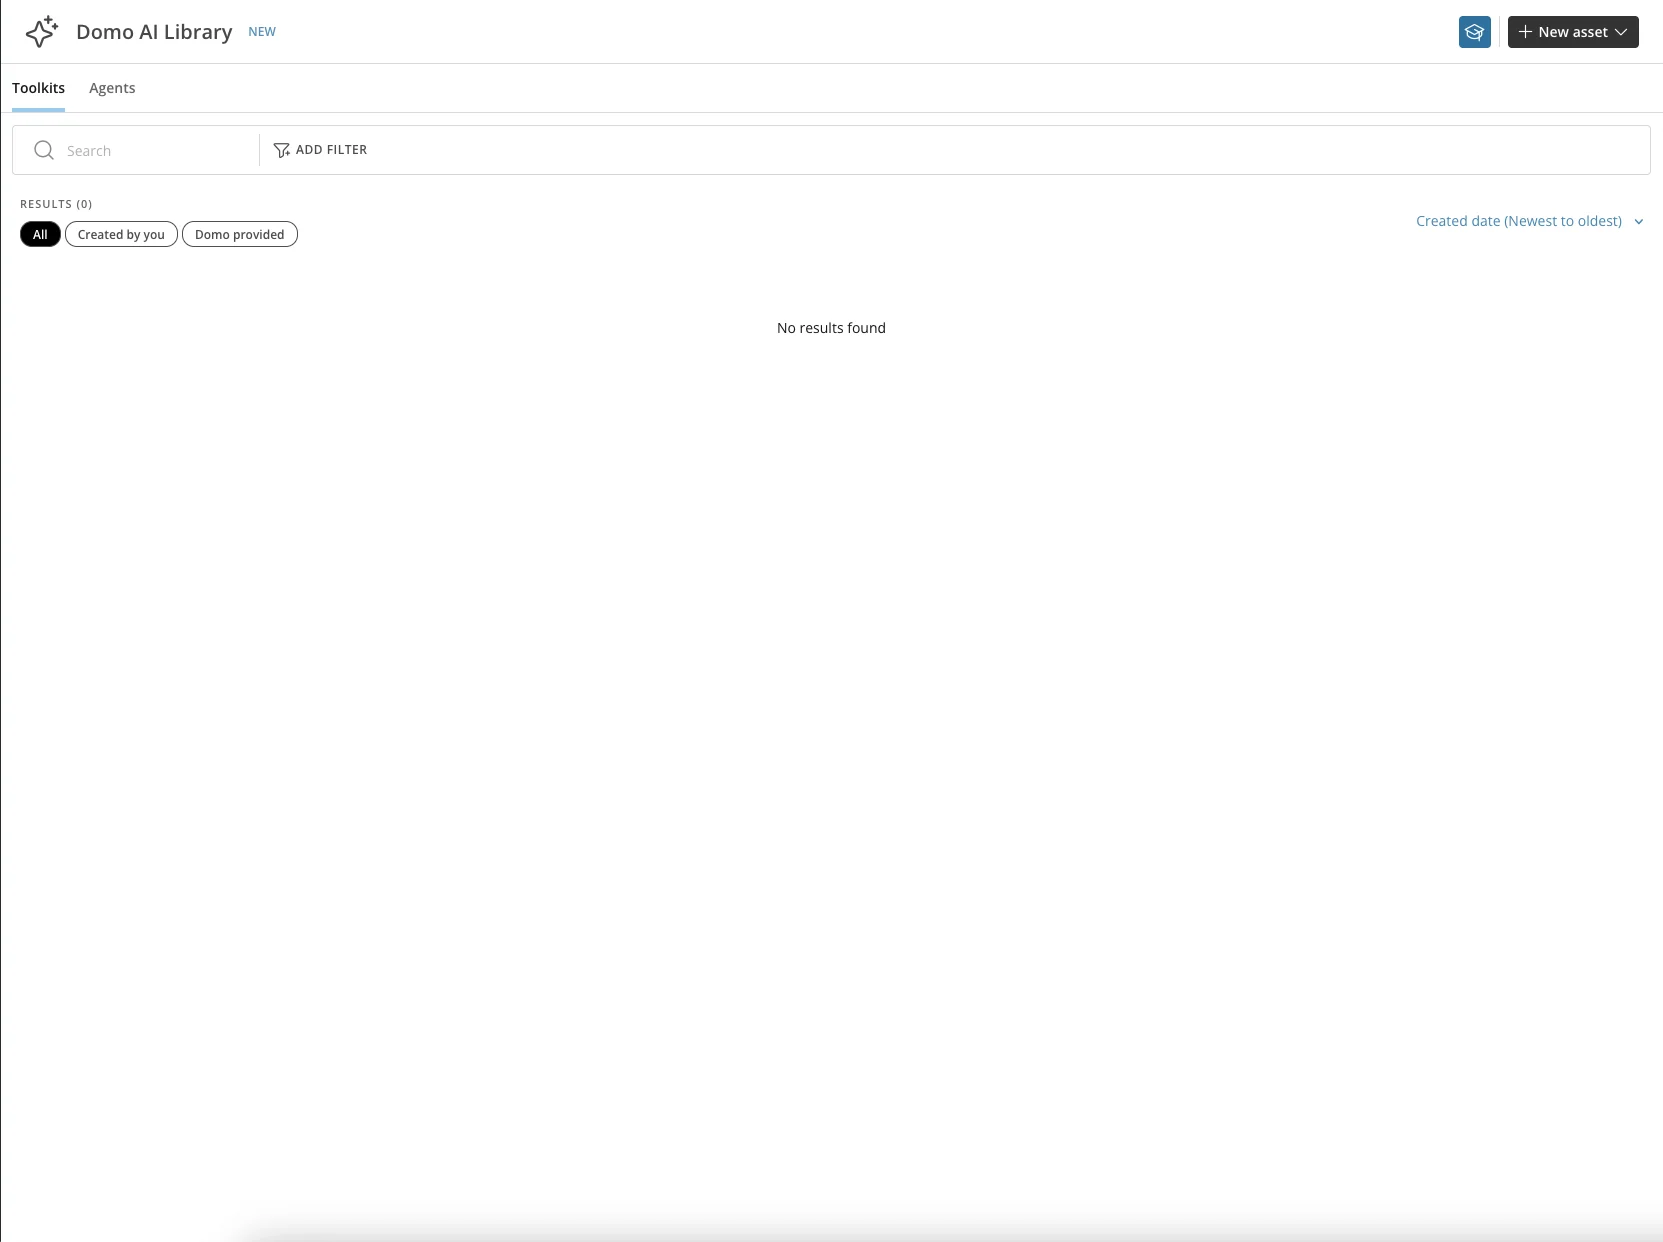
Create a Toolkit
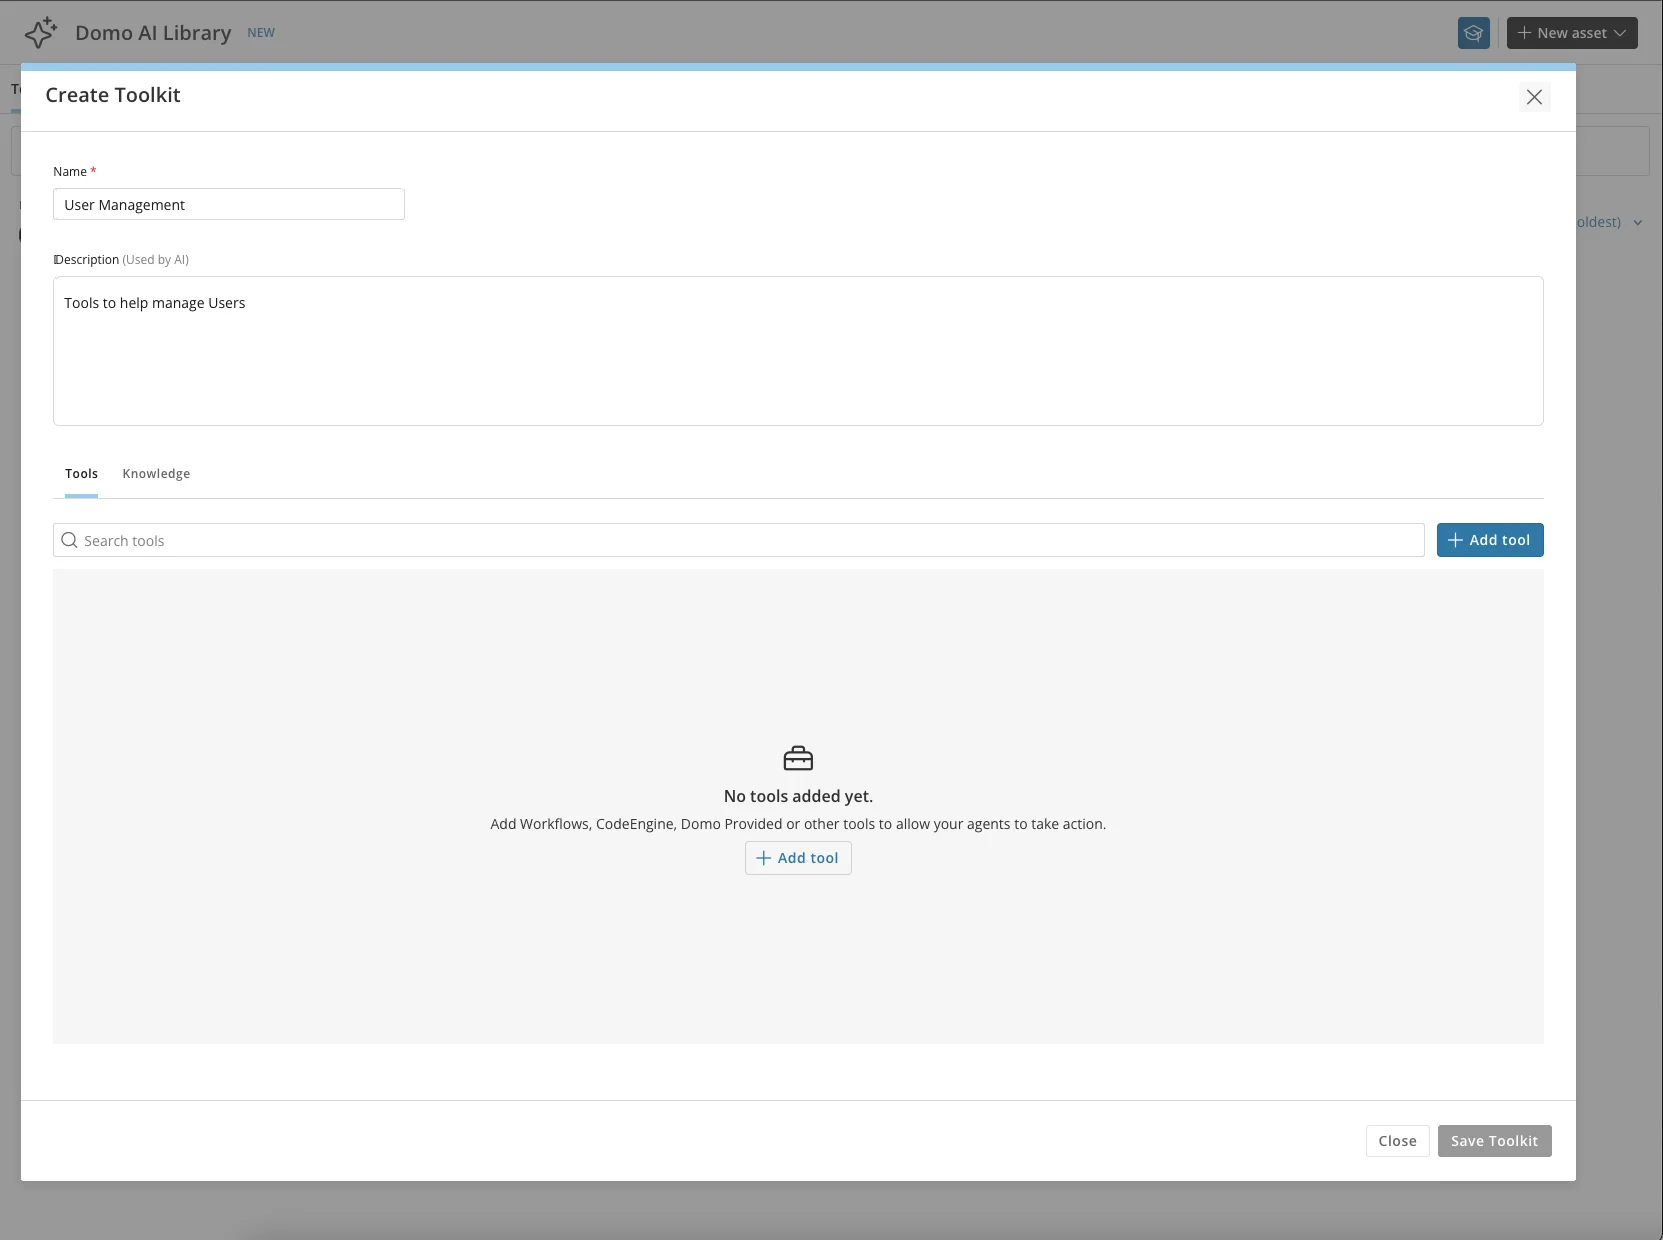
The following steps walk through creating a Toolkit to support a User Management Agent.-
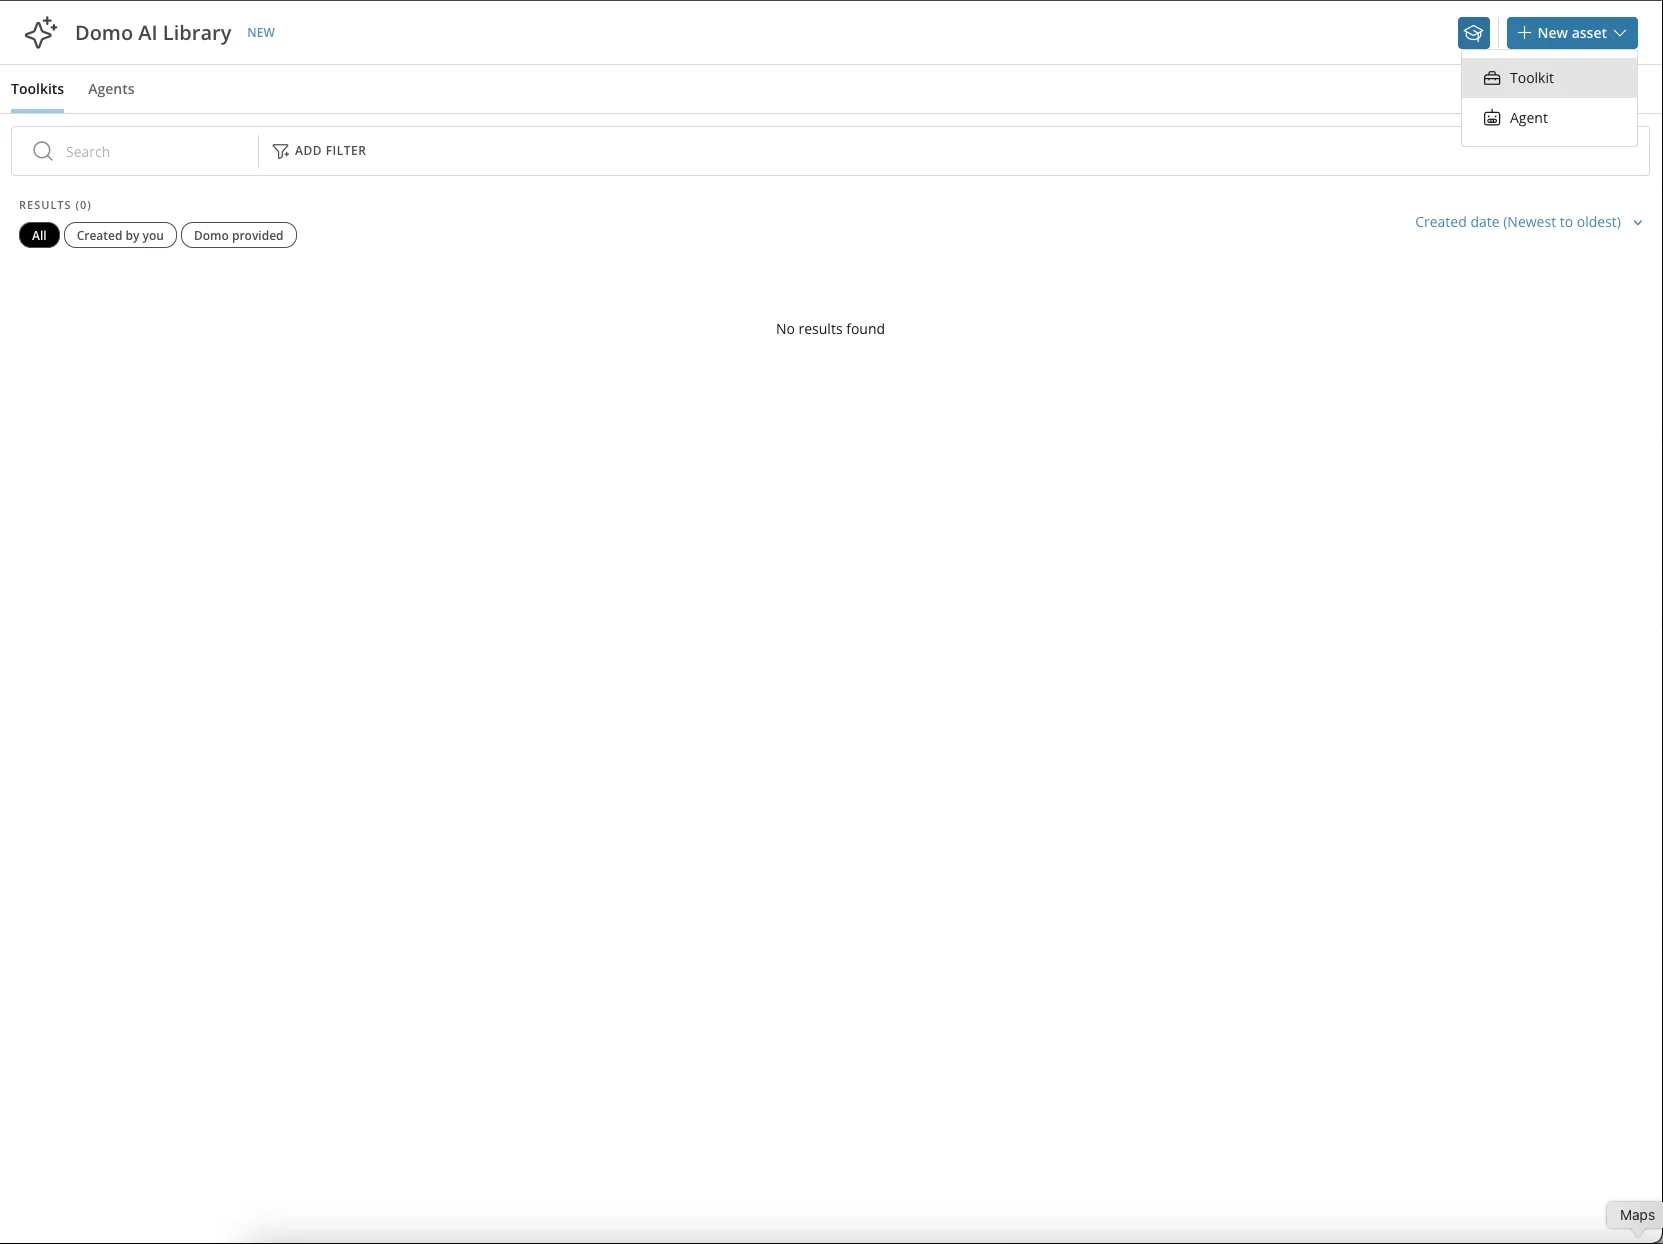
From the New Asset menu, choose Toolkit.
-
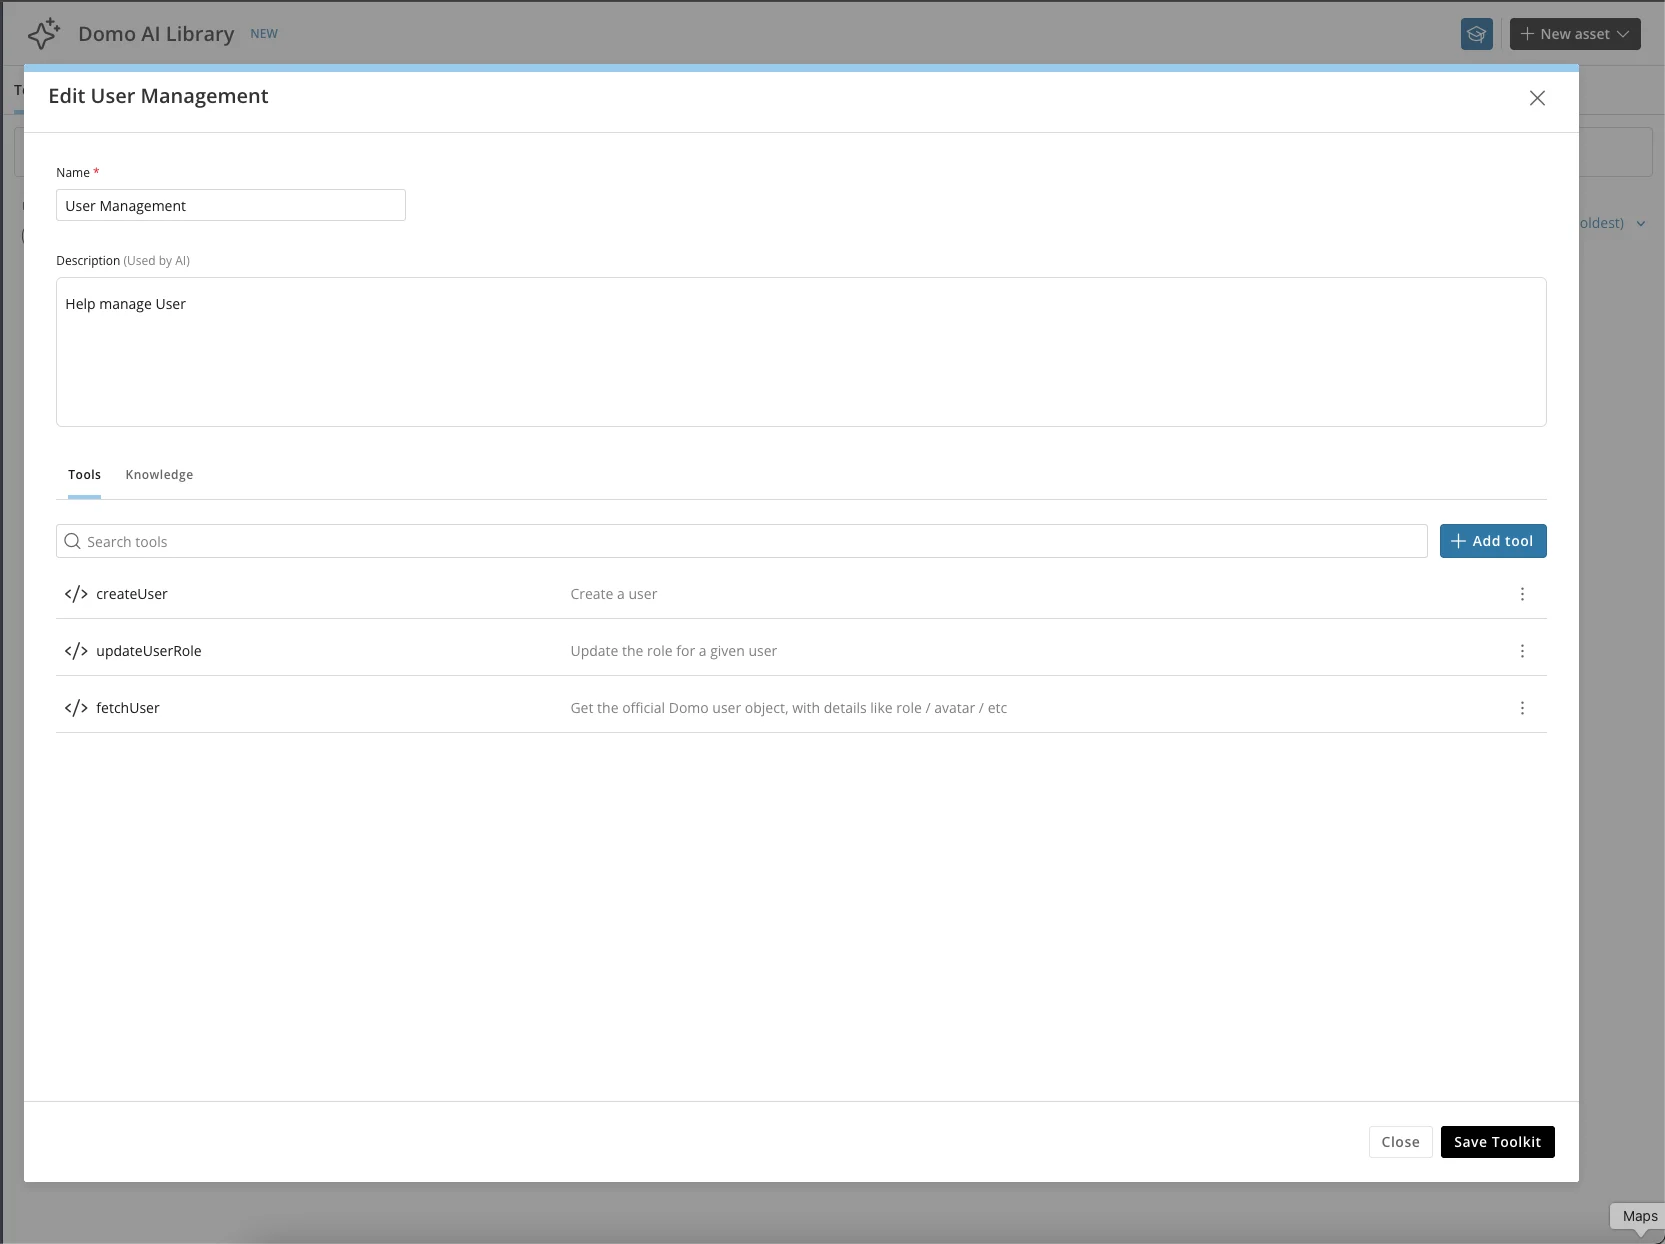
Give the Toolkit a name and description. For this example, enter User Management as the name and Tools to help manage Users as the description.
-
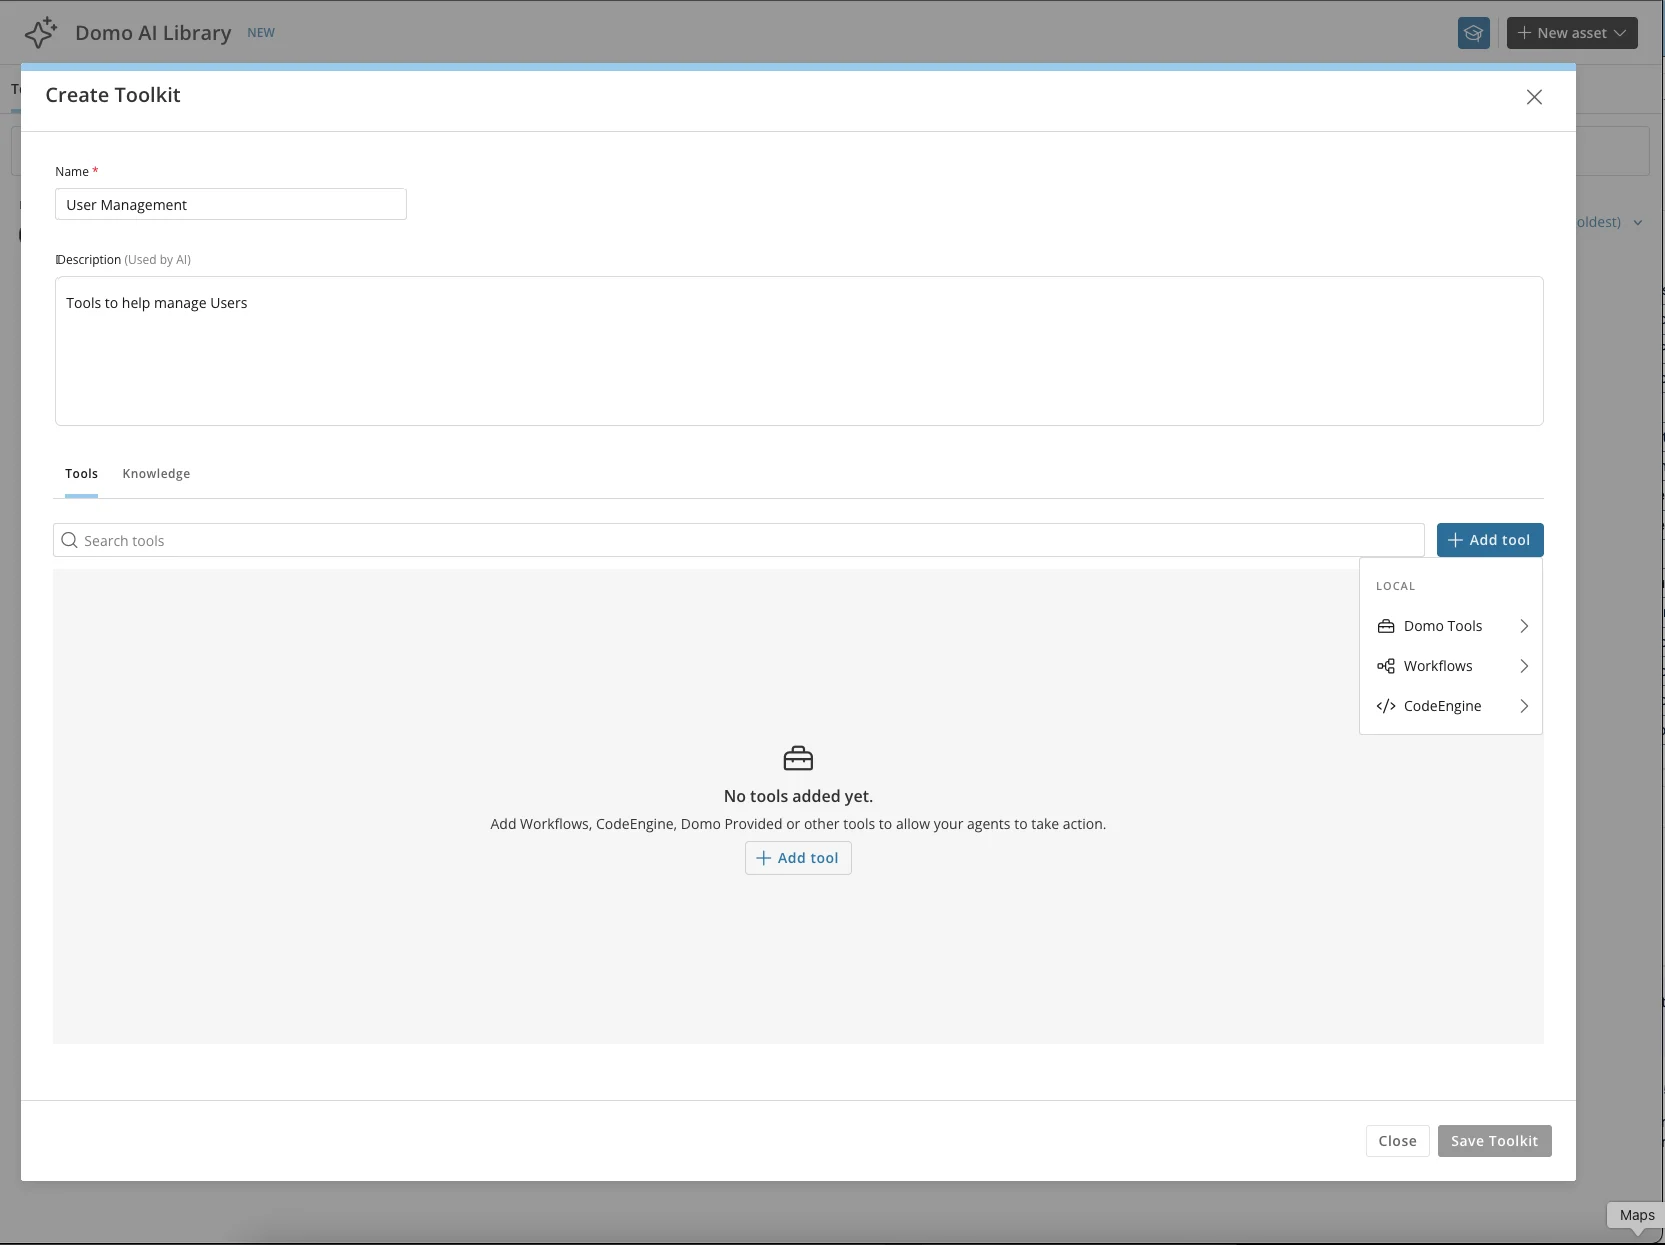
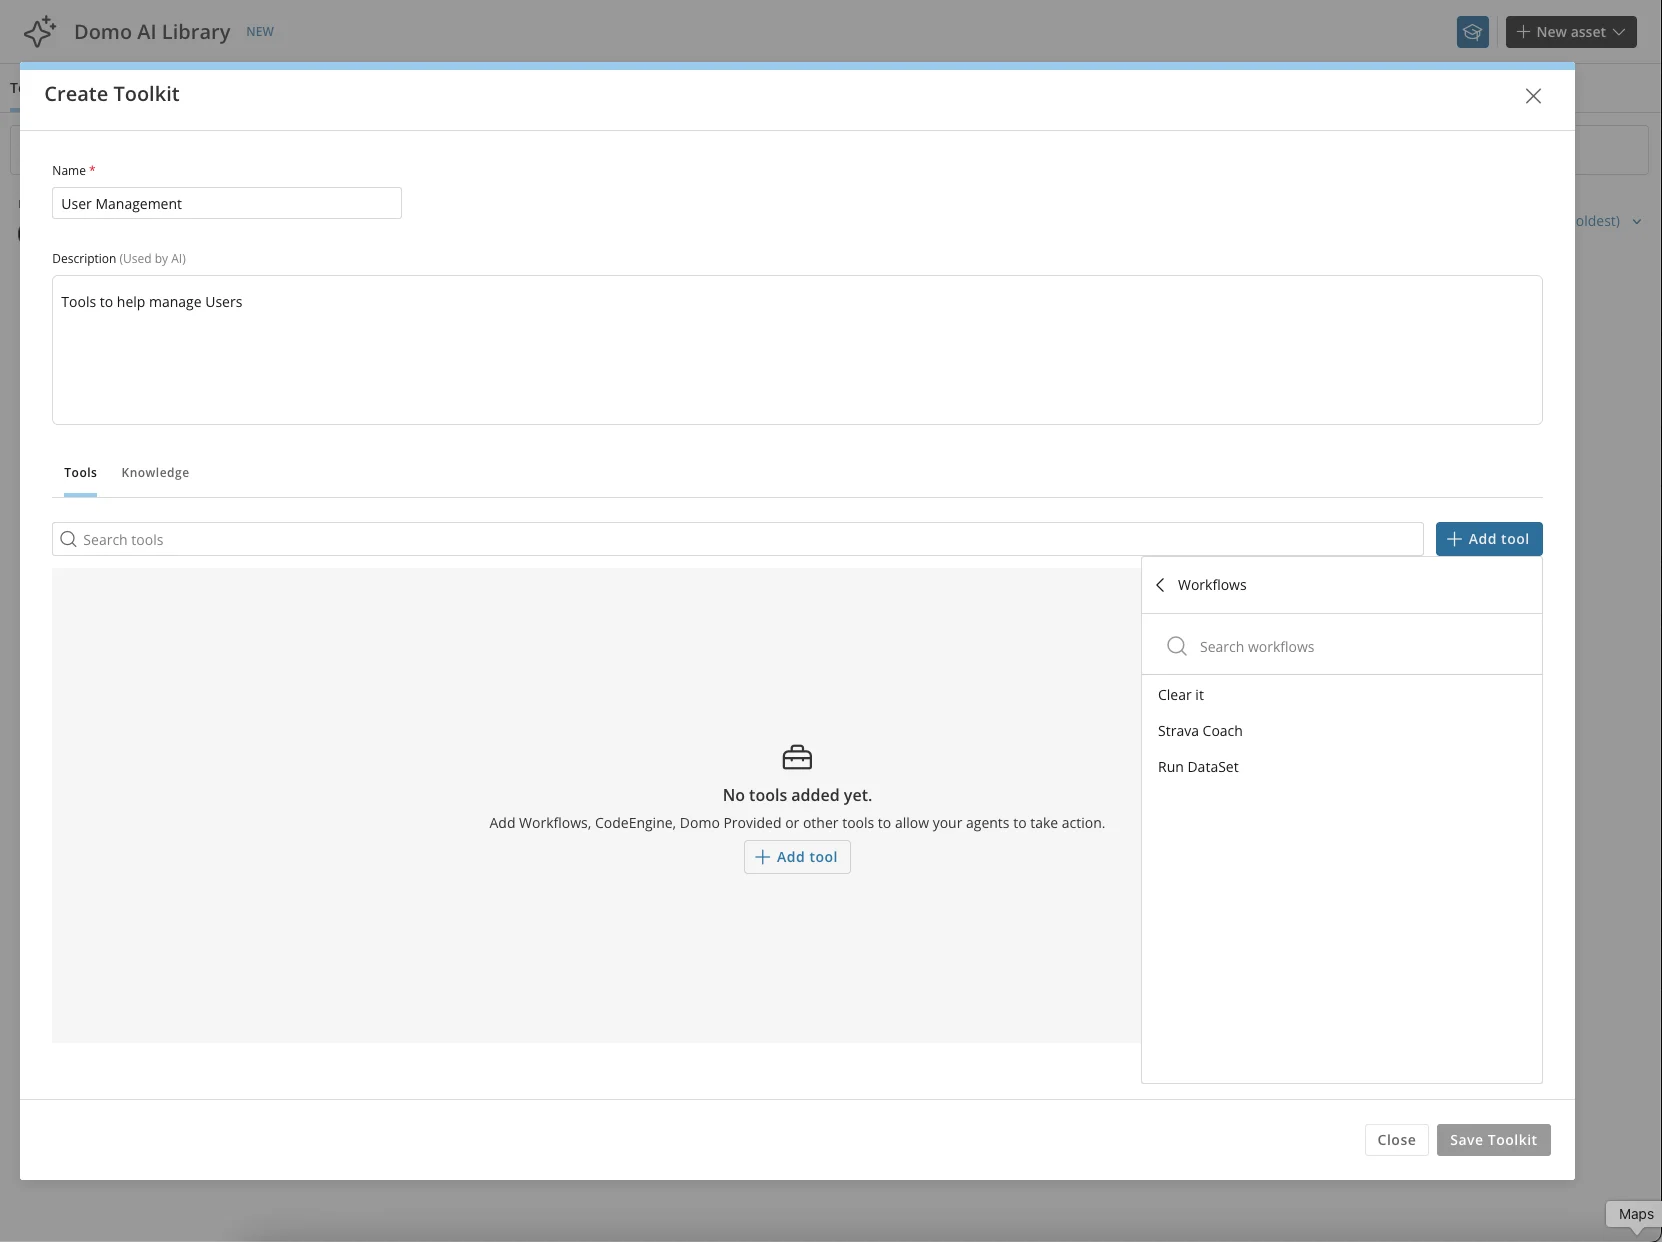
Under the Add Tools menu, choose between Domo-provided tools, Workflows, or Code Engine functions. Choosing Domo Tools or Workflows lists all Workflows you have access to.
-
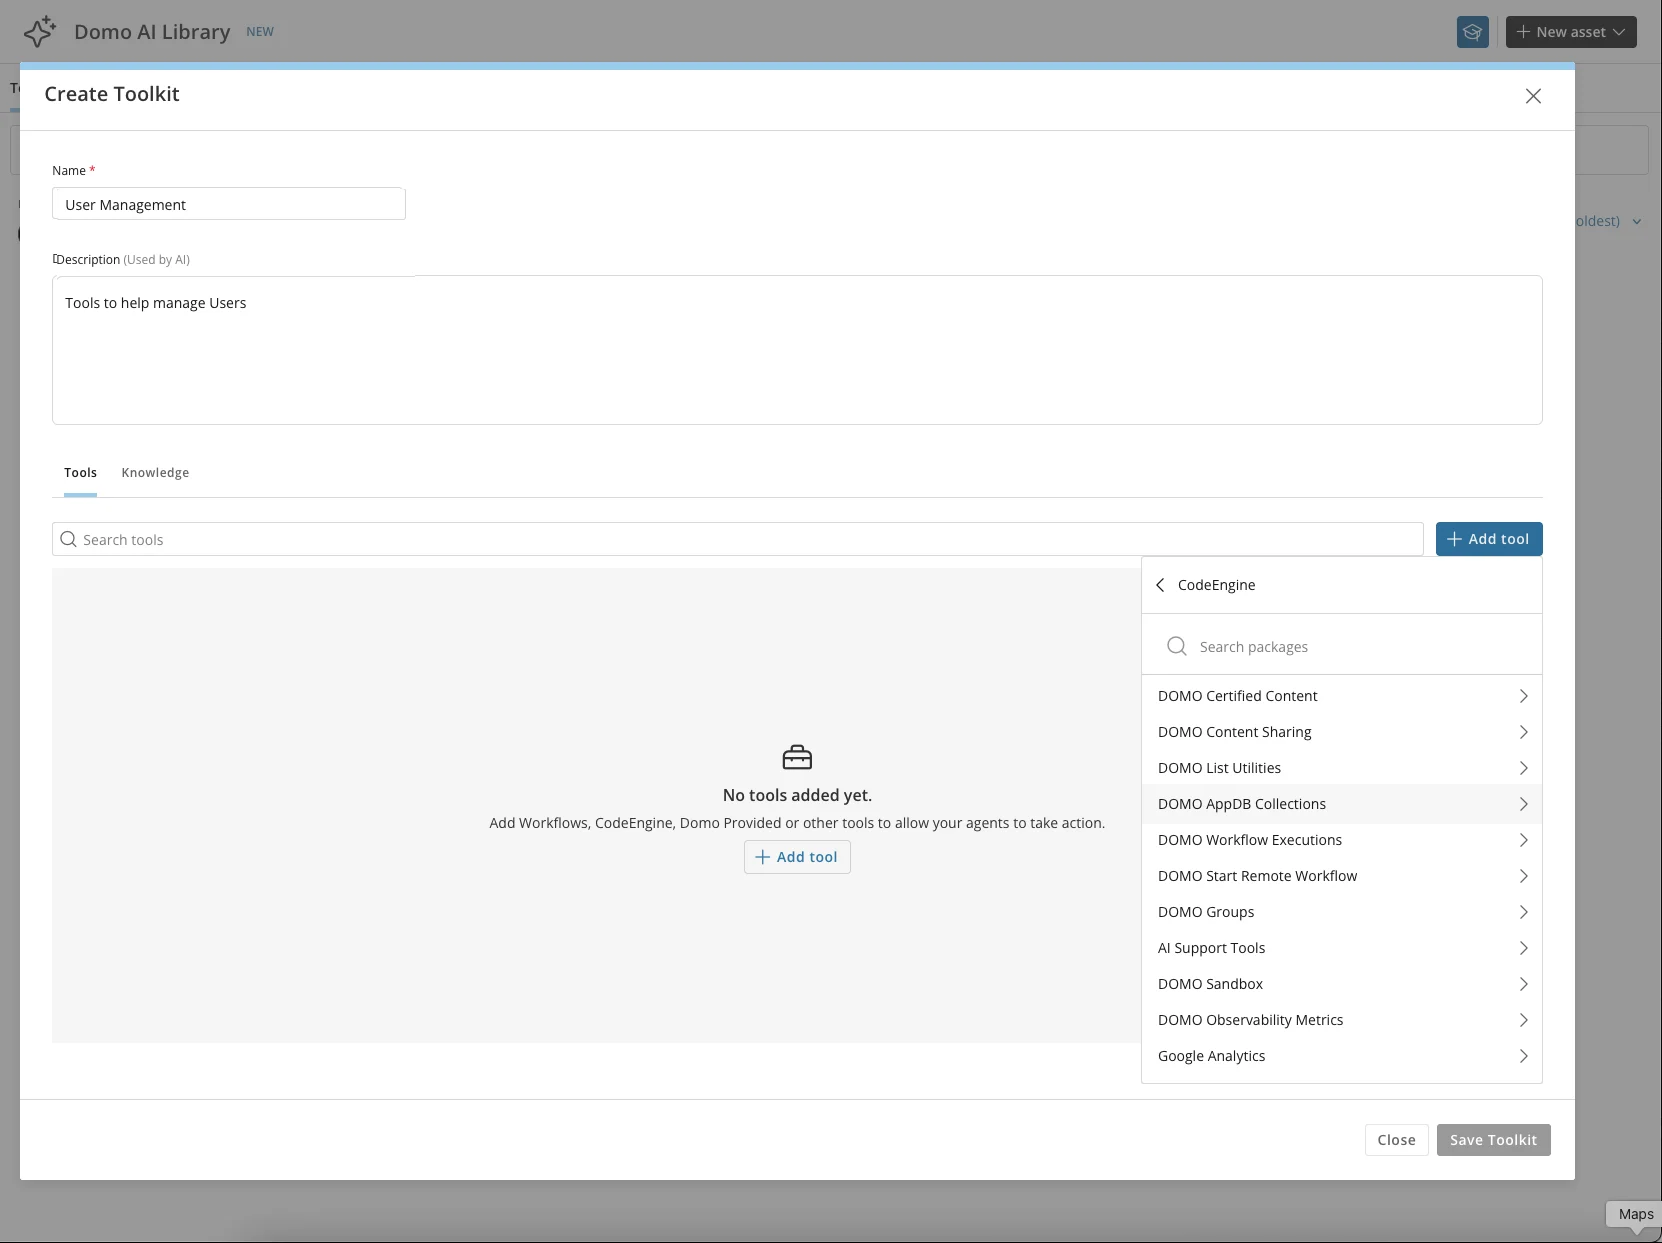
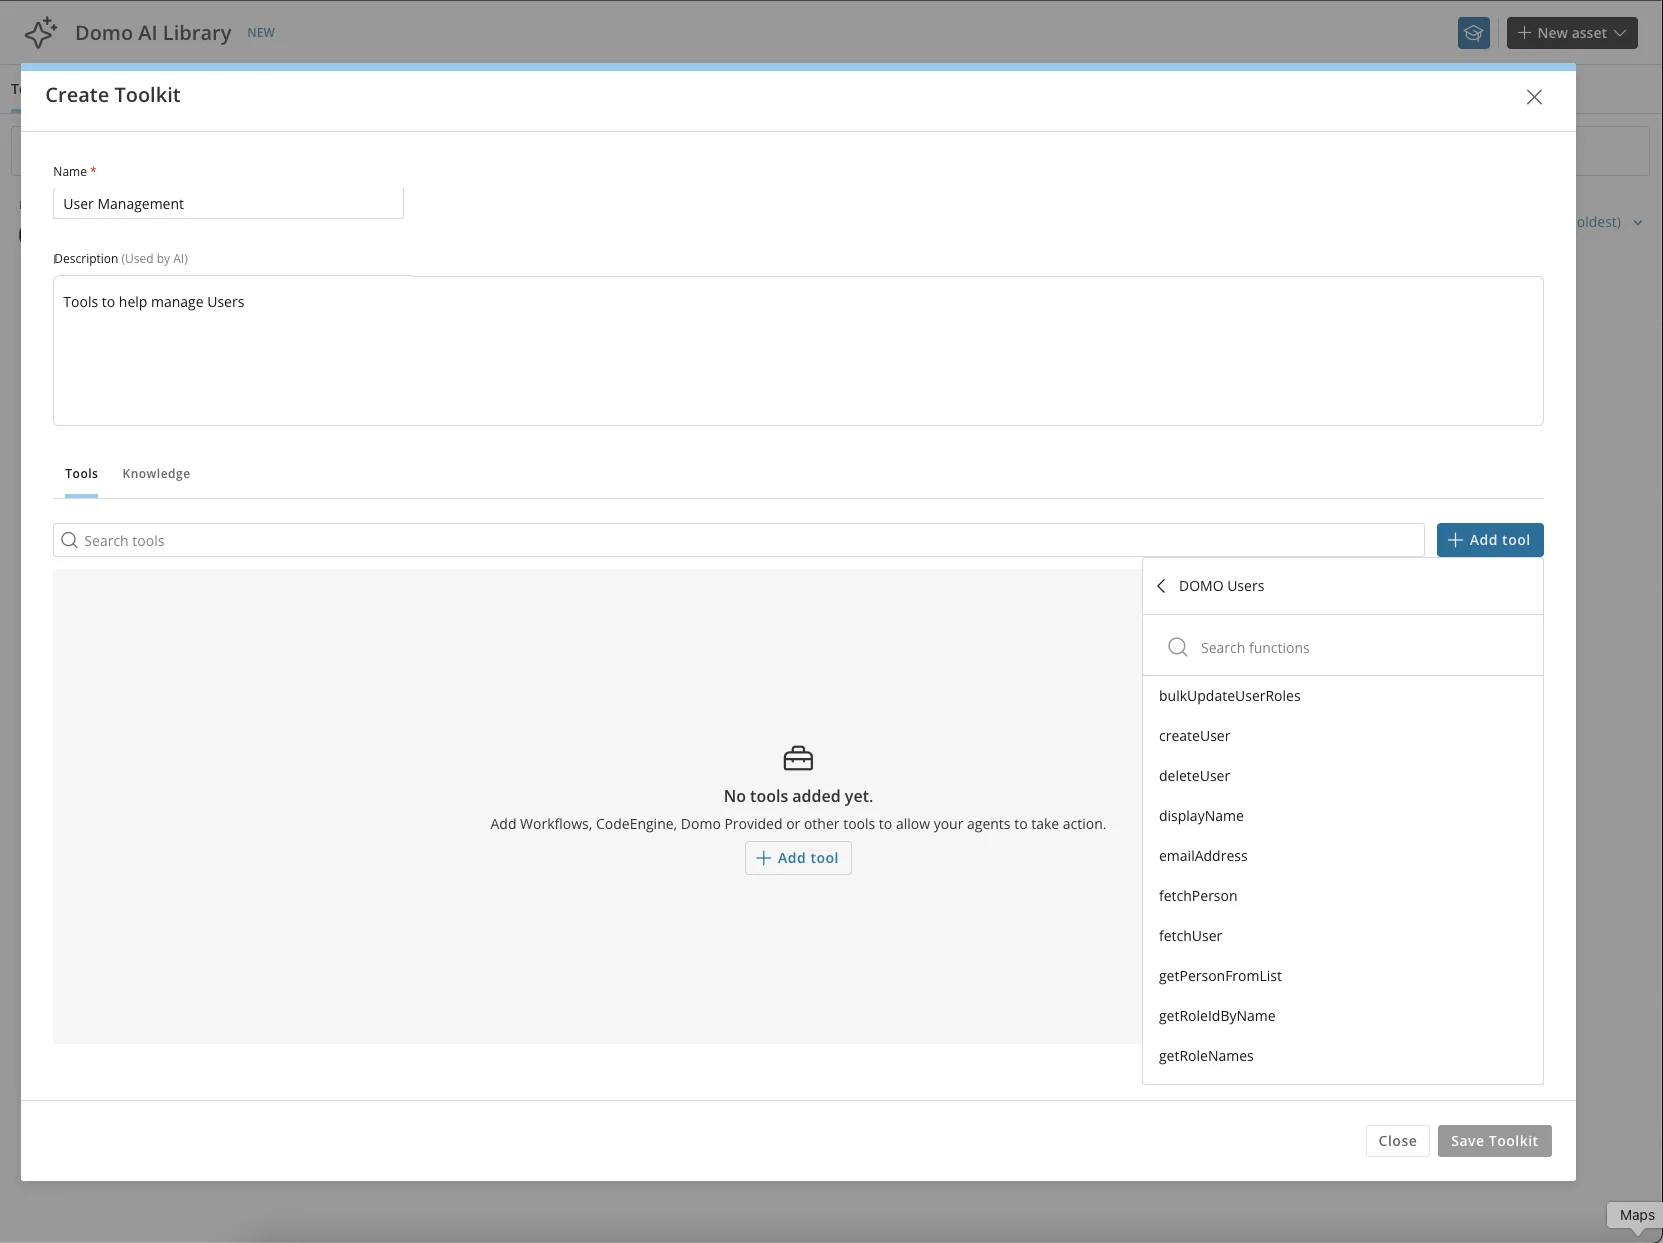
Choose Code Engine and search for the DOMO User’s package.
-
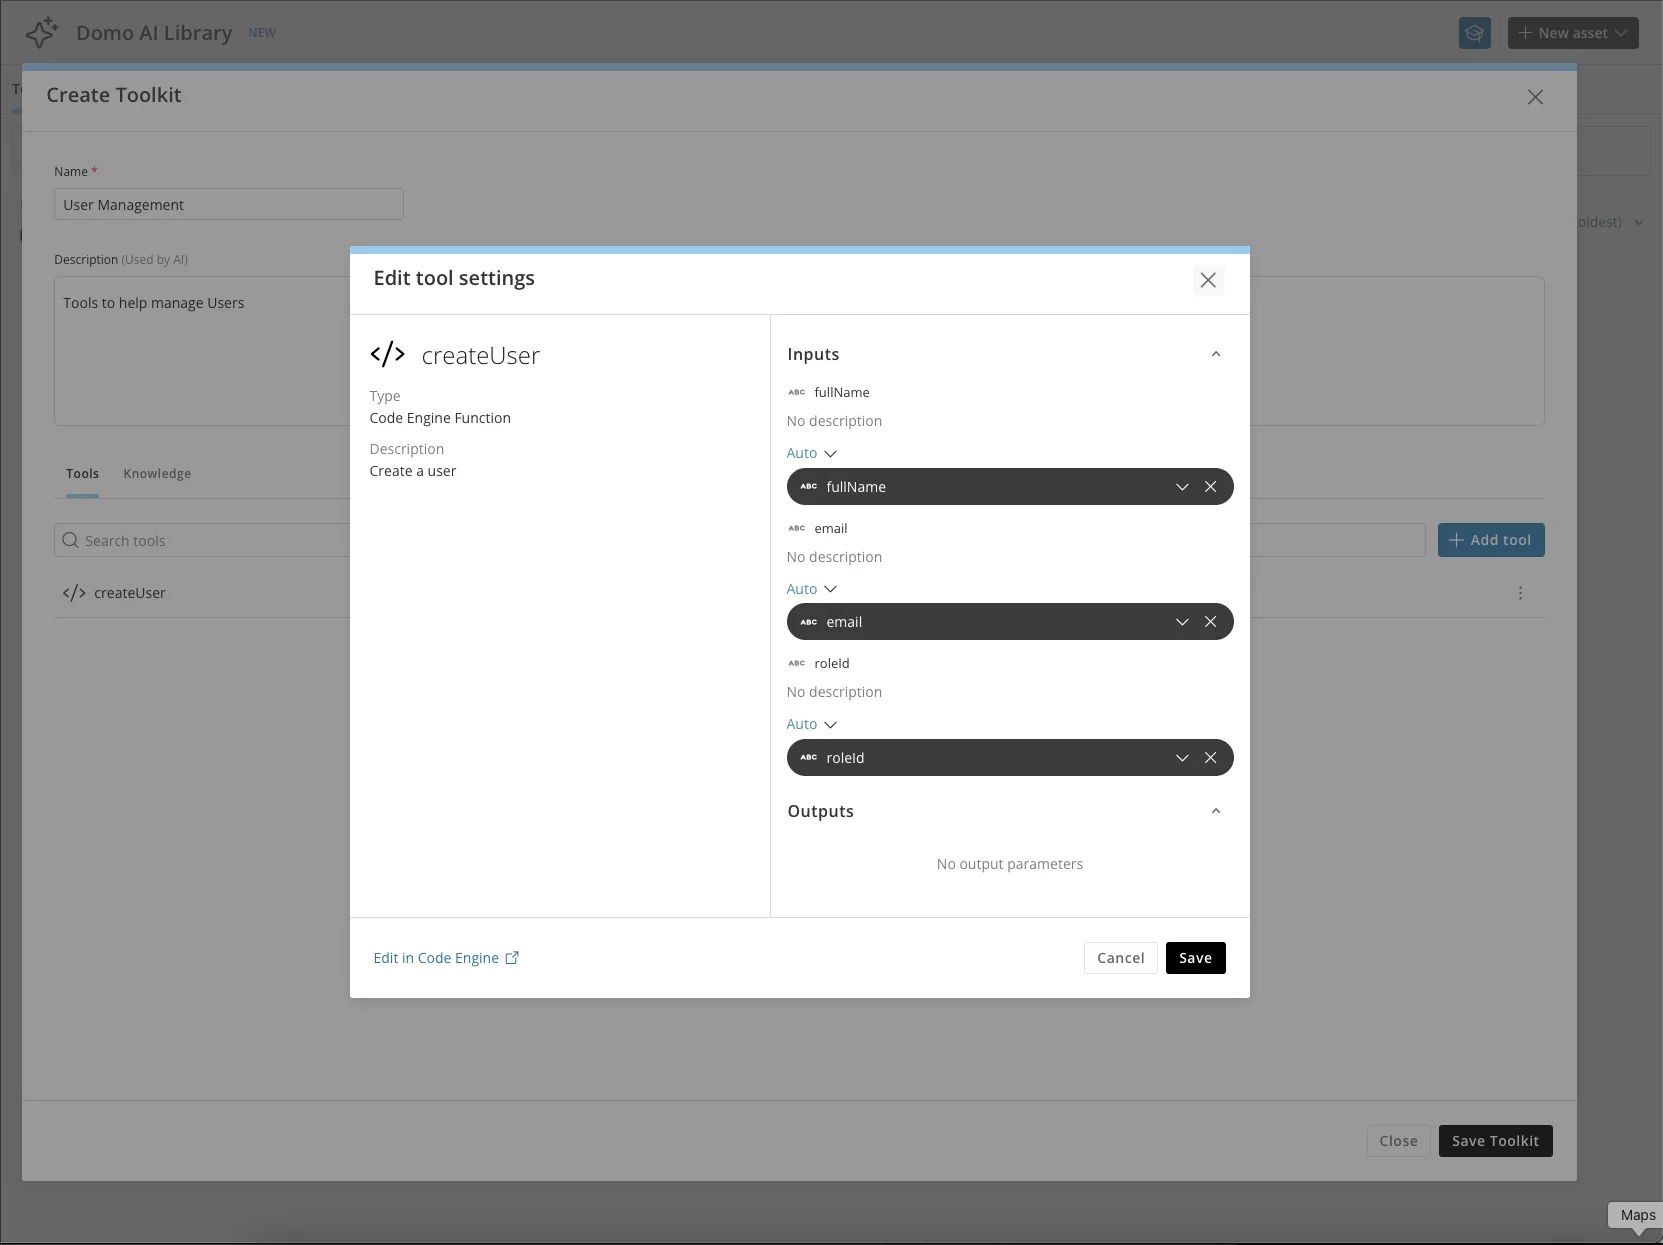
From the DOMO User’s package, select the createUser, updateUserRole, and fetchUser functions.
-
Save the Toolkit.

Manage Toolkits
From the Toolkit menu, you can perform the following actions: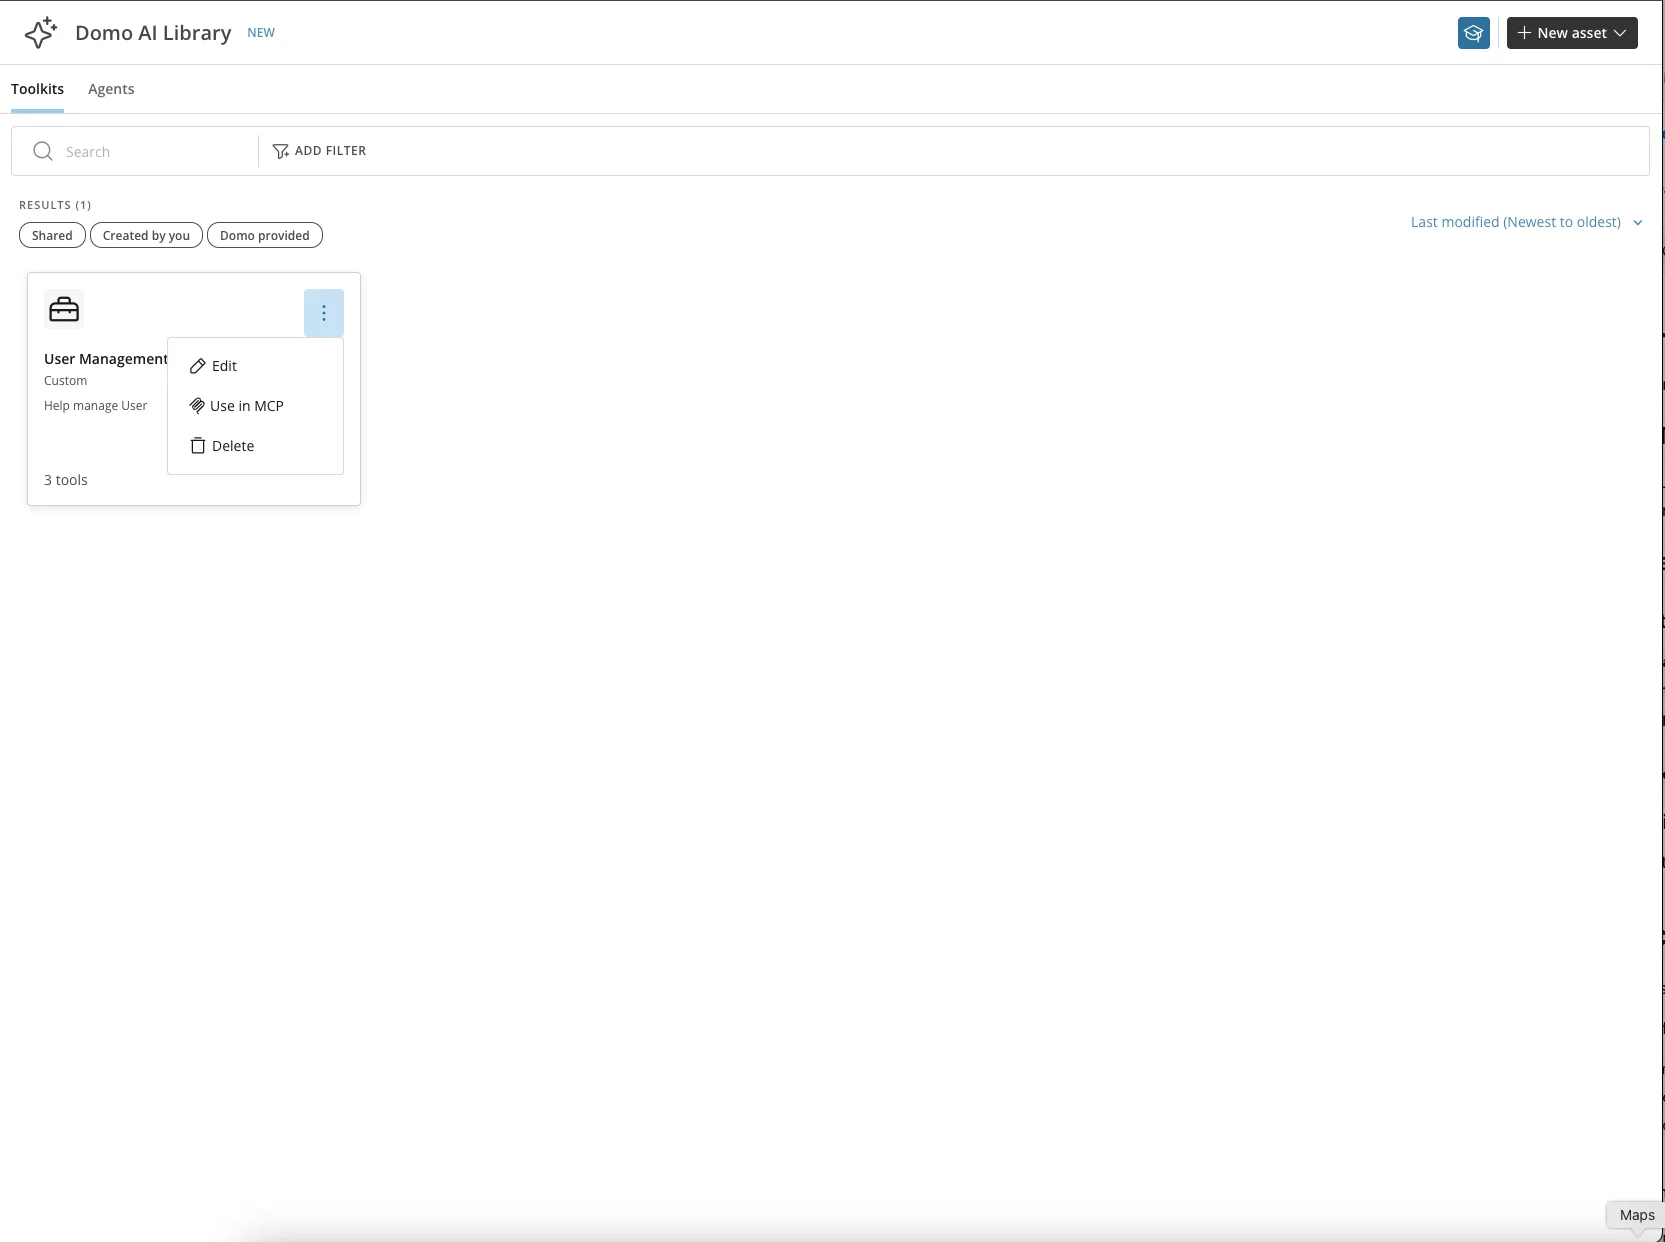
-
Edit — Edit an existing Toolkit.
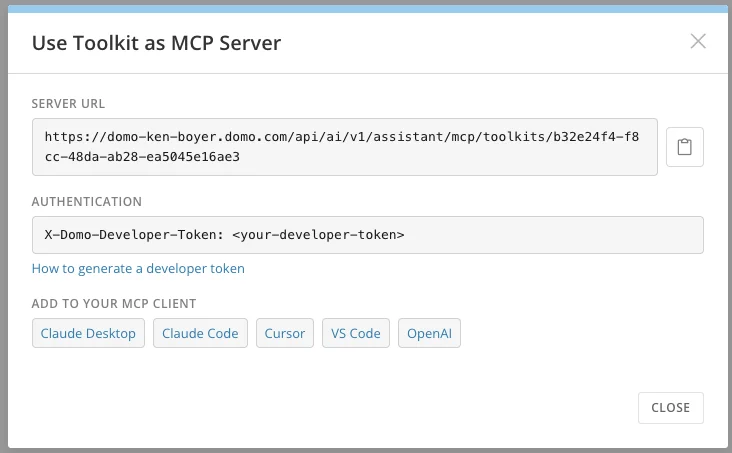
- Use in MCP — View the connection details for this Toolkit.
-
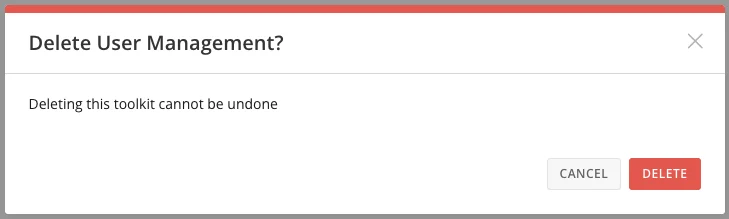
Delete — Remove this Toolkit from the library.
Create an Agent
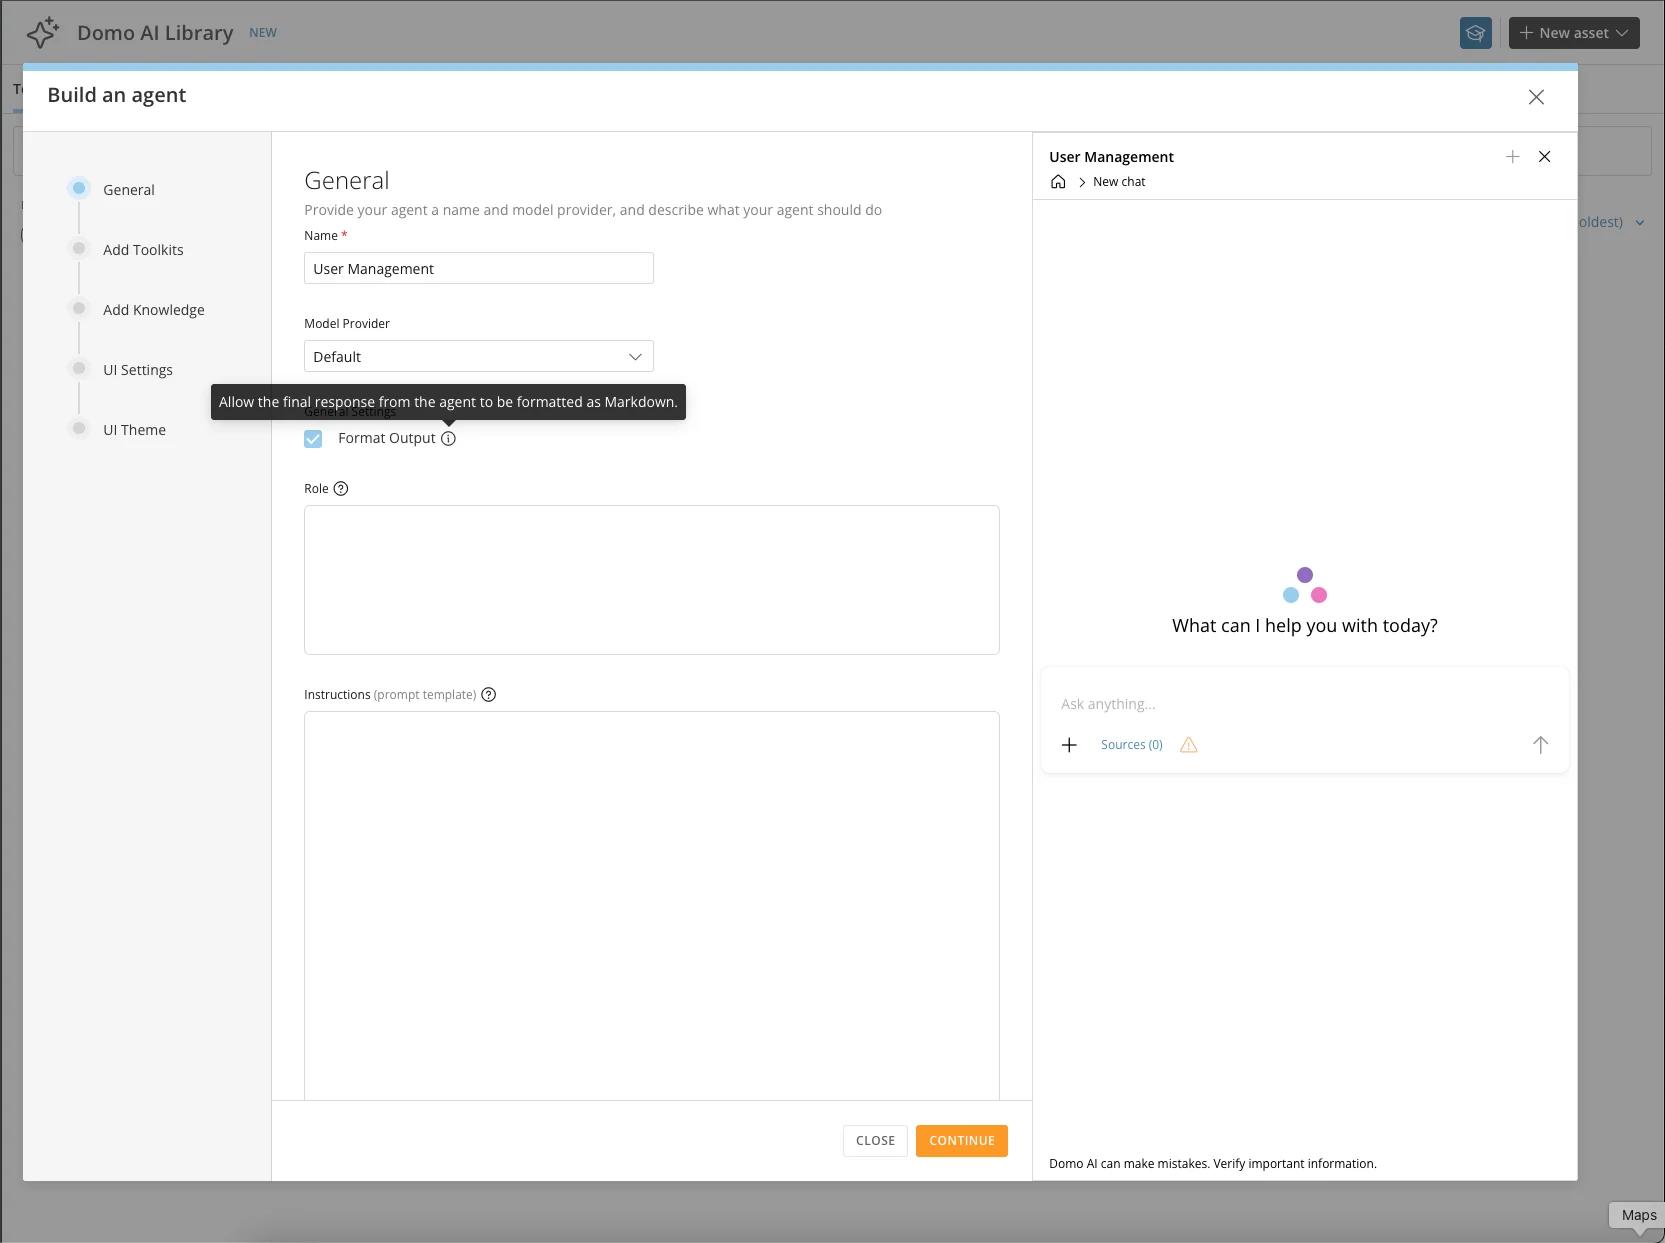
Agents built with these tools can be deployed across multiple experiences, including customizable AI chat interfaces embedded into dashboards, applications, and workflows across the Domo platform. The following steps walk through creating the User Management Agent that uses the Toolkit created above.-
From the New Asset menu, choose Agent.
-
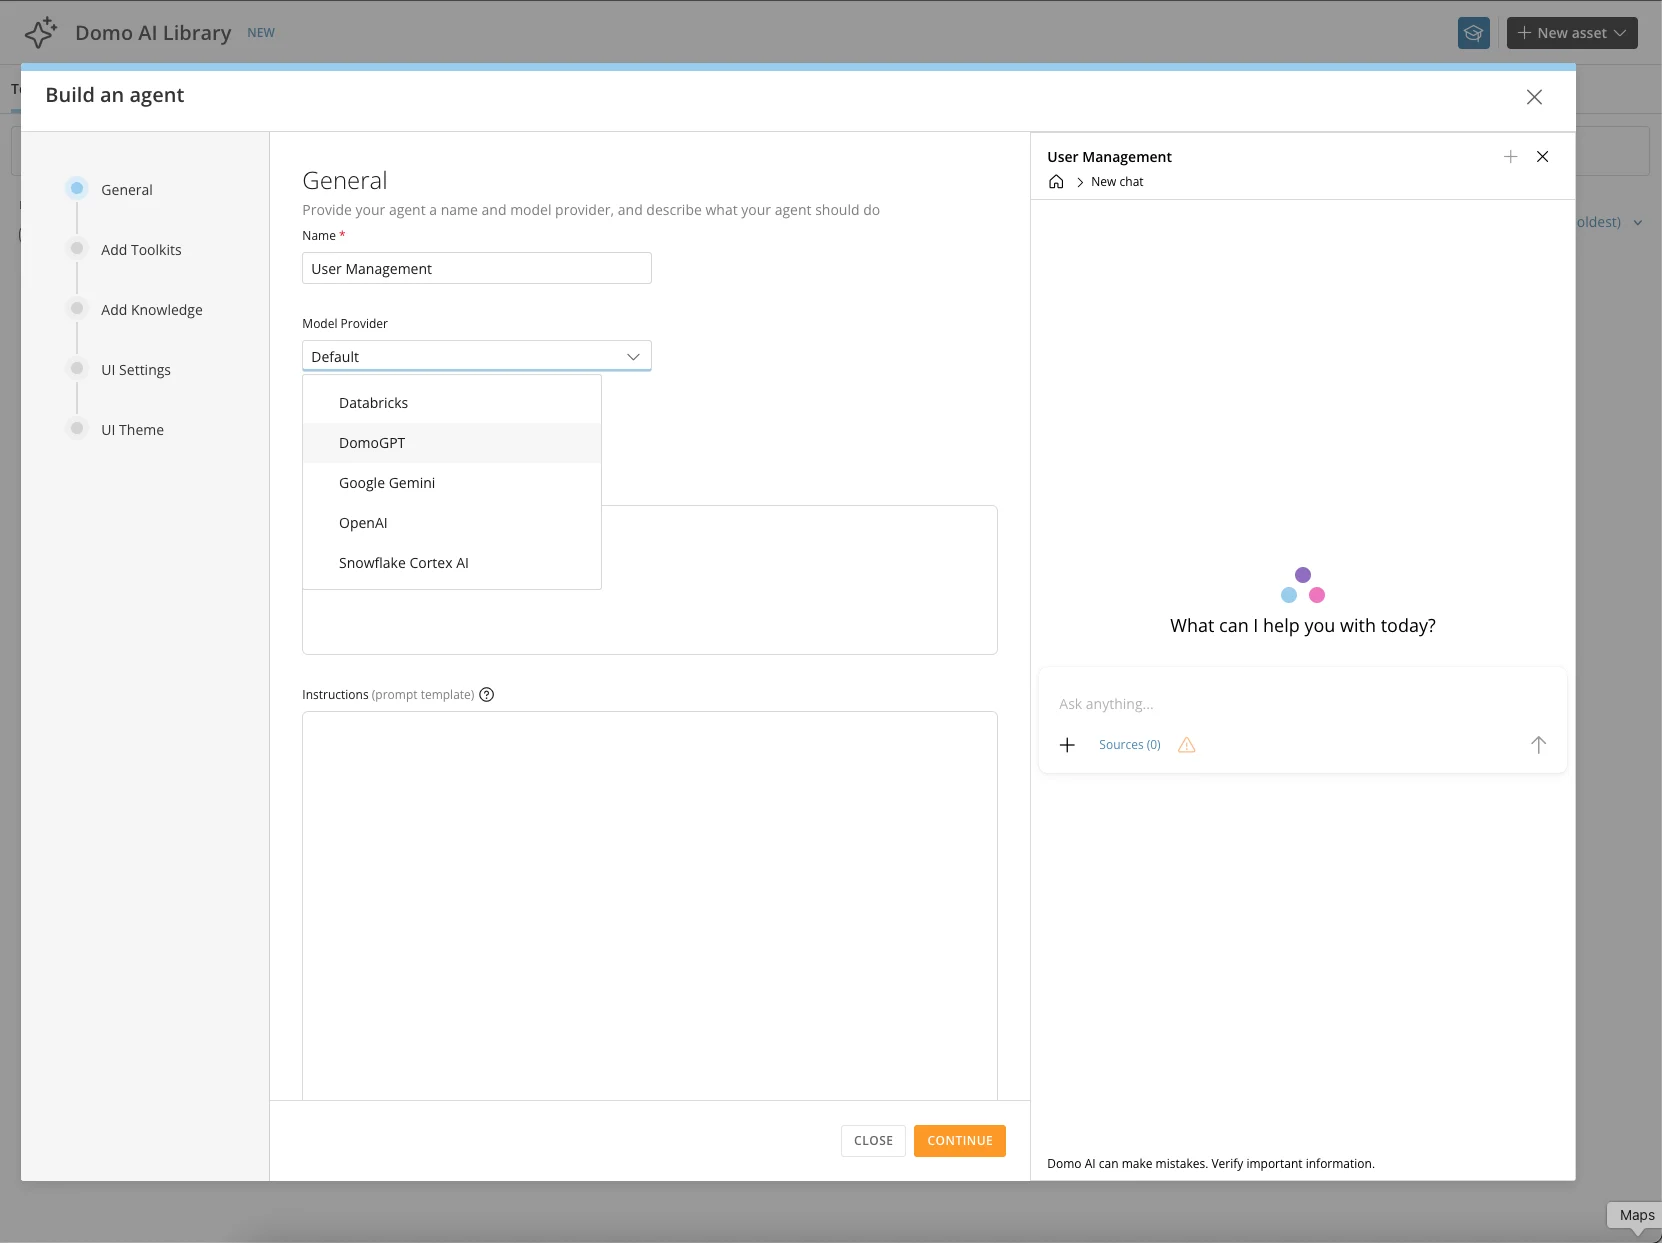
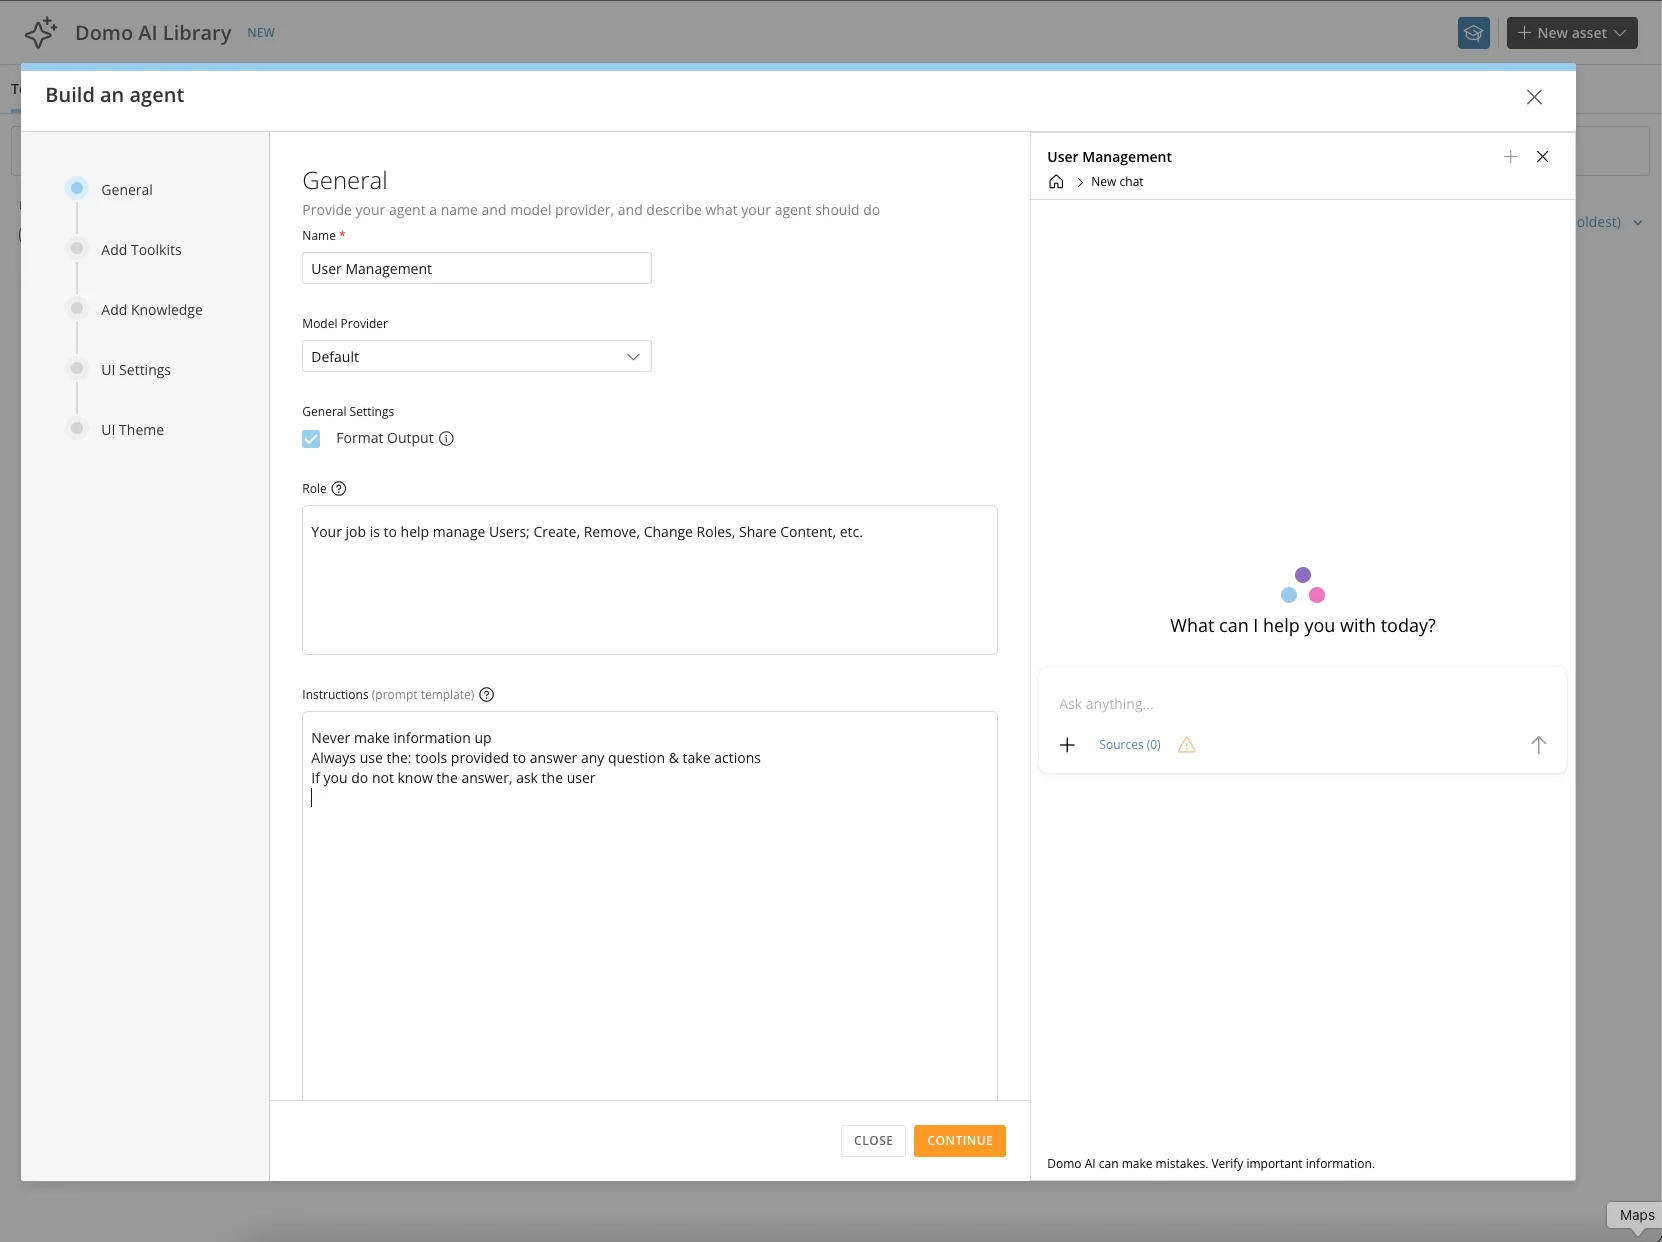
Give the Agent a name—for this example, User Management. On the first screen, choose a model, configure the output structure, provide instructions, and define the prompt the Agent will use.
-
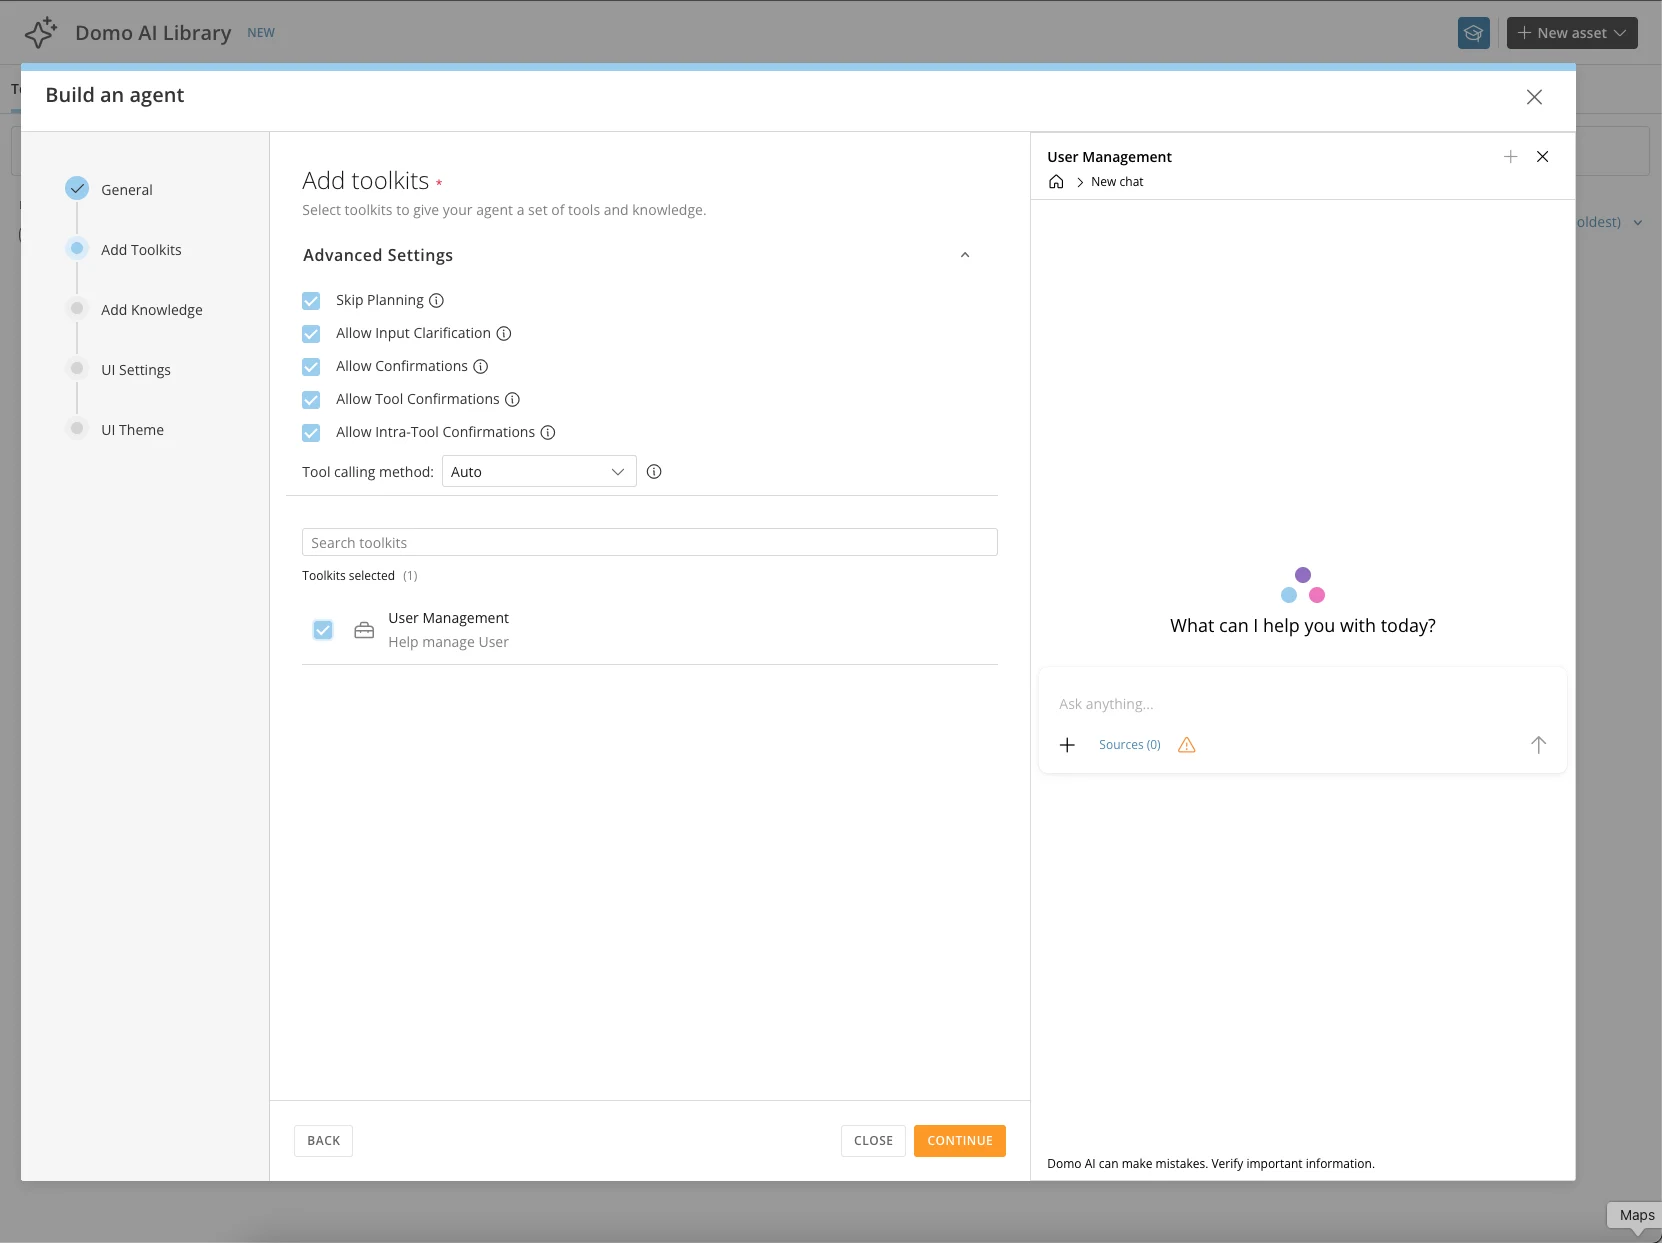
On the second screen, add Toolkits and control the interactions between the user and the tools.
-
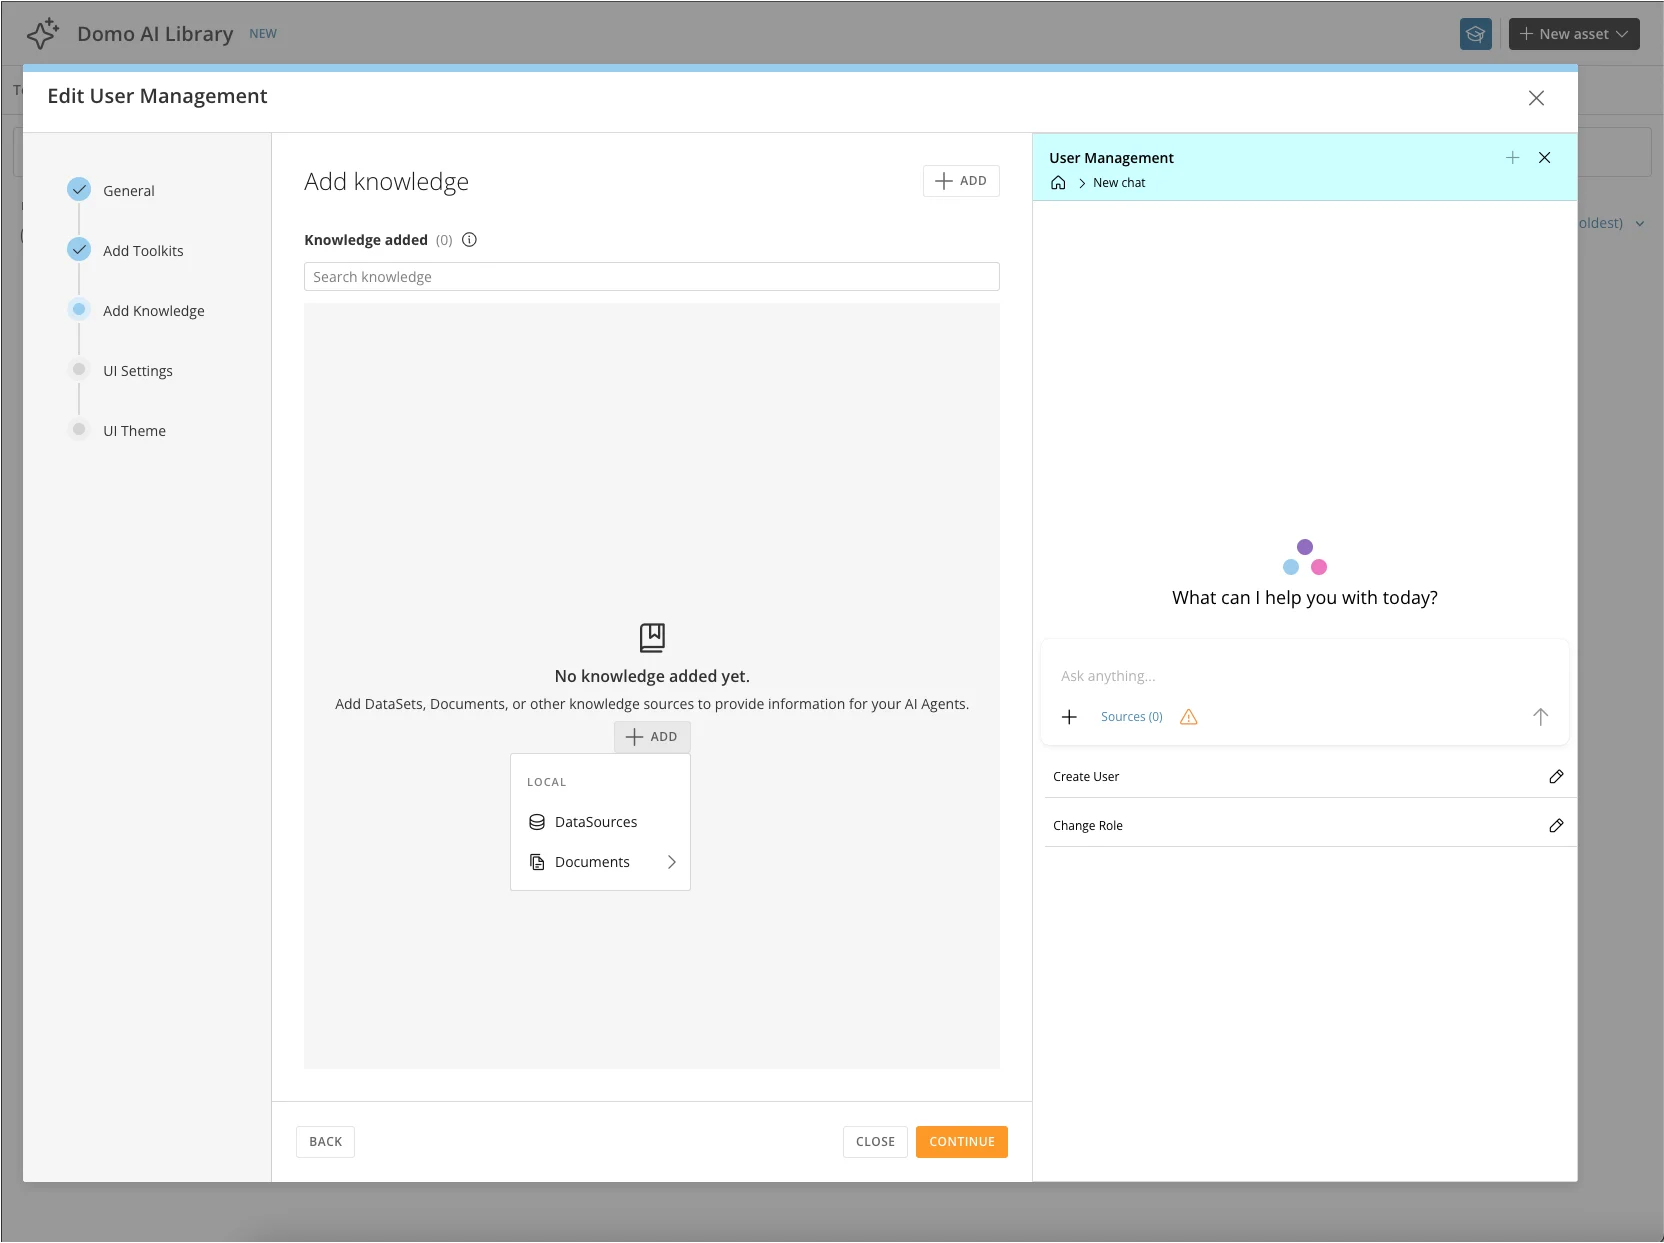
On the third screen, add Knowledge or Context to the Agent. Choose Datasources (structured data) or Documents (unstructured data).
-
On the fourth screen, define the user experience, including welcome messages and other display options.
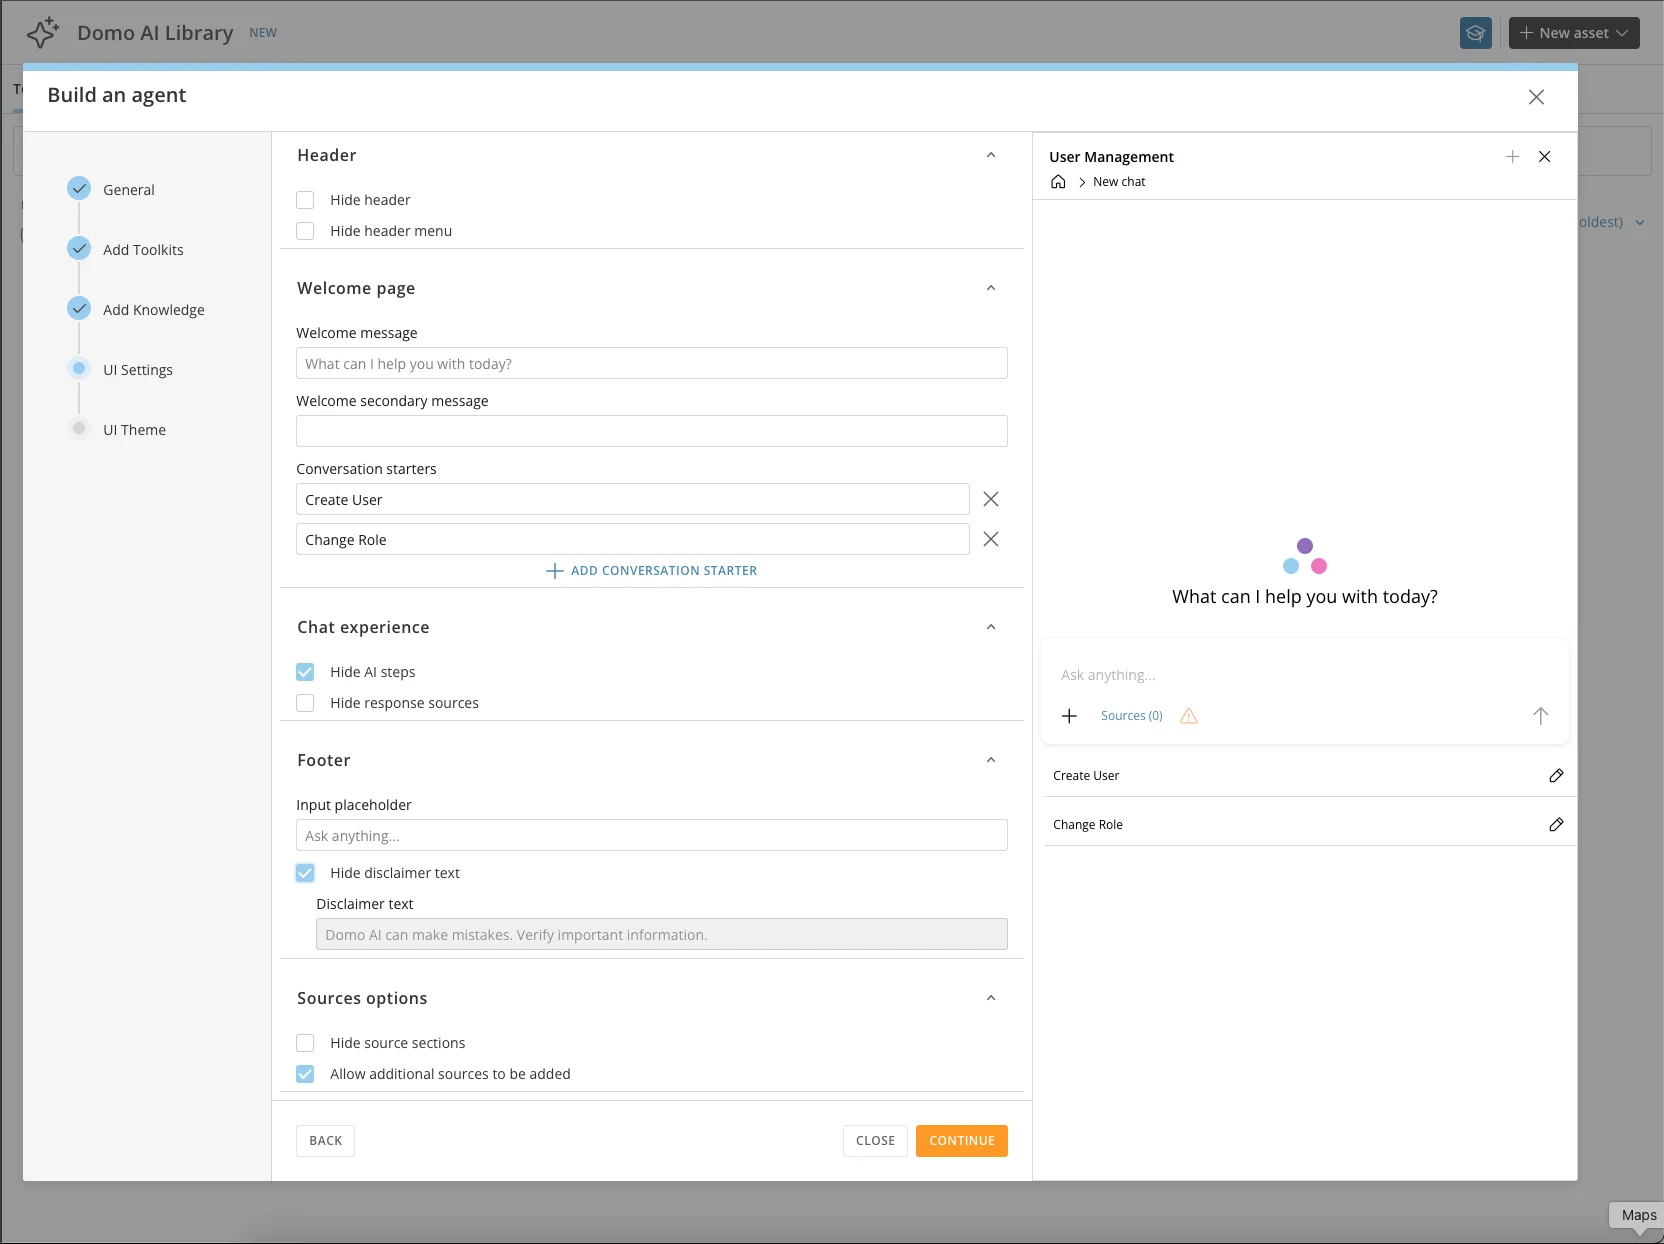
-
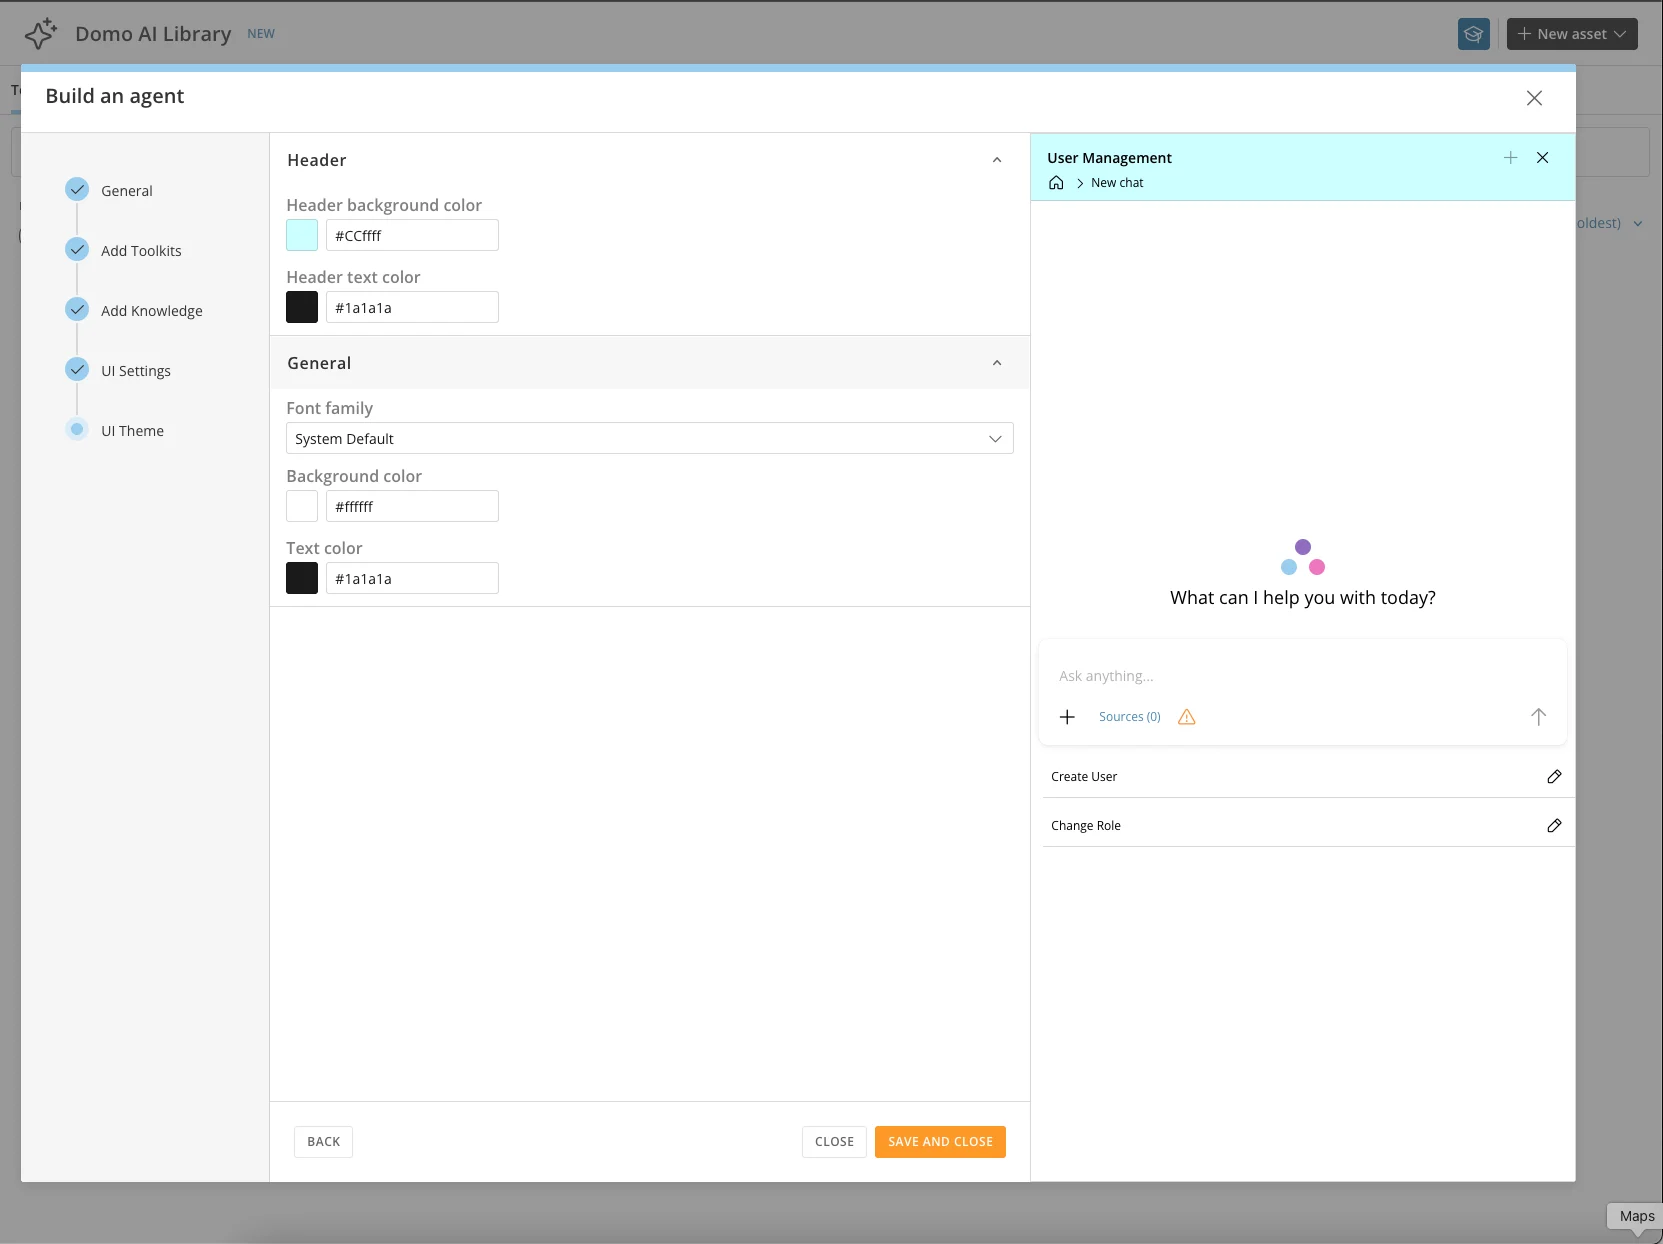
On the final screen, define the theme.
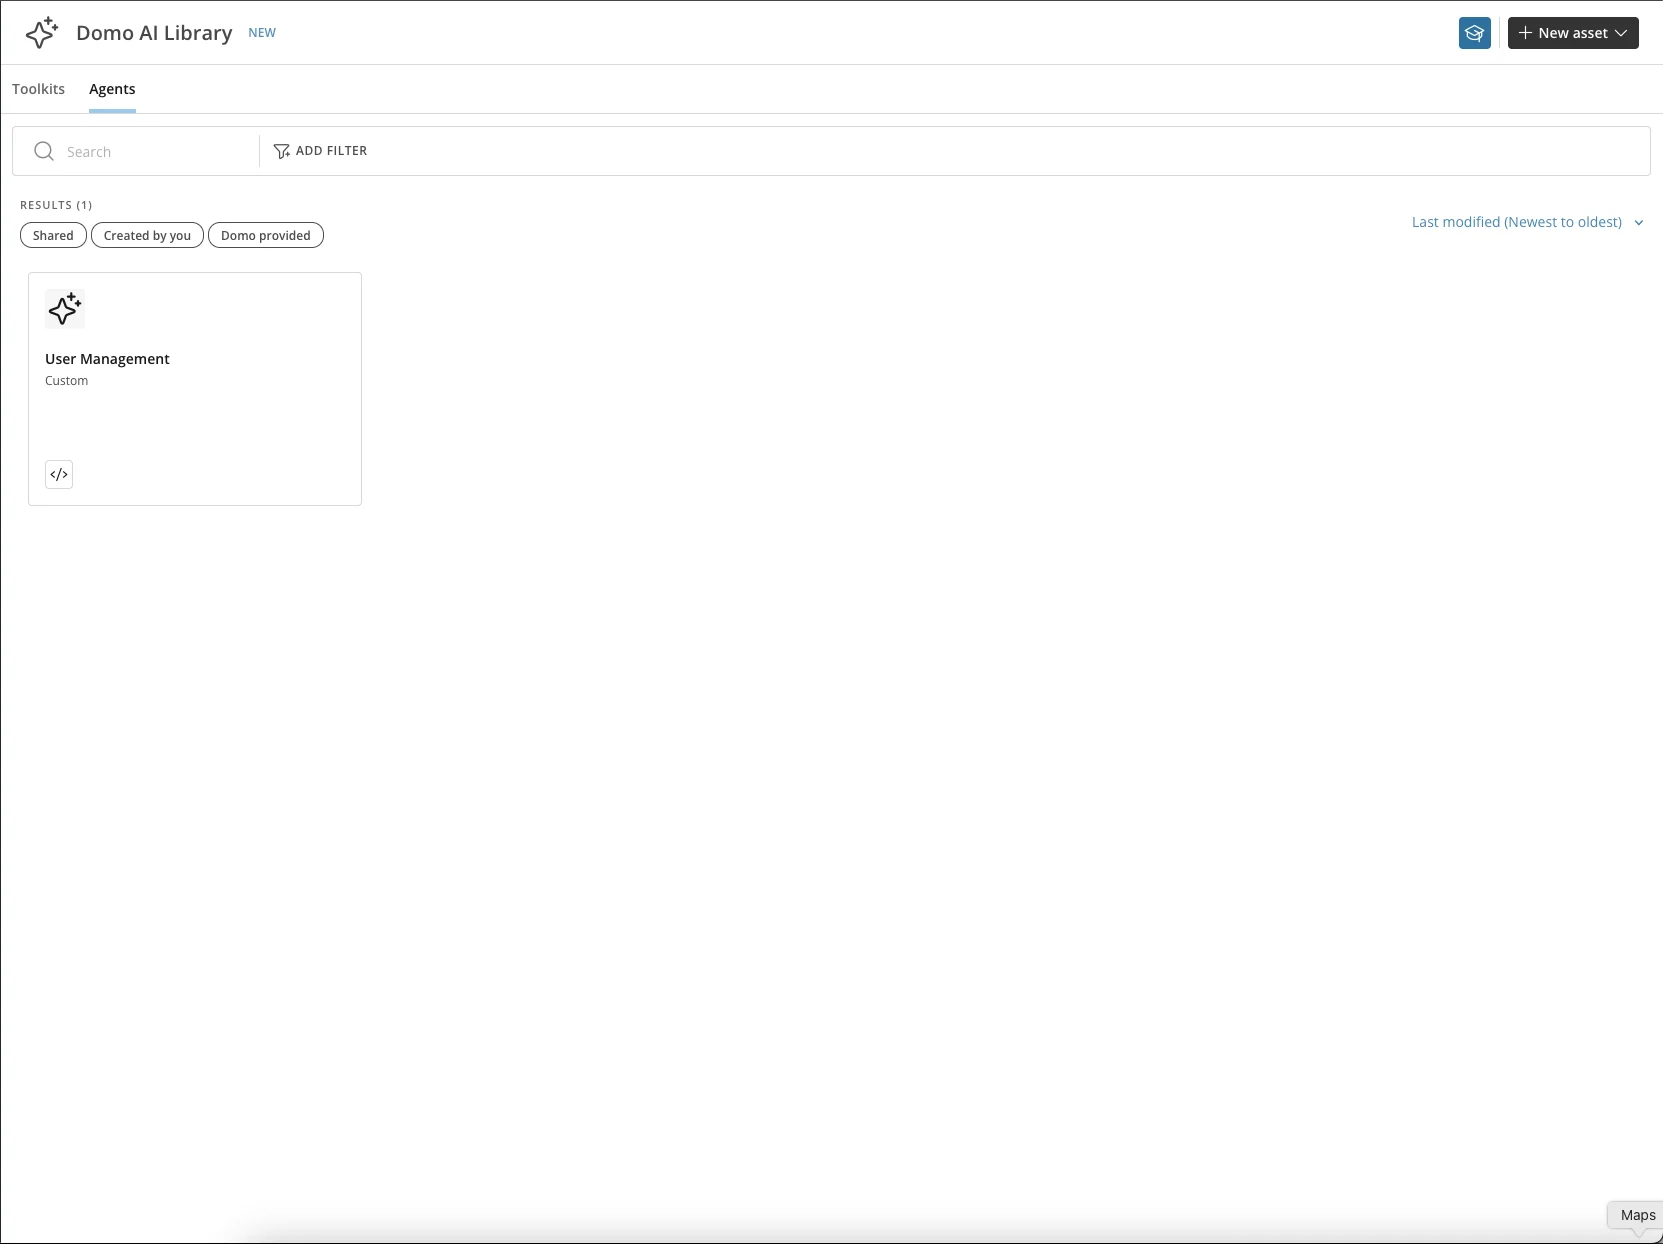
Manage Agents
From the Agent menu, you can perform the following actions:
- View Details — See an overview of the Agent and the tools it uses.
- Edit — Edit an existing Agent.
-
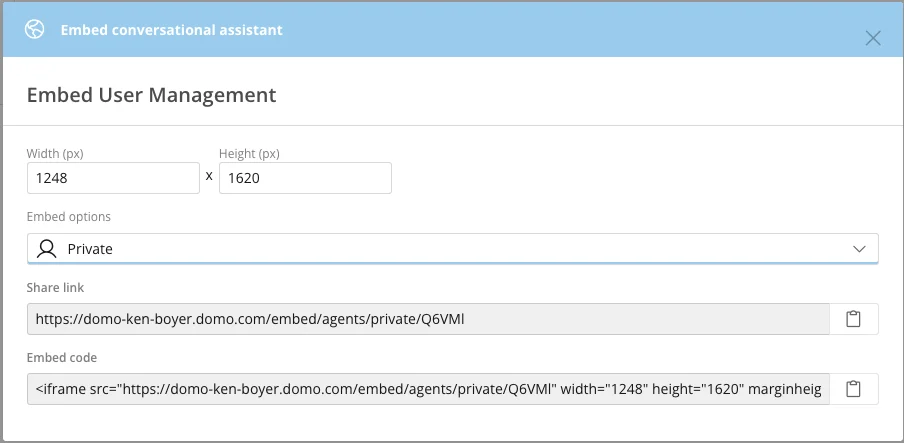
Embed — Enable embedding for this Agent.
-
Share — Share this Agent with others in your company.
-
Delete — Remove this Agent from the library.
Configure an Agent
Navigate to the AI Service Layer Settings under the AI Service Layer section in the Admin Settings. Choose your Agent from the Global Chat Agents menu.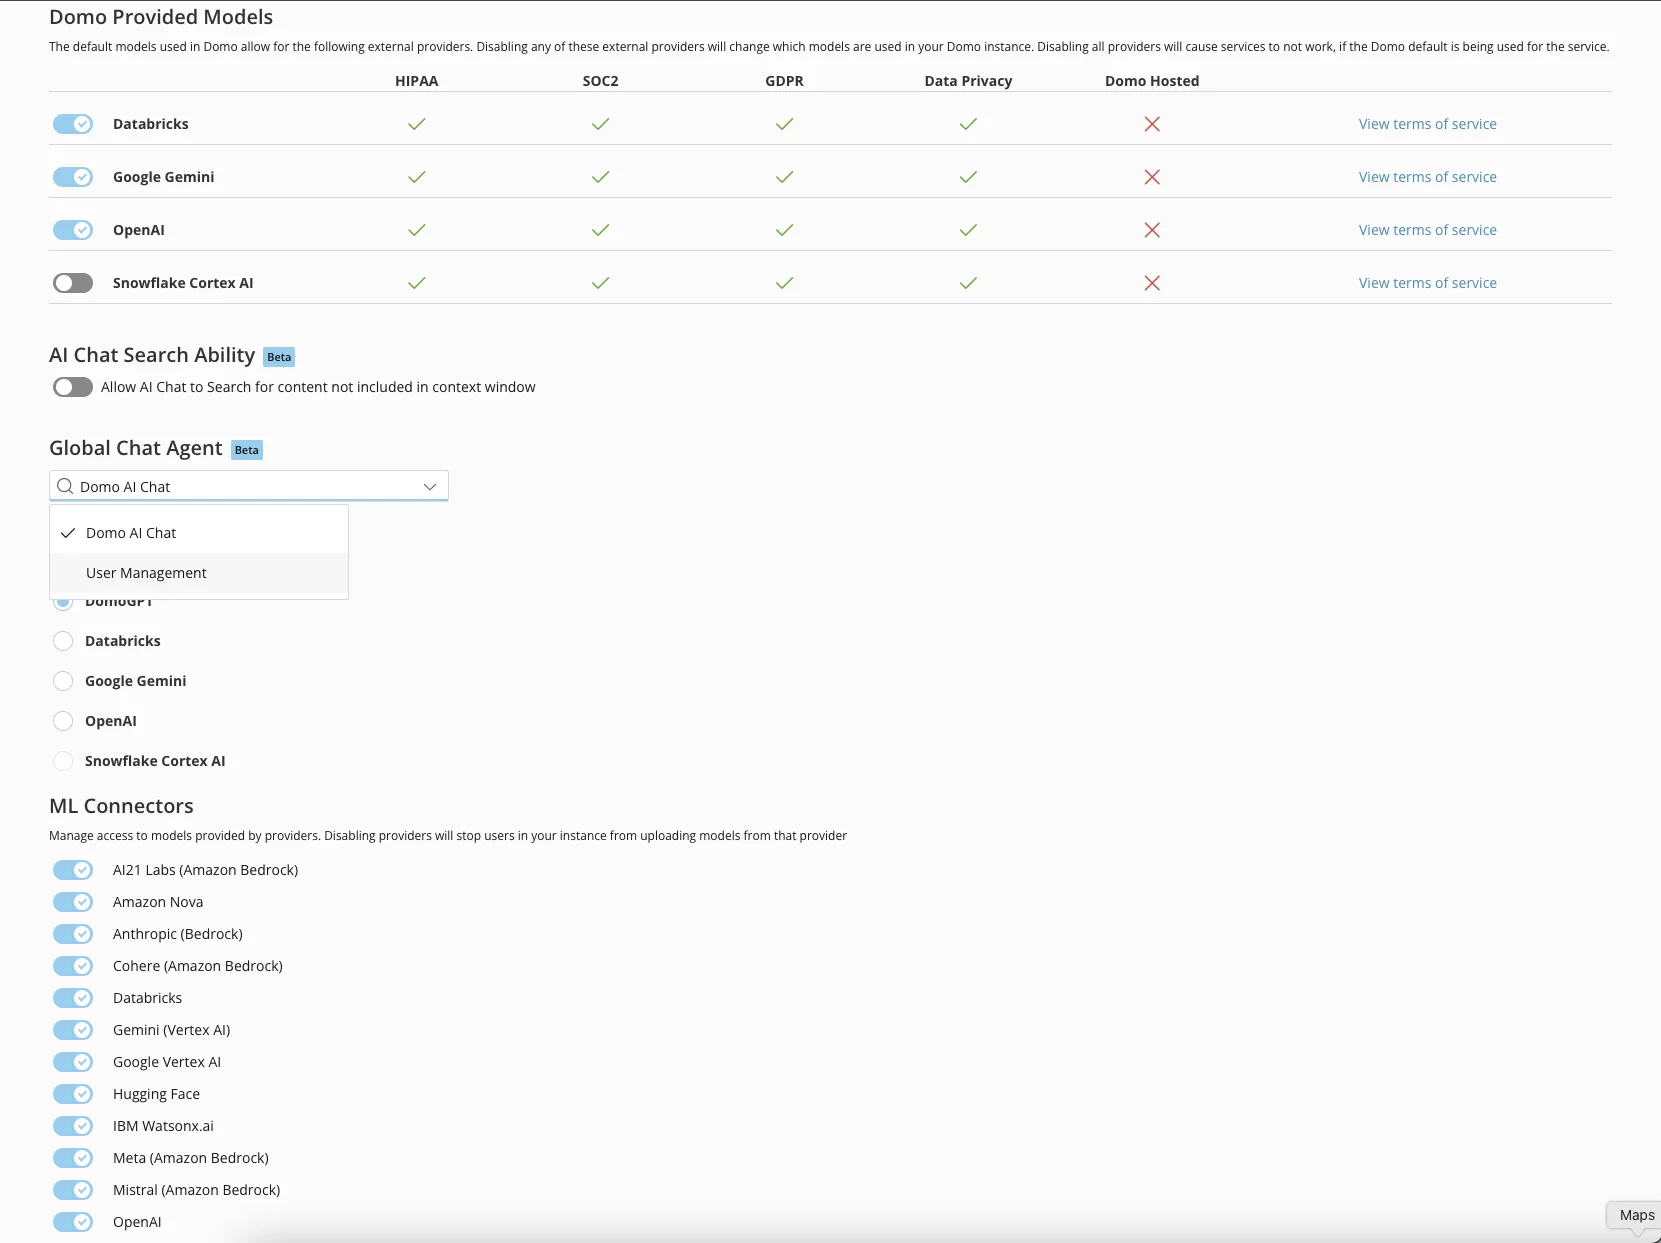
Use an Agent
-
Choose AI Chat from the main navigation.
-
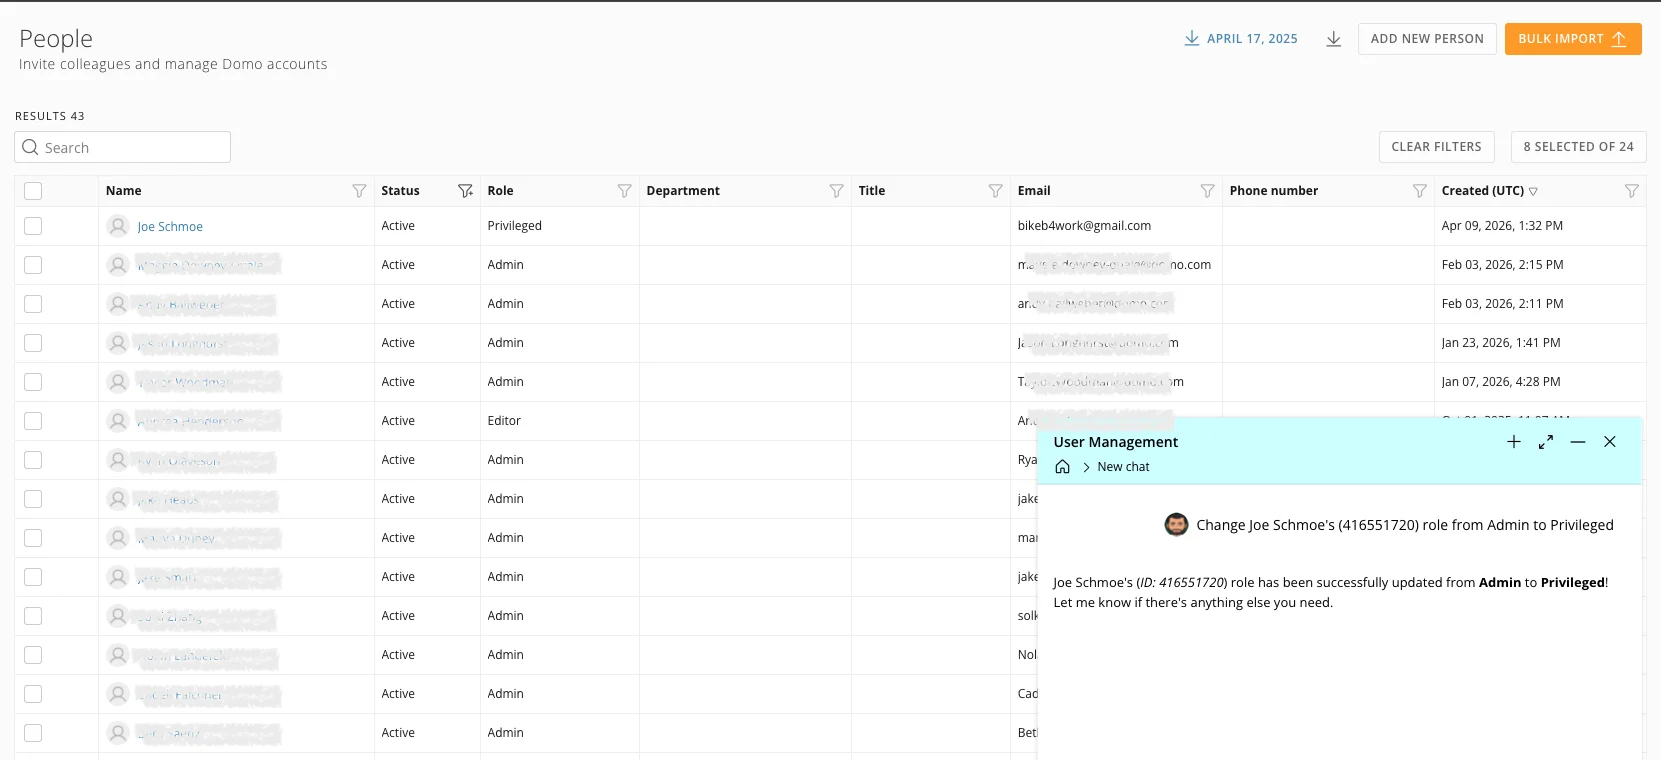
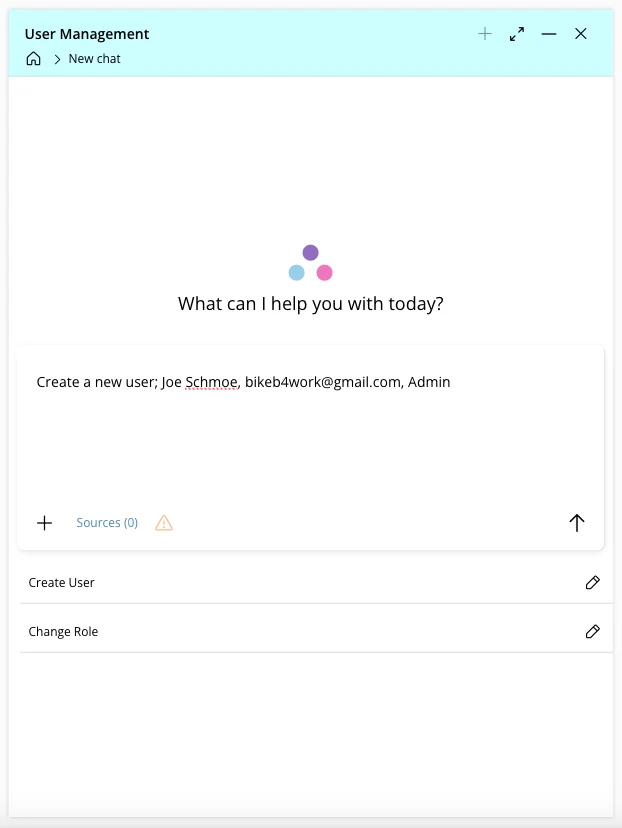
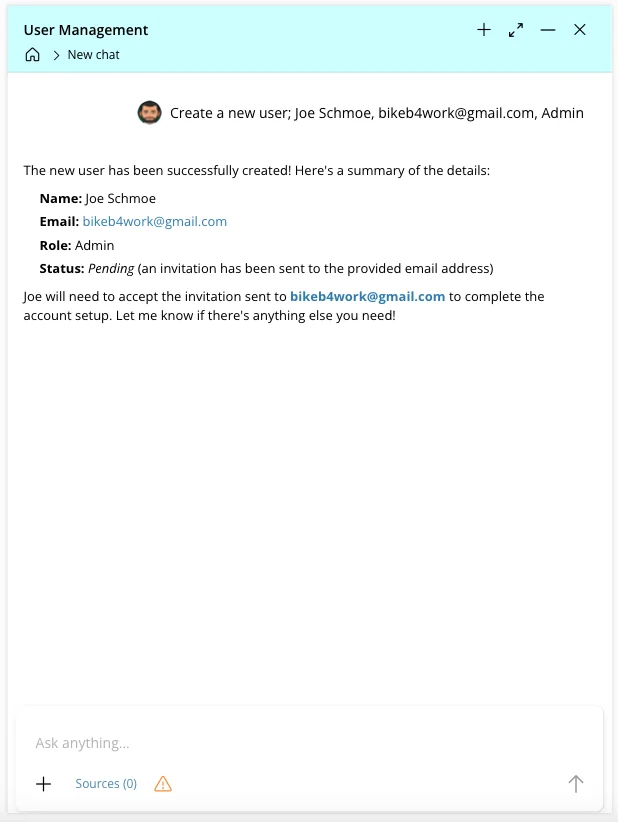
Your Agent is now active. In the input field, enter a request. To create a new user, provide a display name, email address, and role. For example:
“Create a new user; Joe Schmoe, bikeb4work@gmail.com, Admin”
-
Navigate to Admin > People to confirm the new user was provisioned.

-
To use a second tool in the Toolkit, try updating the user’s role. For example:
“Change Joe Schmoe’s (416551720) role from Admin to Privileged”