> ## Documentation Index
> Fetch the complete documentation index at: https://www.domo.com/docs/llms.txt
> Use this file to discover all available pages before exploring further.
# Connect to the Domo Essentials MCP Server with Standard OAuth
export const BetaNote = ({generic = false}) =>
Note:{" "}
{generic ? "" : "This feature is in beta. "}
Beta Program participants can enable features{" "}
here. To join the
Beta Program, fill out{" "}
this form. For beta
questions or feedback, email{" "}
beta.admin@domo.com.
;
## Intro
This article explains how to connect to the Domo Essentials MCP Server using standard OAuth.
***
## Prerequisites
**Note:** To use the OAuth connector, it first has to be enabled. Request enablement by reaching out to your Customer Success Manager (CSM).
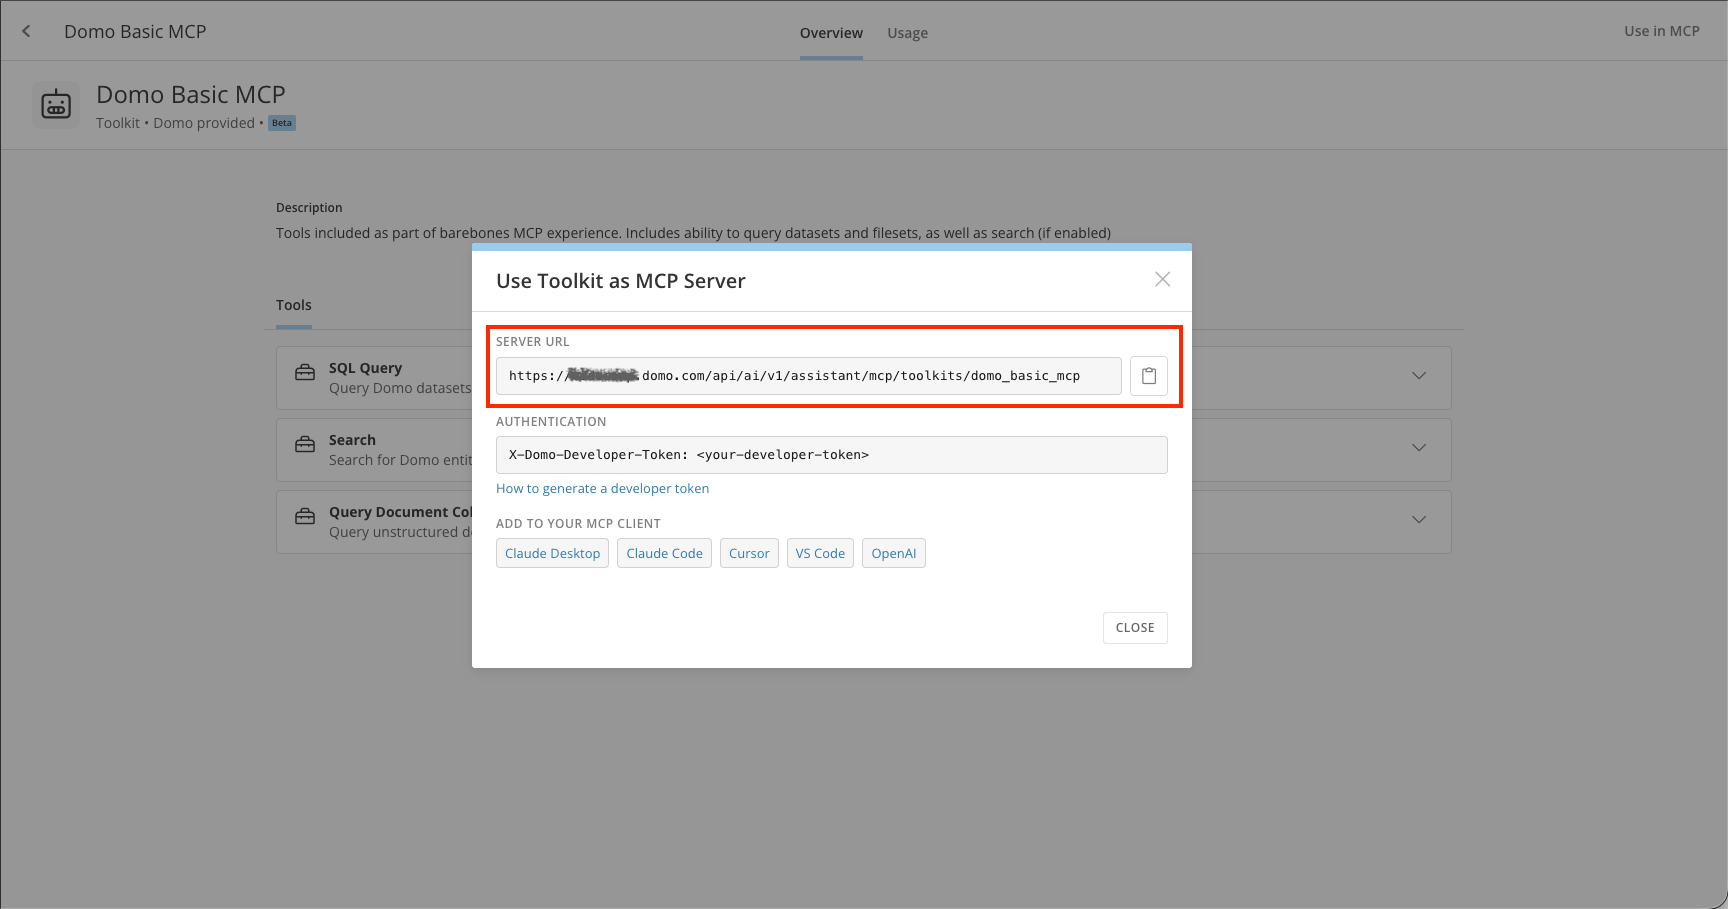
Visit the **AI Library** and retrieve the MCP server URL from the **Domo Basic MCP** toolkit.
```
https:///api/ai/v1/assistant/mcp/toolkits/domo_basic_mcp
```
 ## Add a Custom Connector
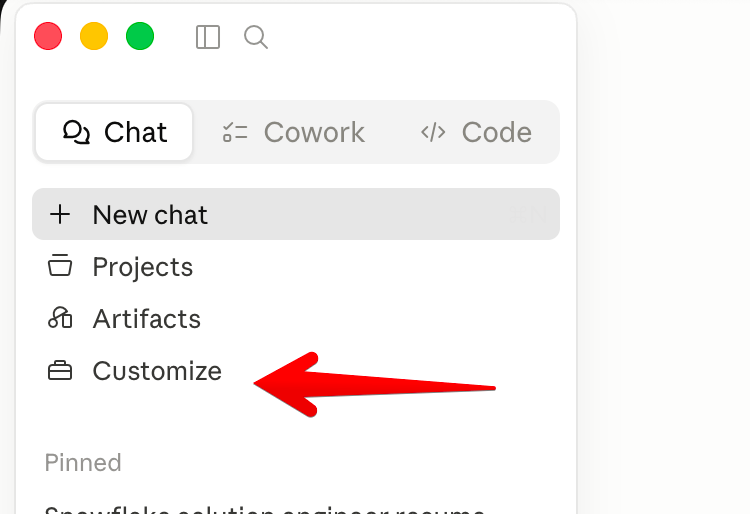
In Claude Cowork or Chat, customization lets you tailor your AI agent using the **Customize** menu on the left sidebar of the Claude Desktop app.
## Add a Custom Connector
In Claude Cowork or Chat, customization lets you tailor your AI agent using the **Customize** menu on the left sidebar of the Claude Desktop app.
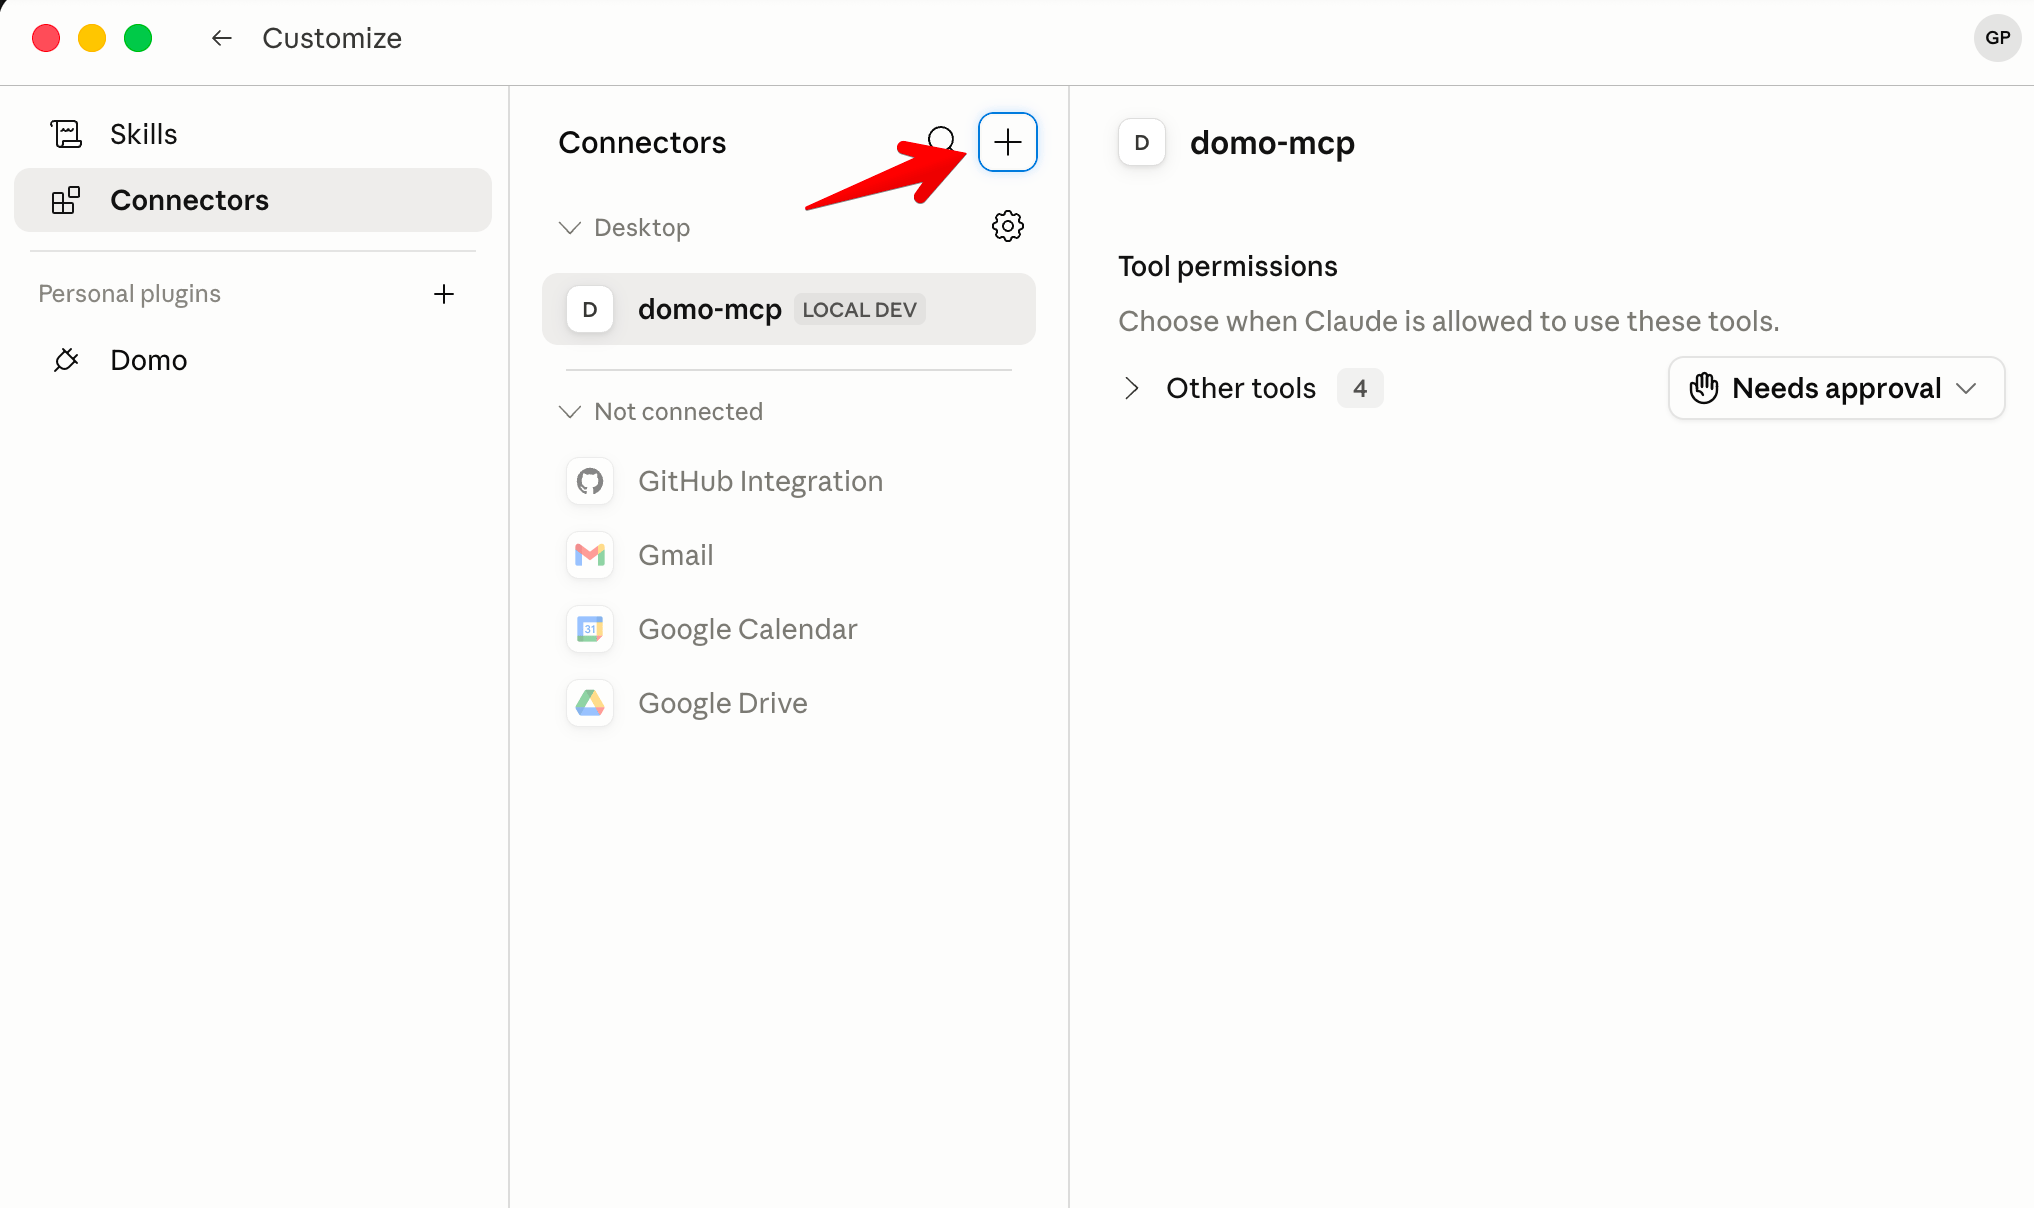
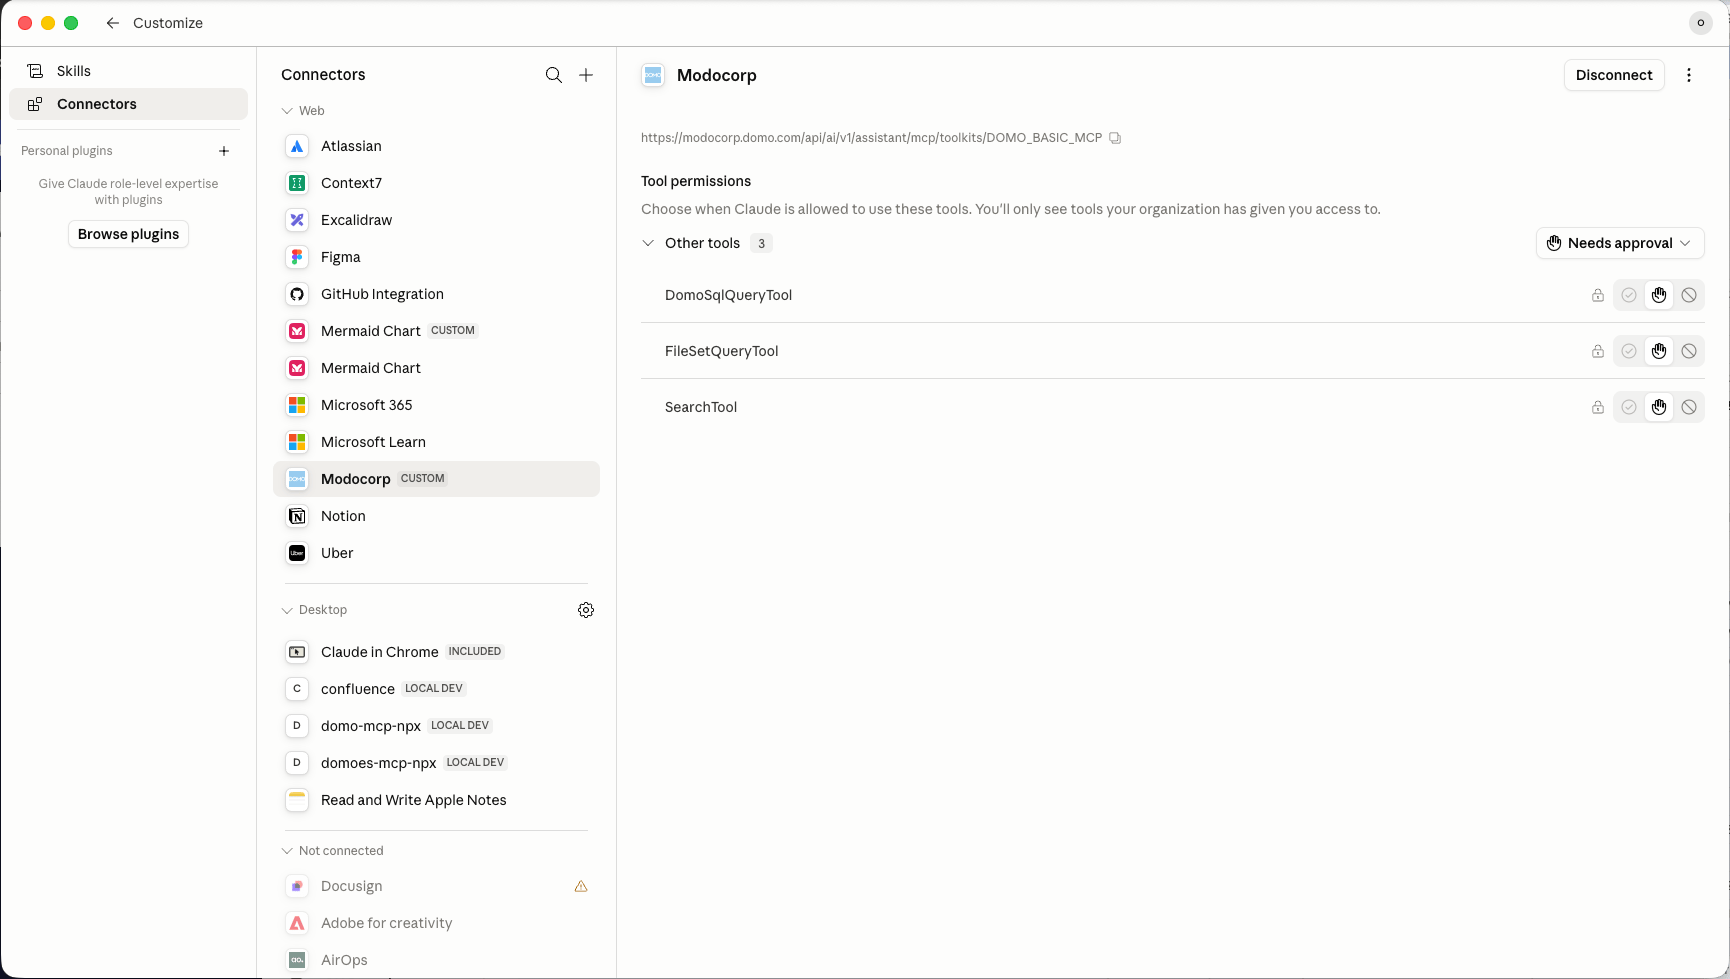
 Link third-party applications like remote MCPs by selecting **Customize** > **Connectors** to give Claude access to your data.
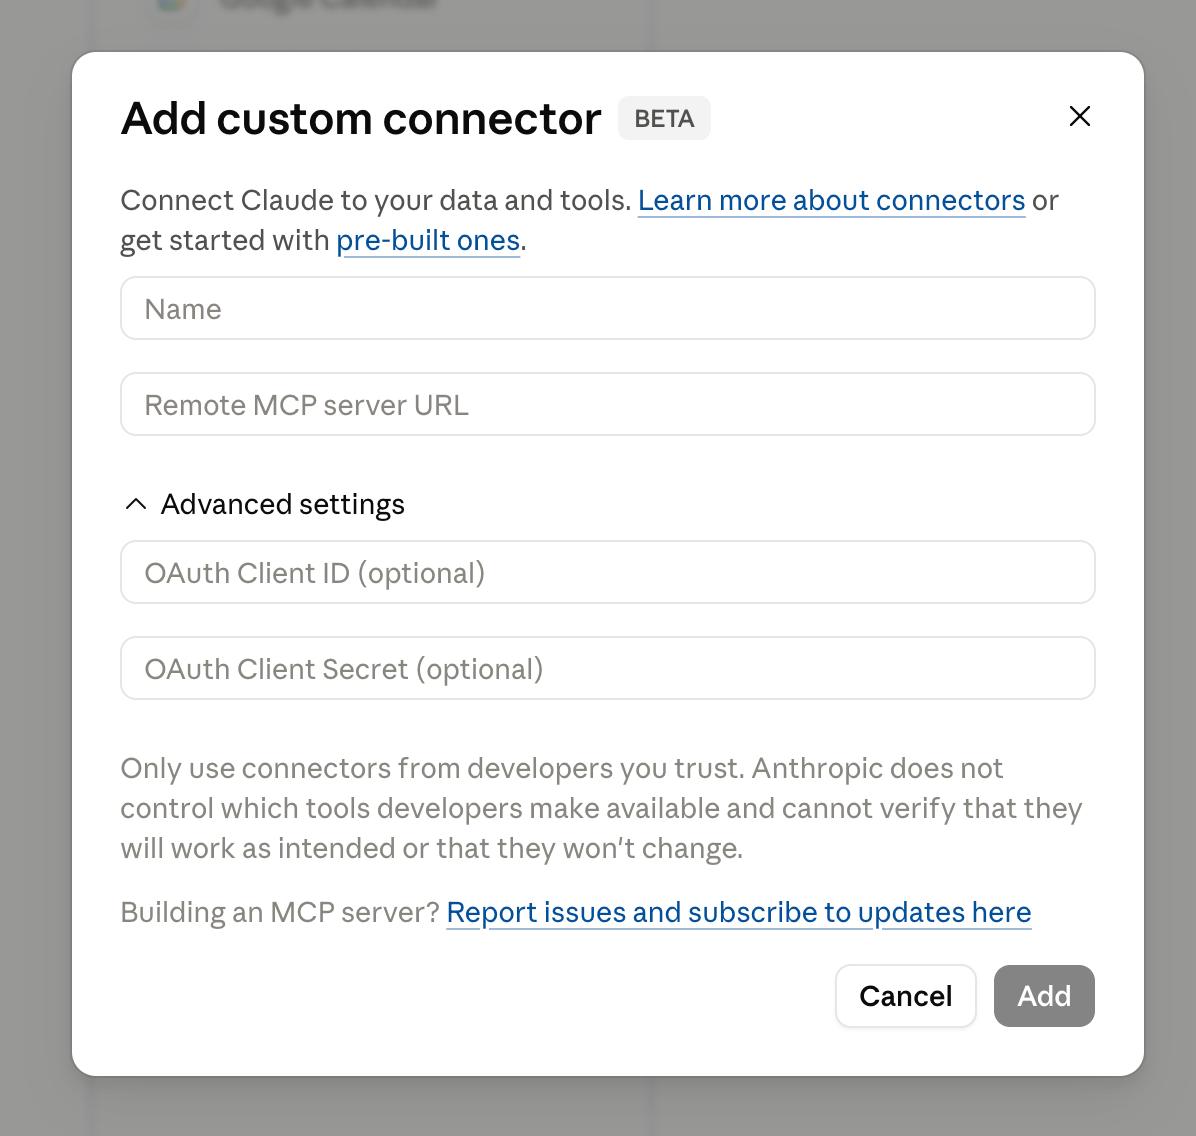
 Give the MCP server a name and paste the **Domo Basic MCP** URL into the **Remote MCP server URL** field, then select **Add**.
```
https:///api/ai/v1/assistant/mcp/toolkits/domo_basic_mcp
```
**Note:** Replace `` with your actual Domo instance domain (for example, `mycompany.domo.com`).
Give the MCP server a name and paste the **Domo Basic MCP** URL into the **Remote MCP server URL** field, then select **Add**.
```
https:///api/ai/v1/assistant/mcp/toolkits/domo_basic_mcp
```
**Note:** Replace `` with your actual Domo instance domain (for example, `mycompany.domo.com`).
 ## Authenticate with OAuth
Select **Connect** and follow the prompts to log into your Domo instance.
## Authenticate with OAuth
Select **Connect** and follow the prompts to log into your Domo instance.
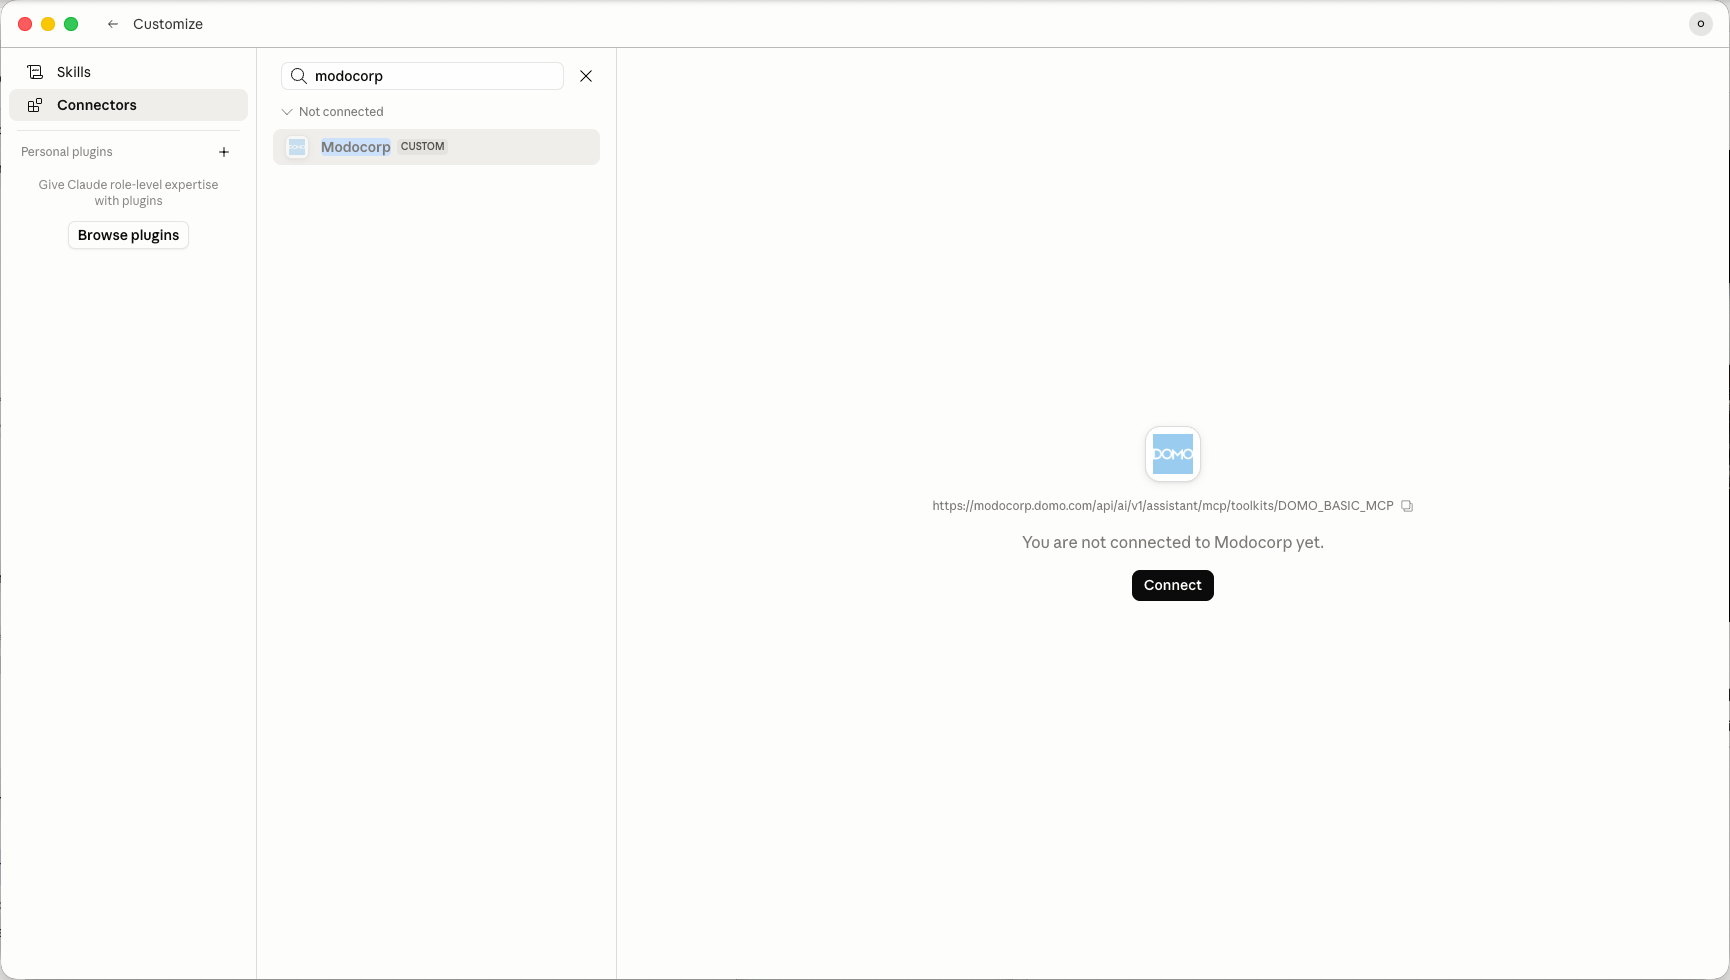
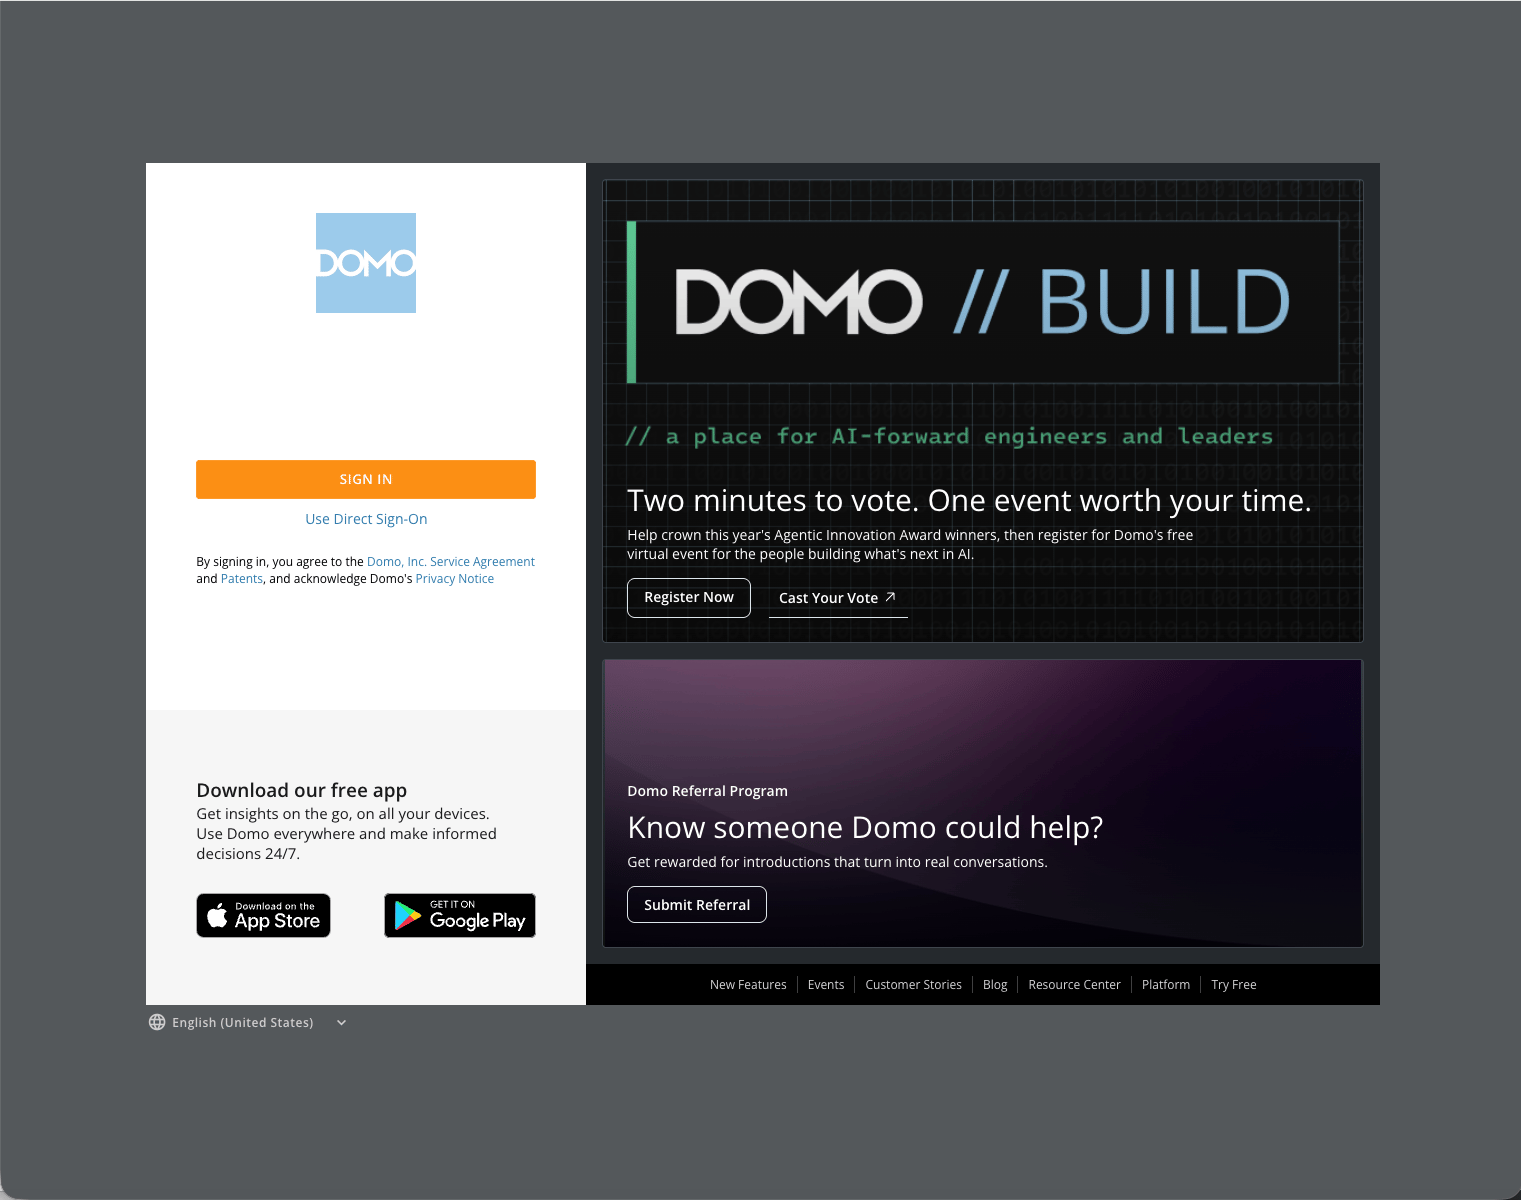
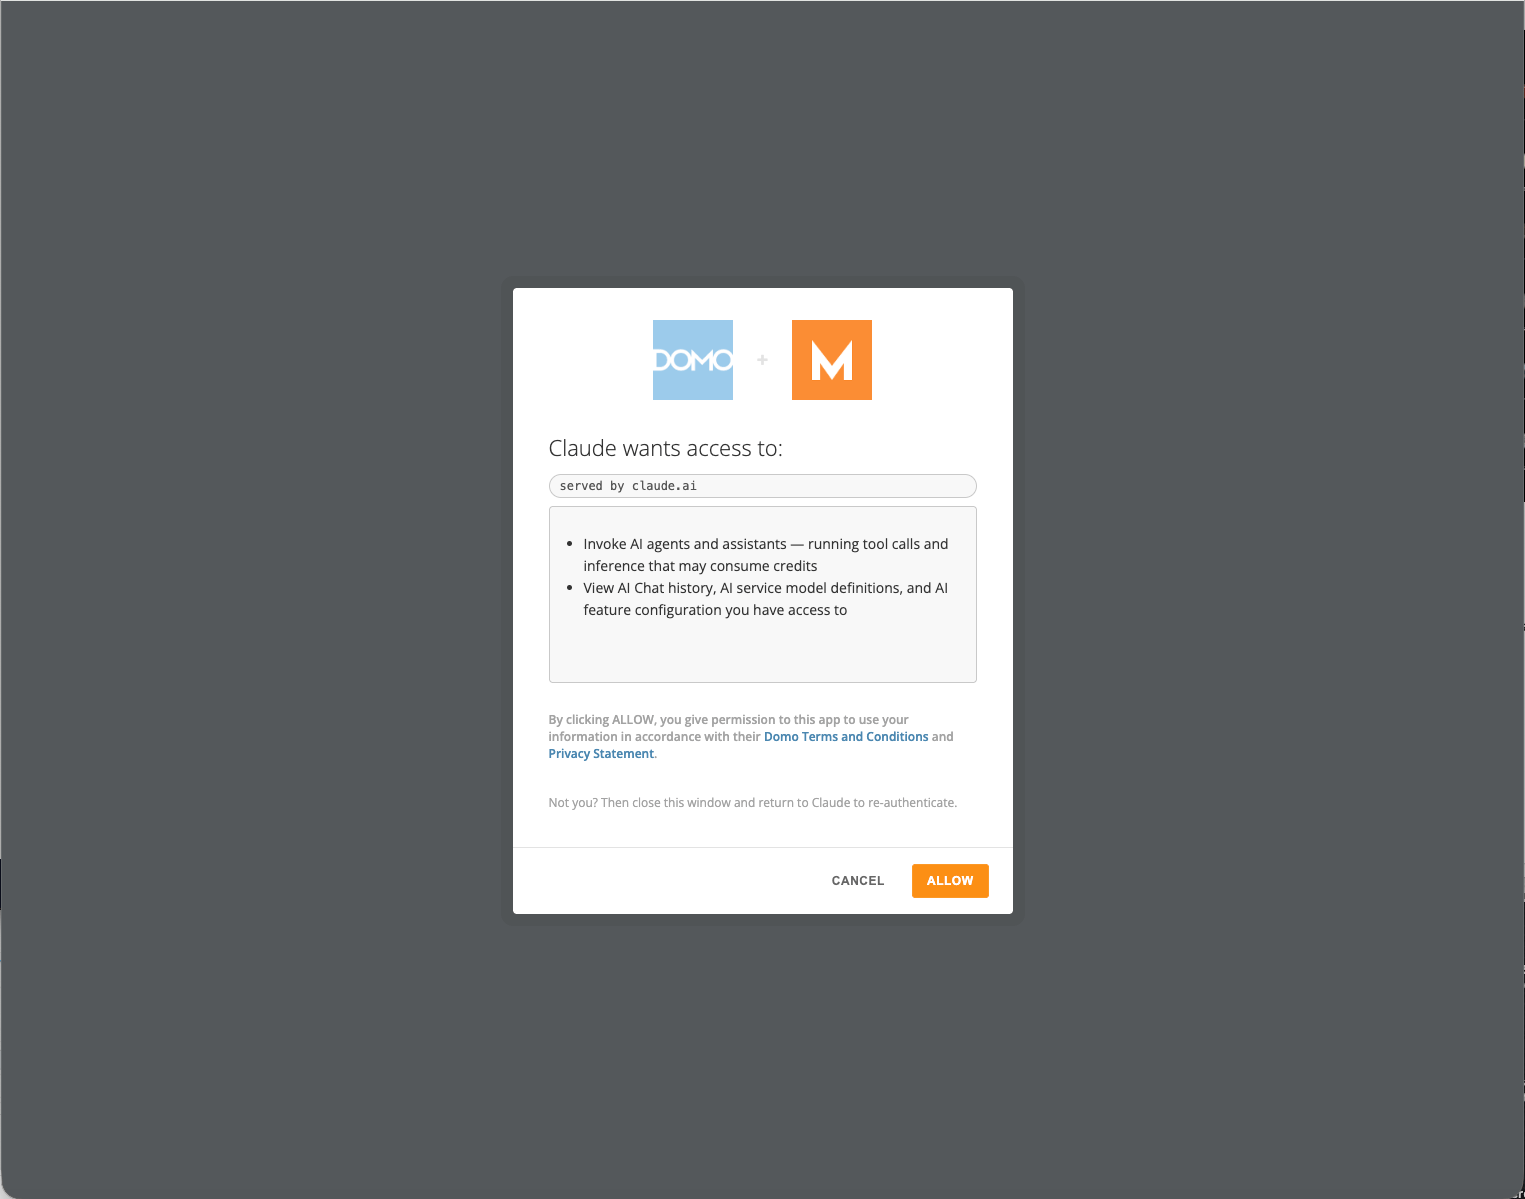
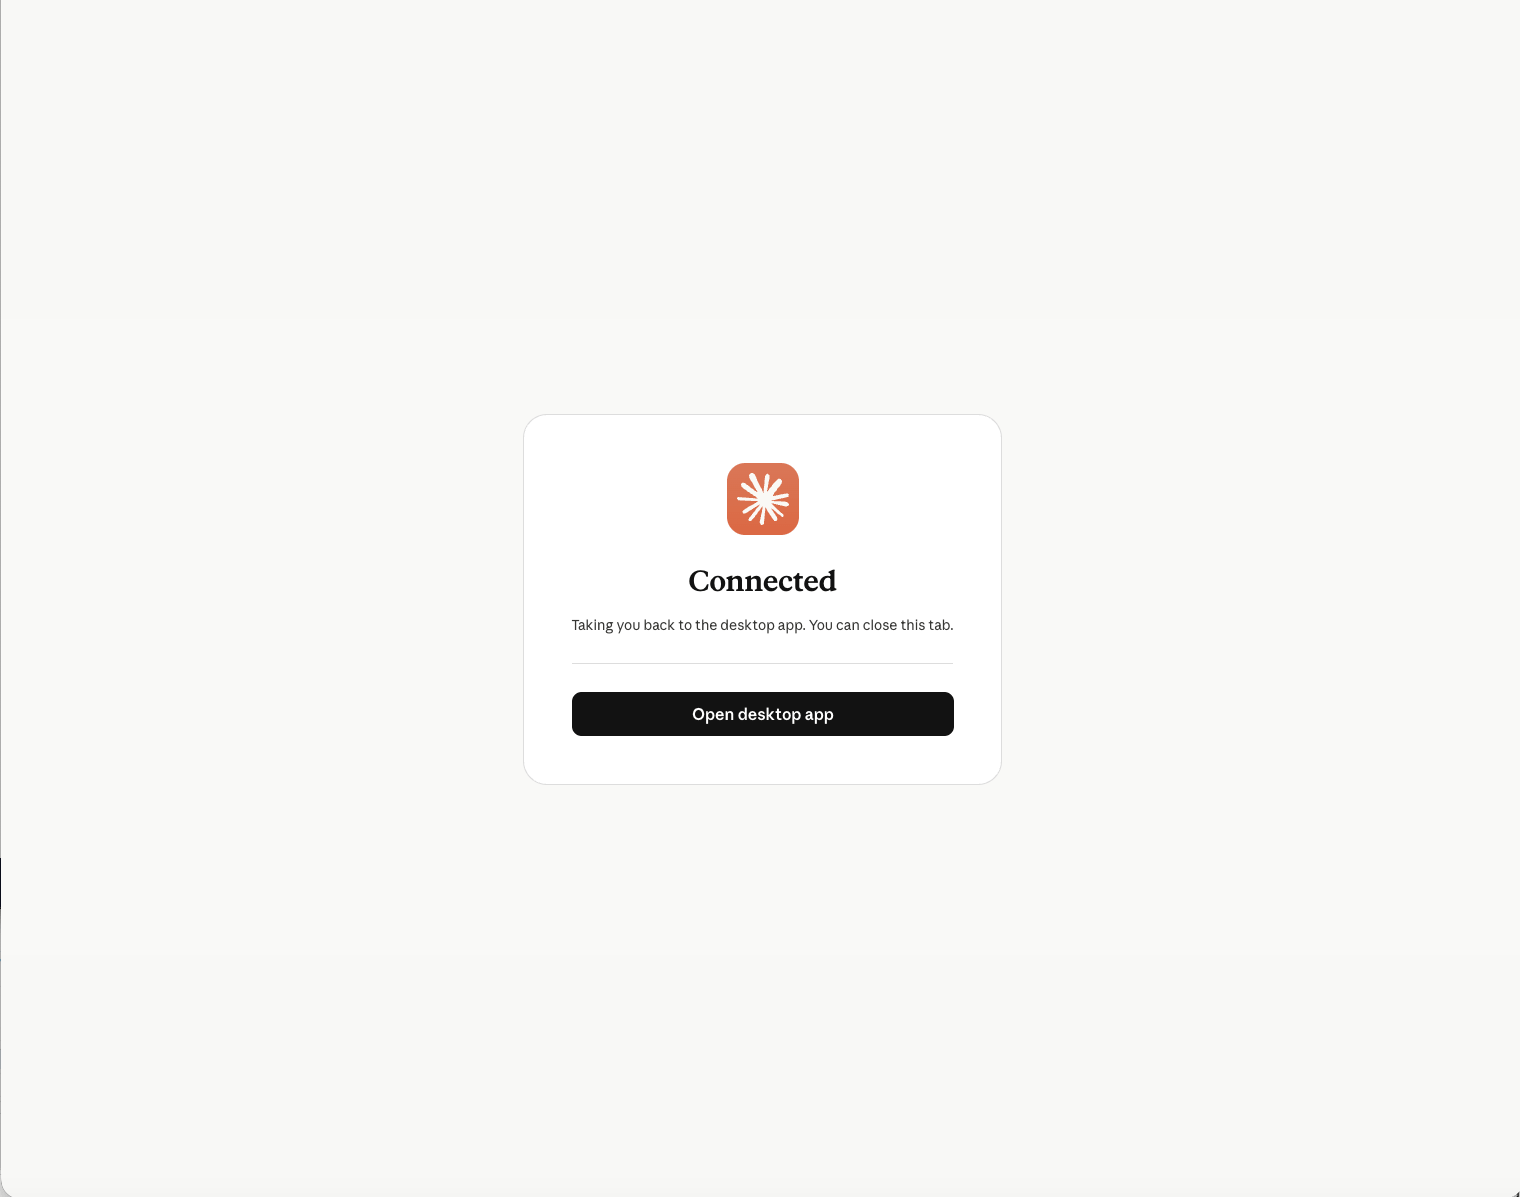 After authentication is complete, the connector is active and Claude has access to your Domo instance.
 ## OAuth FAQ
Your Domo domain is the subdomain in the URL you use to log into Domo — for example, if you access Domo at `mycompany.domo.com`, your domain is `mycompany.domo.com`. Contact your Domo admin if you are unsure.
Yes. Repeat the steps in this article for each instance, using a unique connector name and the corresponding domain in the MCP server URL for each.
Claude can access the data and tools exposed by the Domo Basic MCP toolkit, which includes querying DataSets and interacting with Domo features available through the MCP API. Access is scoped to what your Domo user account is permitted to see.
## OAuth FAQ
Your Domo domain is the subdomain in the URL you use to log into Domo — for example, if you access Domo at `mycompany.domo.com`, your domain is `mycompany.domo.com`. Contact your Domo admin if you are unsure.
Yes. Repeat the steps in this article for each instance, using a unique connector name and the corresponding domain in the MCP server URL for each.
Claude can access the data and tools exposed by the Domo Basic MCP toolkit, which includes querying DataSets and interacting with Domo features available through the MCP API. Access is scoped to what your Domo user account is permitted to see.