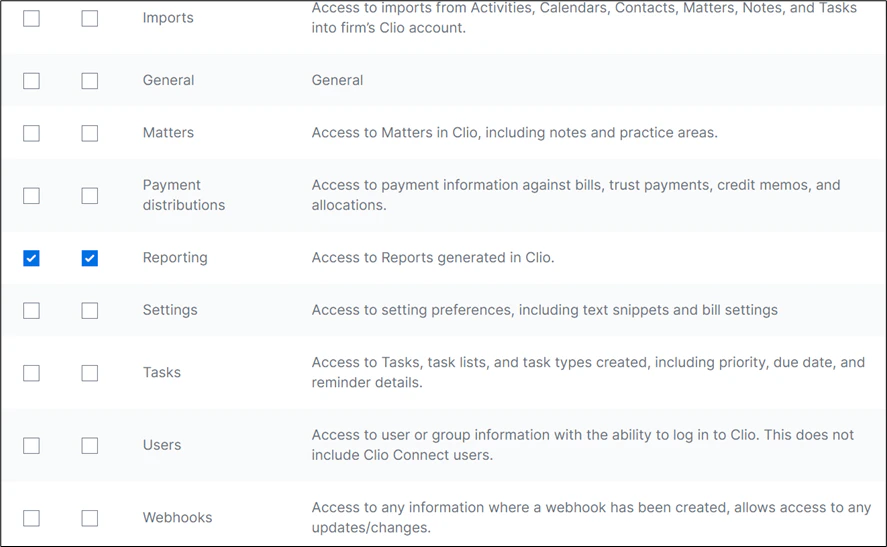
 3. Select the required read and write permissions for the endpoints, and then select **Save**.
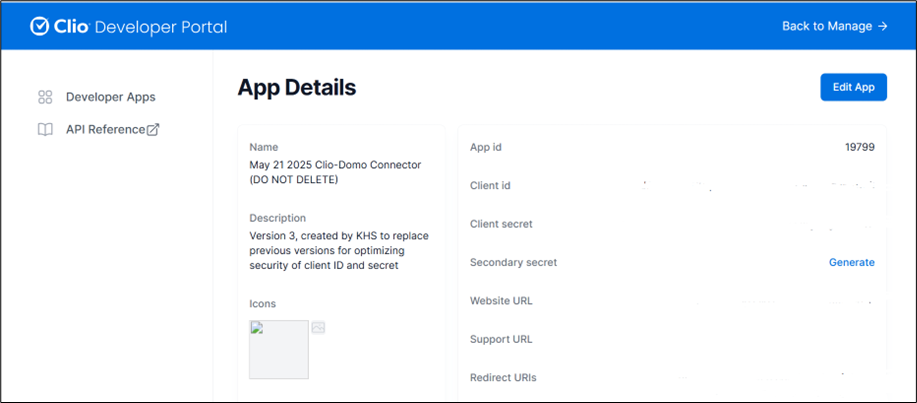
 4\. Copy and save the generated Client ID and Client Secret.
 ## Connecting to Your Clio Account
This section enumerates the options in the **Credentials** and **Details** panes on the Clio Connector page. The components of the other panes on this page, **Scheduling**, and **Name & Describe Your DataSet**, are universal across most connector types and are discussed in great detail in [Adding a DataSet Using a Connector](/docs/s/article/360042926274).
## Credentials Pane
This pane contains fields for entering credentials to connect to your Clio account. The following table describes what is needed for each field:
| Field | Description |
| ------------- | ---------------------------------------------------------- |
| Client ID | Enter the Client ID associated with your Clio account. |
| Client Secret | Enter the Client Secret associated with your Clio account. |
| Region | Select the region from the drop-down list. |
Once you have entered valid Clio credentials, you can use the same account at any time to create a new Clio DataSet. You can manage connector accounts in the **Accounts** tab in the Data Center. For more information about this tab, see [Manage Connector Accounts](/docs/s/article/360042926054).
## Details Pane
| Menu | Description |
| ----------- | ---------------------------------------------------------------------------------------------------------------------------------------------------------------------------------------------------------------------------------------------------------------------------------------------------------------------------------------------------------------------------------------------------------------- |
| Report | Select the Clio report you want to run. The following reports are available:
## Connecting to Your Clio Account
This section enumerates the options in the **Credentials** and **Details** panes on the Clio Connector page. The components of the other panes on this page, **Scheduling**, and **Name & Describe Your DataSet**, are universal across most connector types and are discussed in great detail in [Adding a DataSet Using a Connector](/docs/s/article/360042926274).
## Credentials Pane
This pane contains fields for entering credentials to connect to your Clio account. The following table describes what is needed for each field:
| Field | Description |
| ------------- | ---------------------------------------------------------- |
| Client ID | Enter the Client ID associated with your Clio account. |
| Client Secret | Enter the Client Secret associated with your Clio account. |
| Region | Select the region from the drop-down list. |
Once you have entered valid Clio credentials, you can use the same account at any time to create a new Clio DataSet. You can manage connector accounts in the **Accounts** tab in the Data Center. For more information about this tab, see [Manage Connector Accounts](/docs/s/article/360042926054).
## Details Pane
| Menu | Description |
| ----------- | ---------------------------------------------------------------------------------------------------------------------------------------------------------------------------------------------------------------------------------------------------------------------------------------------------------------------------------------------------------------------------------------------------------------- |
| Report | Select the Clio report you want to run. The following reports are available: | Report Name | Description |
|---|---|
| Create and Run Report | Create and run a report by specifying the report parameters. |
| Get Details of All Reports | Returns the data for all the reports generated in Clio. |