> ## Documentation Index
> Fetch the complete documentation index at: https://www.domo.com/docs/llms.txt
> Use this file to discover all available pages before exploring further.
# Magic ETL Tiles: Disable Tiles
## Intro
This article covers how to disable or re-enable tiles in a DataFlow, including using the **Select upstream** and **Select downstream** options to manage groups of tiles.
***
## Access Disable Tiles
You can disable and enable Magic ETL tiles from the Magic ETL authoring canvas.
Learn more about the [Magic ETL authoring canvas](https://domo-support.domo.com/s/article/360055259234?language=en_US).
## Disable/Re-Enable Tiles
**Tip:** You can also disable or re-enable an individual tile by using the toggle in the upper-right corner of its configuration panel.
Follow these steps to disable tiles in your DataFlow:
1. On your Magic ETL DataFlow canvas, highlight one or more tiles.
 2. Right-click the highlighted tiles.
3. Choose **Disable actions** from the shortcut menu.
2. Right-click the highlighted tiles.
3. Choose **Disable actions** from the shortcut menu.
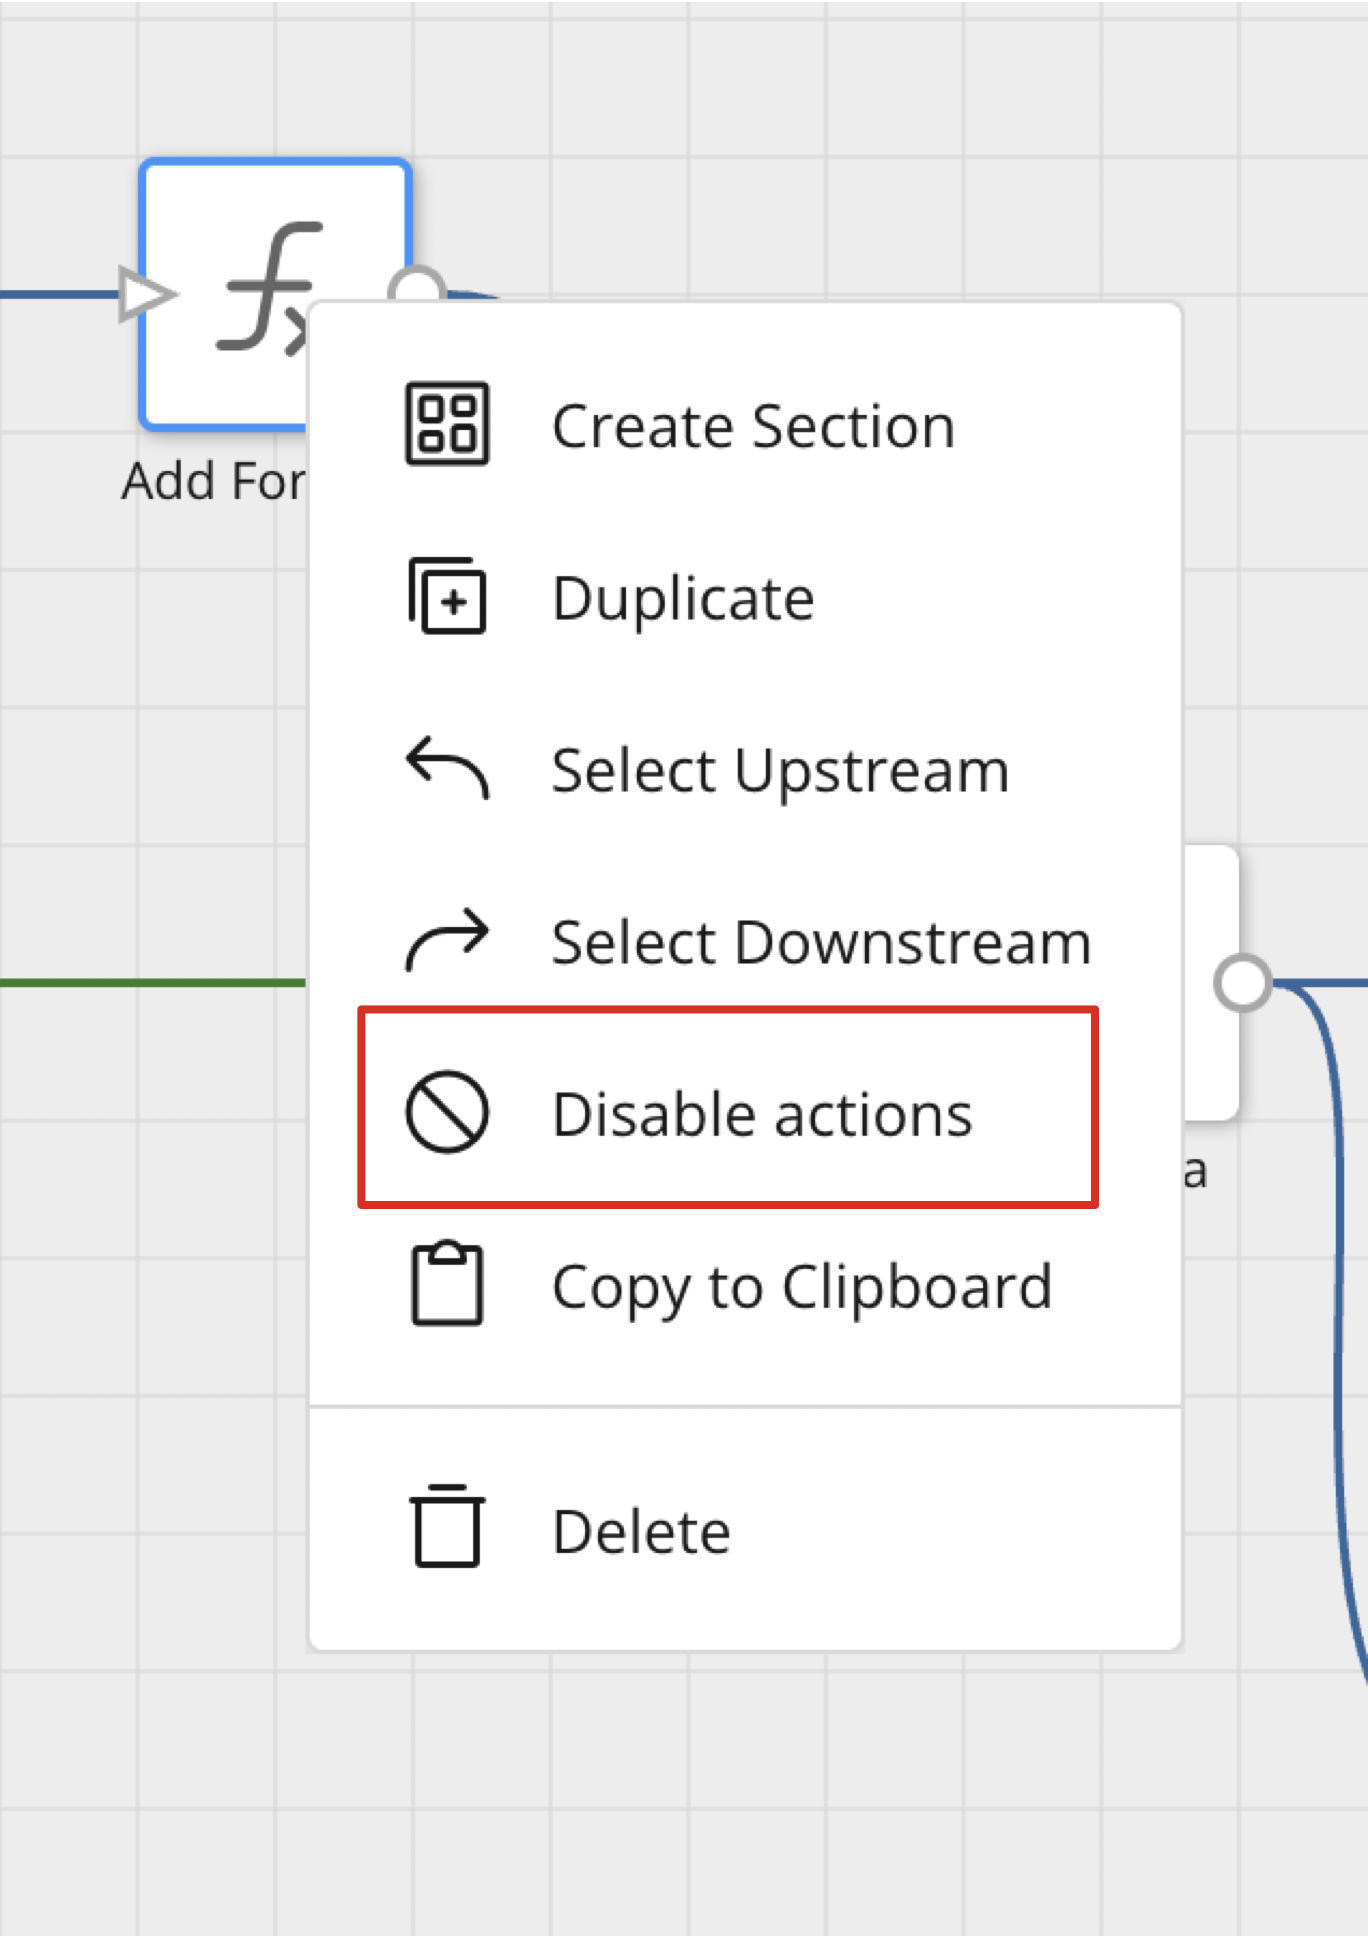 4. Verify that the selected tile or tiles—and all downstream tiles—have been disabled.
5. Save your changes.
Follow these steps to re-enable tiles in your DataFlow:
1. On your Magic ETL DataFlow canvas, highlight the disabled tile or tiles.
2. Right-click the highlighted tile or tiles.
3. Choose **Enable actions** from the shortcut menu.
4. Verify that the selected tile or tiles—and all downstream tiles—have been disabled.
5. Save your changes.
Follow these steps to re-enable tiles in your DataFlow:
1. On your Magic ETL DataFlow canvas, highlight the disabled tile or tiles.
2. Right-click the highlighted tile or tiles.
3. Choose **Enable actions** from the shortcut menu.
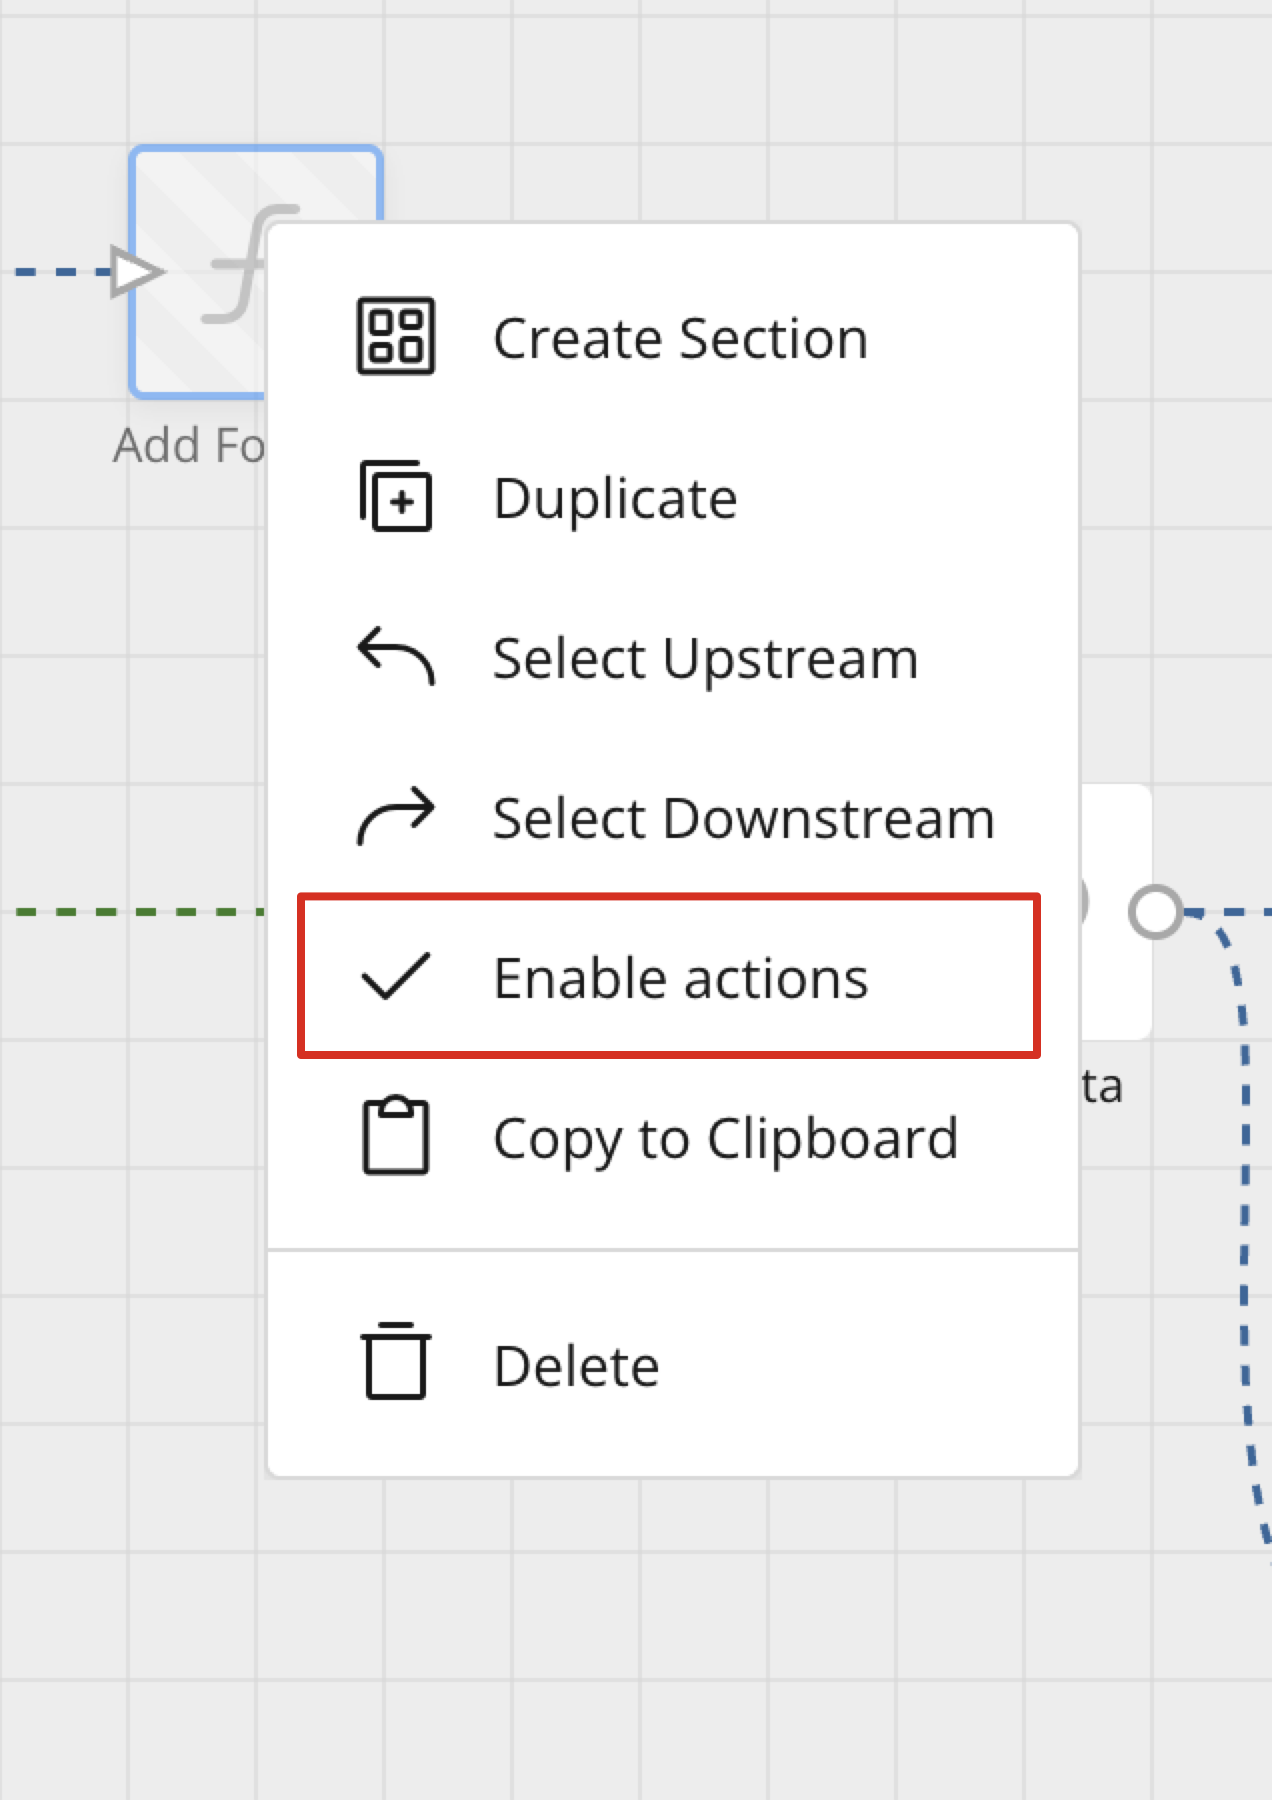 4. Verify that the selected tile or tiles—and all downstream tiles—have been re-enabled.
5. Save your changes.
**Note:** You can find the same menu options available in the shortcut menu by going to the menu in the left pane of your Magic ETL DataFlow canvas.
## Select Upstream/Downstream Tiles
To select all tiles upstream or downstream from a highlighted tile or group of tiles, follow these steps:
1. On your Magic ETL authoring canvas, highlight one or more tiles.
2. Right-click the selected tiles, and then select **Select upstream**.
All tiles directly upstream from the selection are highlighted.
4. Verify that the selected tile or tiles—and all downstream tiles—have been re-enabled.
5. Save your changes.
**Note:** You can find the same menu options available in the shortcut menu by going to the menu in the left pane of your Magic ETL DataFlow canvas.
## Select Upstream/Downstream Tiles
To select all tiles upstream or downstream from a highlighted tile or group of tiles, follow these steps:
1. On your Magic ETL authoring canvas, highlight one or more tiles.
2. Right-click the selected tiles, and then select **Select upstream**.
All tiles directly upstream from the selection are highlighted.
 3. To select downstream tiles, right-click another tile or group of tiles, and then select **Select downstream**.
All tiles directly downstream from the selection are highlighted.
3. To select downstream tiles, right-click another tile or group of tiles, and then select **Select downstream**.
All tiles directly downstream from the selection are highlighted.
 4. Save your changes.